Firstly, log into your 3CX dashboard and navigate to the extensions tab on the left.
Create a new extension 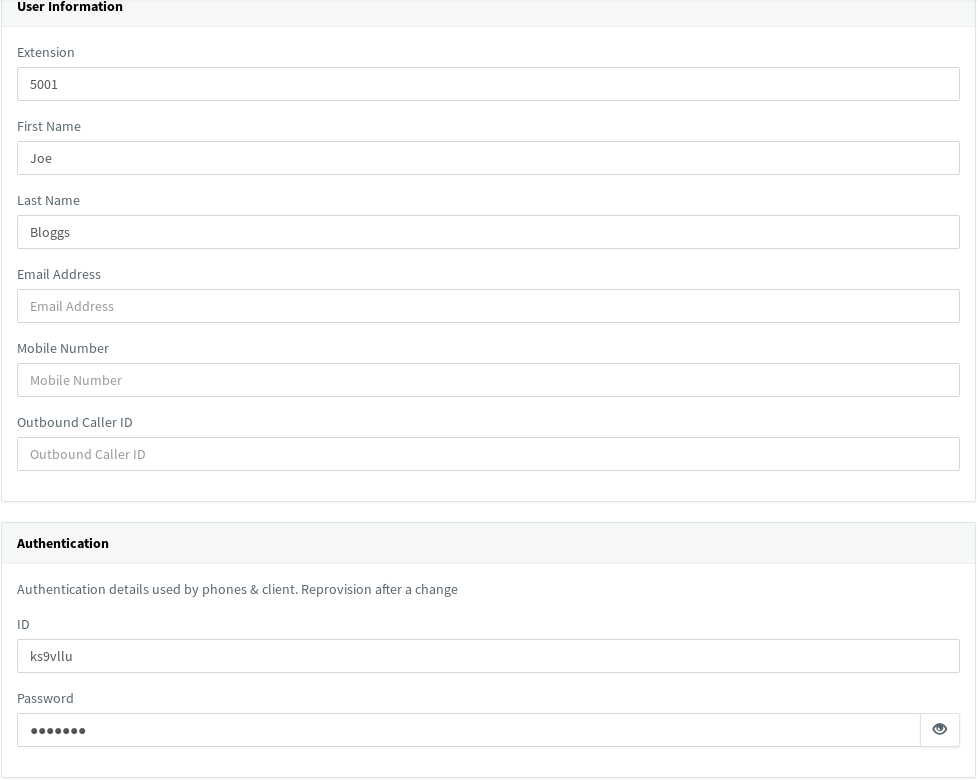
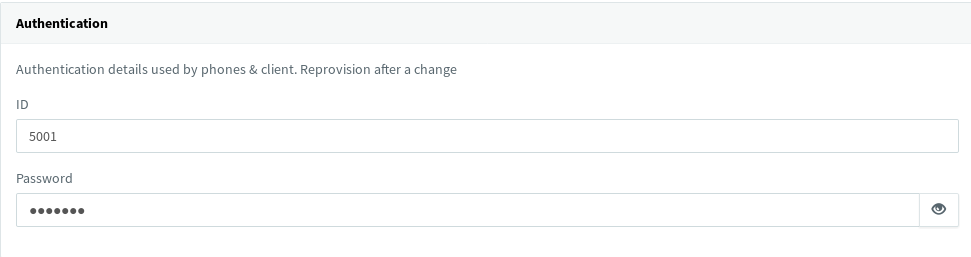
Replace the Authentication ID near the bottom with the extension number input at the top
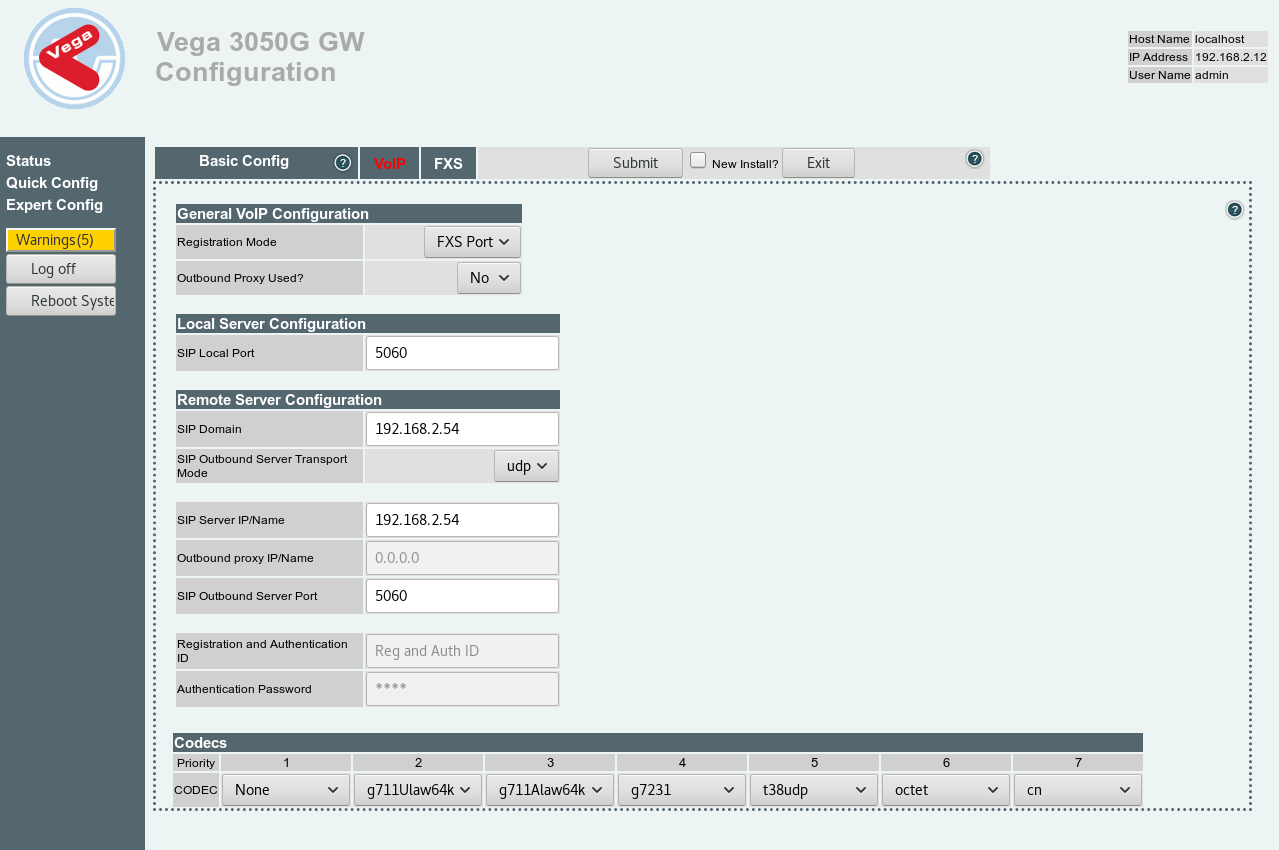
Now, in a new tab navigate to your Vega’s web interface and log in. Once at the dashboard, click Quick Config on the left hand side. From here, click VOIP and change the Registration Mode to FXS Port. Next, replace the SIP Domain & SIP Server IP/Name fields with the IP address of your 3CX server.
Note: We also advise changing the first CODEC at the bottom to from g729 to none, as shown below.
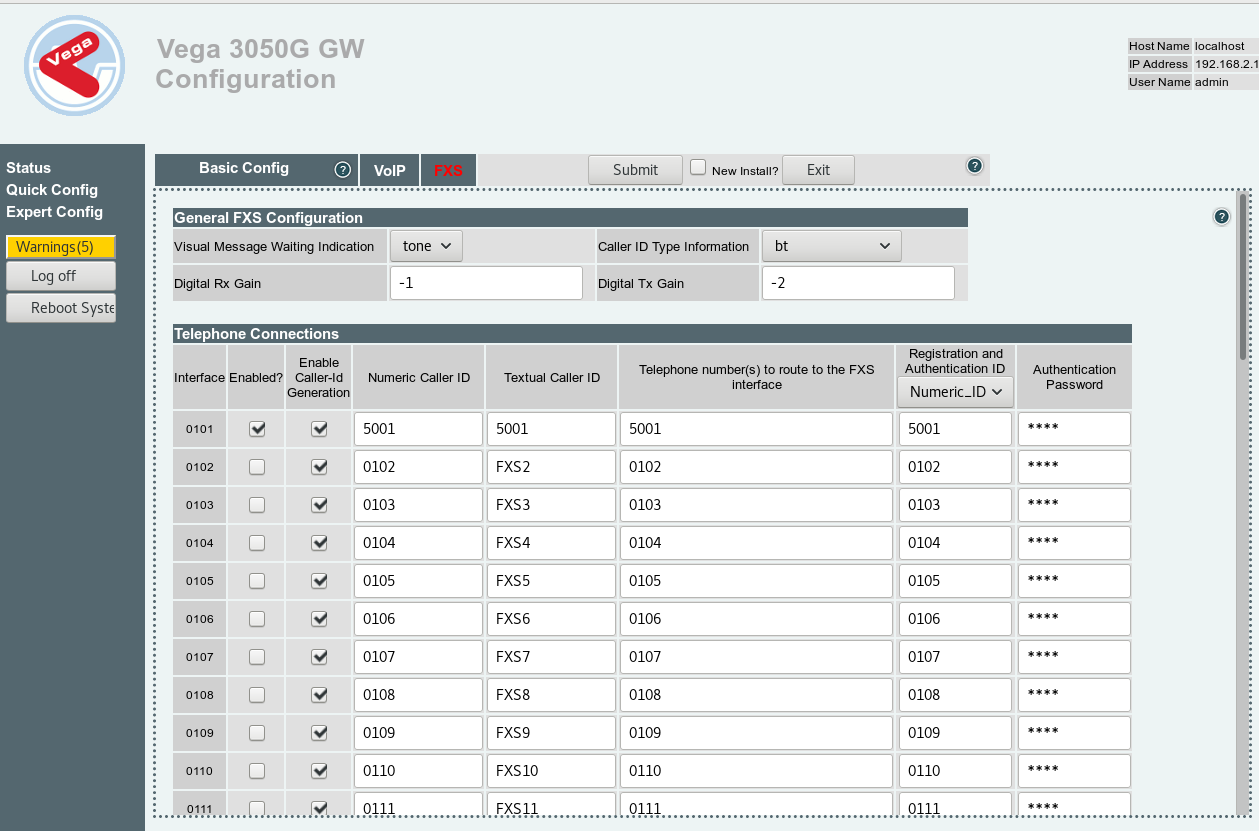
After that, navigate to the FXS tab. You will notice that all of the Telephone Connections are enabled as shown below.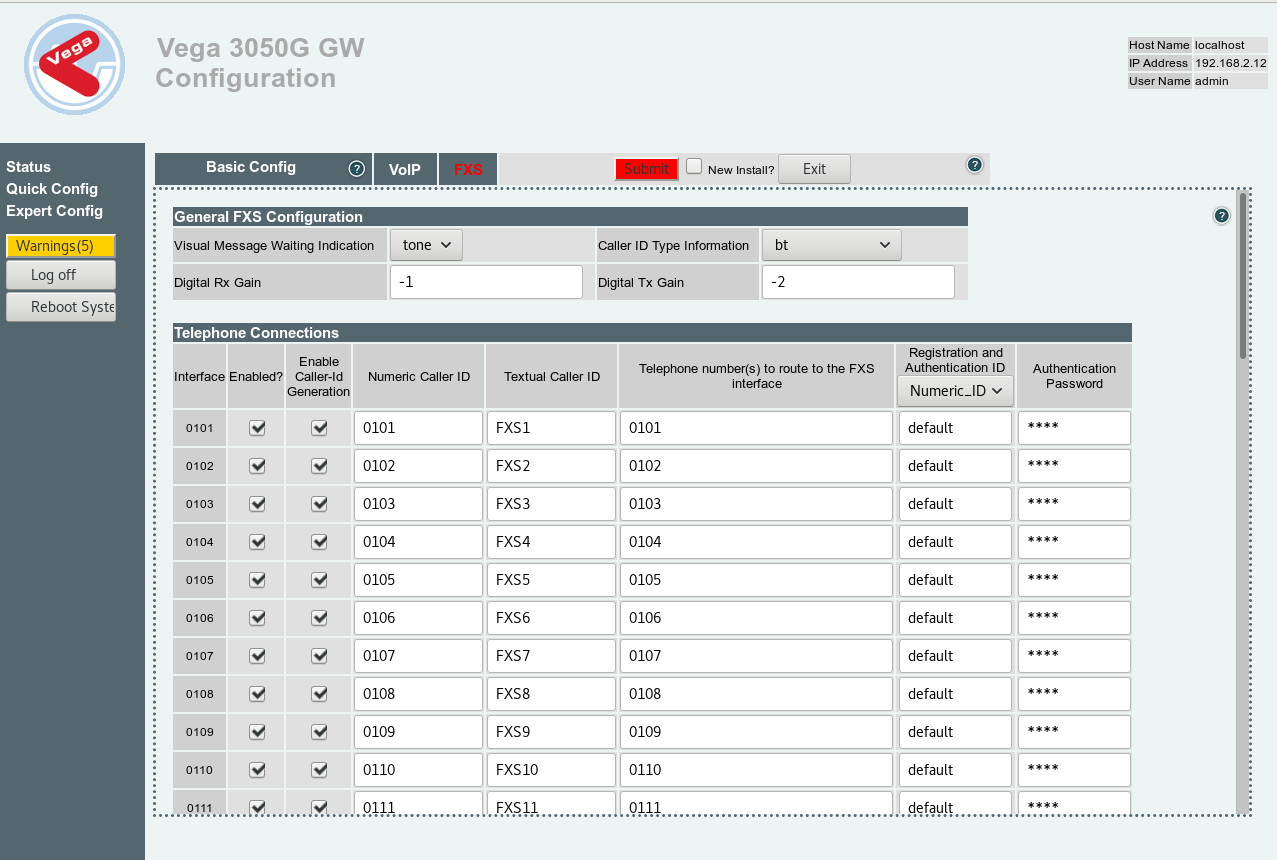
Disable all of the connections that you do not wish to use, and replace the Numeric Caller ID, Textual Caller ID, Telephone number and Registration and Authentication ID with the extension number, in this case 5001. Then type the authentication password in its respective field at the end of the row.
Return to your Extensions tab on 3CX. If you followed the guide correctly, there should be a green circle next to your new extension indicating that it has registered correctly and is ready to use. ![]()
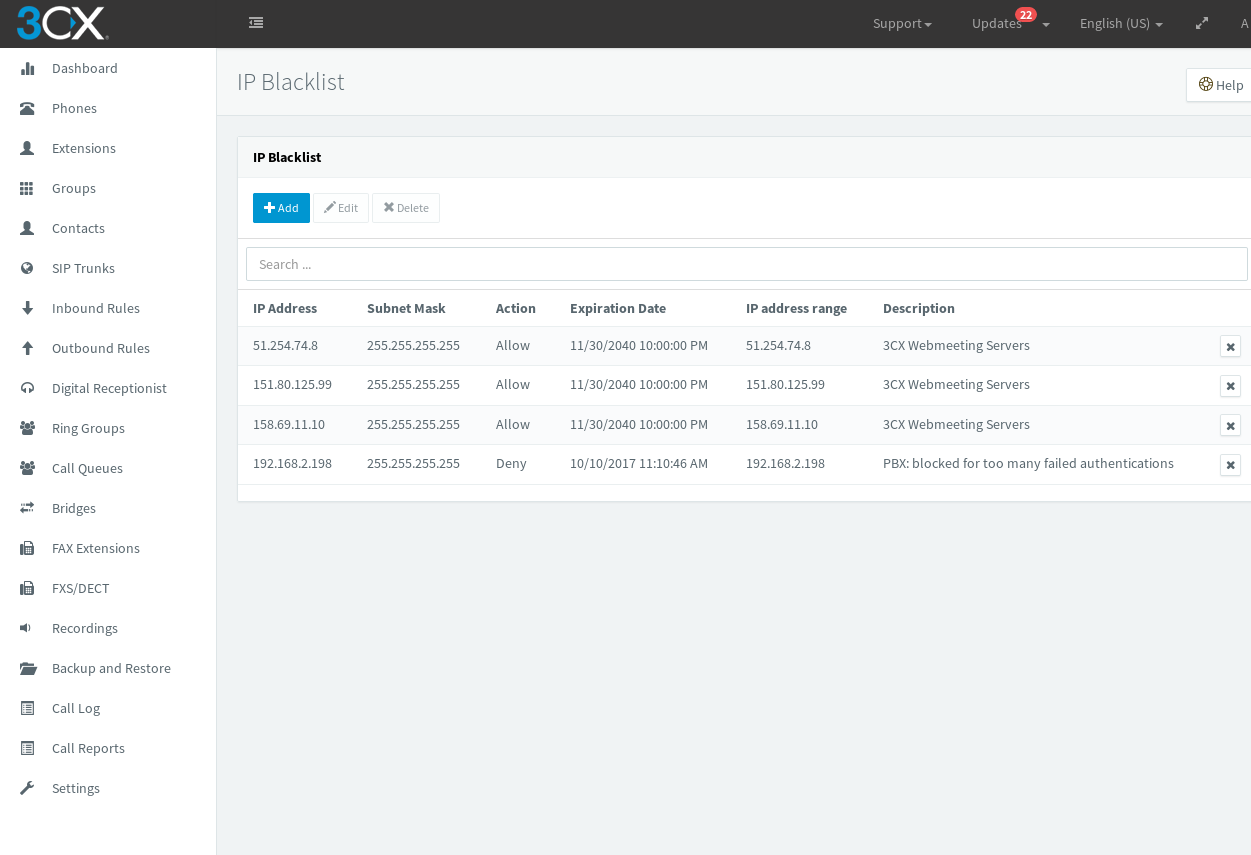
If it is still red, go to your 3CX Dashboard > IP Blacklist and ensure that your PBX server has not been blacklisted automatically, as show below. If this has occurred, simply select the Denied IP, click edit and change Deny to Allow.