
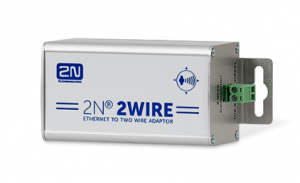
The 2N 2Wire adapter kit is extremely useful. Giving you the capacity to use exisiting 2 wire cable runs to connect IP devices to a network and power the device via PoE.
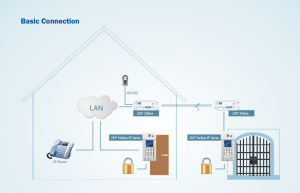
But it’s worth doing your homework so you can get the most out of them.
To help with this we have created this guide to help you get to grips with using them.
Essentially they are plug and play straight out of the box but……. this depends on how you want to use them.
Each 2Wire kit comes with two adapters and one power supply.
The solution works fundamentaly using a Master and Slave approach.
Any adapter that you connect the power supply to will become a Master.
Any adapter that you then connect to the Master via the 2wire connection becomes a Slave.
The Master should be connected to the network and the Slave connected to the IP device.
Any Master adapter can have up to 4 slaves connected to it.
Here we will look at three use case scenarios.
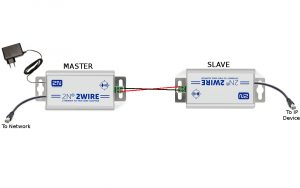
- Where a single Master & Slave set up is required on a single network.
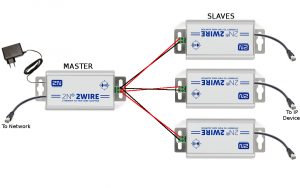
- Where a single Master & multiple Slave set up is required on a single network.
- Where multiple Master & Slave set ups are required on a single network.
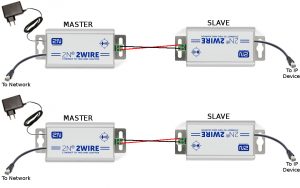
For the first two scenarios, where only a single Master adapter is required, the 2Wire kit is simply plug and play.
PLEASE BE AWARE that in the case of scenario 3, where multiple Master adapters are required on a single network, a pairing procedure must be executed.
If you connect multiple Master adapters to a single network without performing the necessary unpairing/pairing procedures YOU MAY EXPERIENCE NETWORK CONFLICT ISSUES.
Good thing is….. the unpairing/pairing procedure is very simple. Here we will guide you through it.
First let’s take a look at how to connect a single Master and Slave set up.
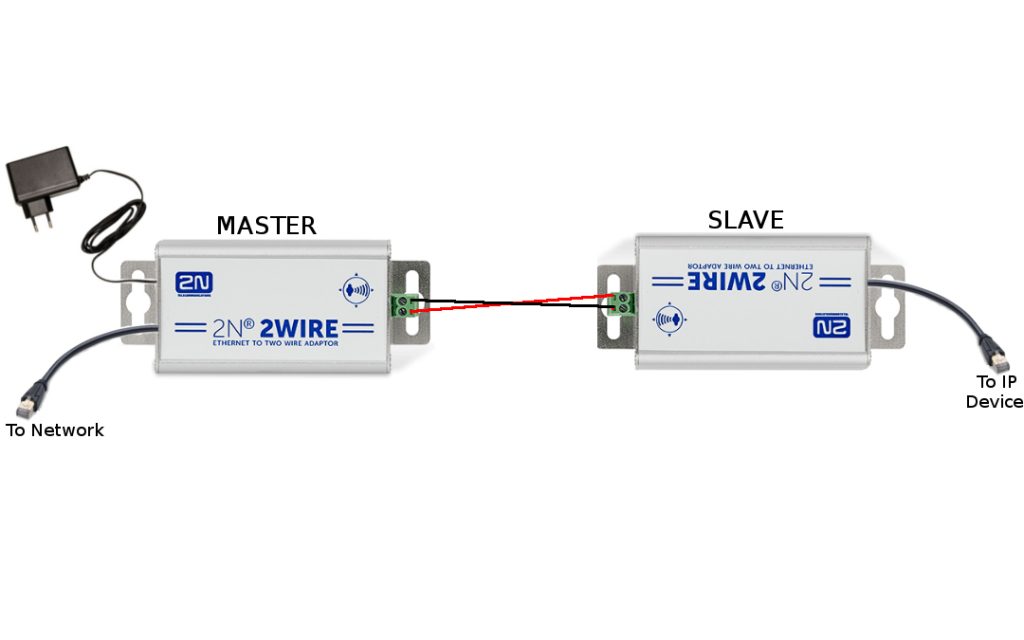
This is the simplest configuration and works straight out of the box.
Just make sure you connect the 2 wire correctly to each adapter. Positive to positive & negative to negative.
Now let’s take a look at how to connect multiple Slaves to a single Master.
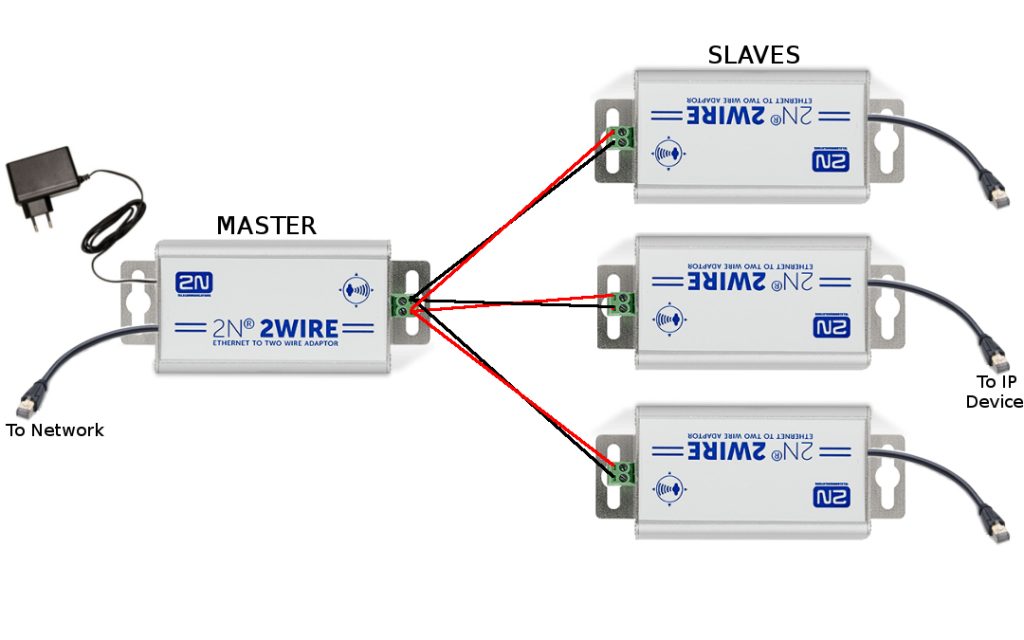
This is similar to a single Master / Slave configuration in that it works straight out of the box. Multiple Slaves can be wired into a single Master.
Again make sure to connect the 2 wire correctly to each adapter. Positive to Positive & negative to Negative.
Finally we have the multiple Masters & multiple Slaves on a single network configuration.
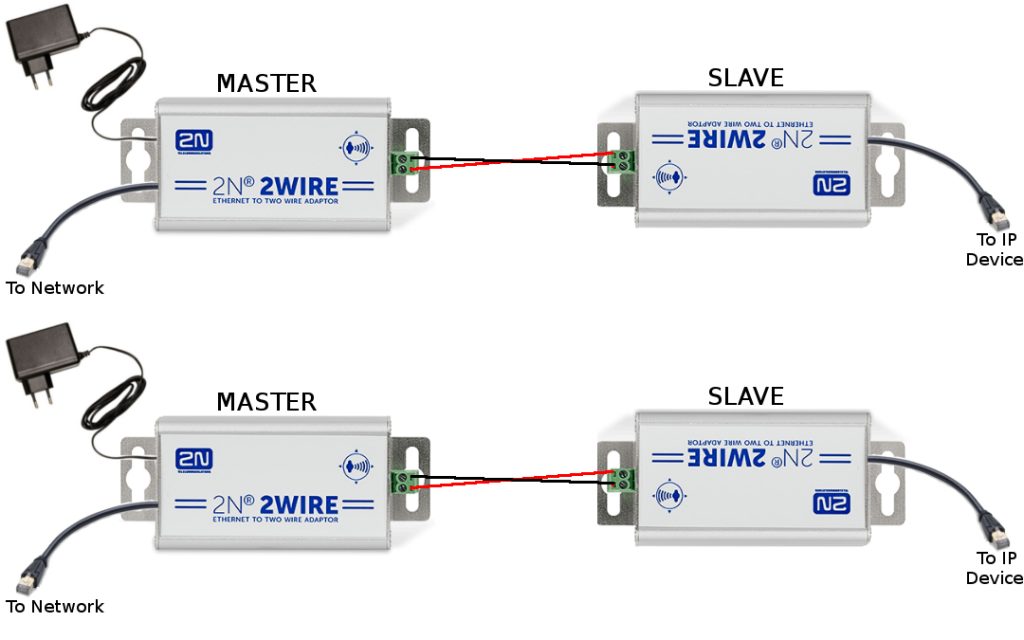
If this configuration is required and you are installing multiple Master adapters on to a single network, it is very important to perform an unpairing/pairing procedure. If you do not you may experience network conflict issues.
Unpairing and Pairing your adapters
Each adapter has a small hole labelled ‘Grp’. There is a button inside this hole that is used to initiate the unpairing/ pairing procedures.
To access the button you will need a small screwdriver or similar tool.
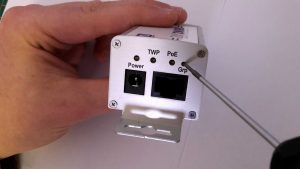
To perform unpairing/pairing procedures the adapters must be powered.
So you must connect the power supply to the Master and connect the Slave via the 2 wire connection.
But DO NOT connect them to the network or the IP device….. yet.
To unpair an adapter press and hold the ‘Grp’ button for 10 seconds, until you see all lights on the adapter go off.
After unpairing is complete you should see only the power light illuminated.
You should do this on all adapters before attempting a pairing procedure.
To perform a pairing procedure press and hold the ‘Grp‘ button for 2 seconds. When you release the button the ‘TWP’ light will begin steadily blinking letting you know that the adapter is in ‘seek’ mode and is looking for another adapter to pair to.
Once an adapter has found another adapter to pair to the ‘TWP’ will become static, letting you know pairing is complete.
In a single Master & single Slave pairing it doesn not matter which adapter you put into pairing/seek mode first.
But if you wish to have multiple Slaves connected to a single Master, then you must connect all Slaves via the 2Wire connection to the Master first, then run individual pairing procedures for each connected Slave.
To do this you must initiate the pairing/seek mode on the Master first and then the first Slave.
Then repeat this for each Slave connected to the Master.
But remember, unpairing & pairing is only needed when installing more than one Master adapter on a single network.
Thanks for reading.
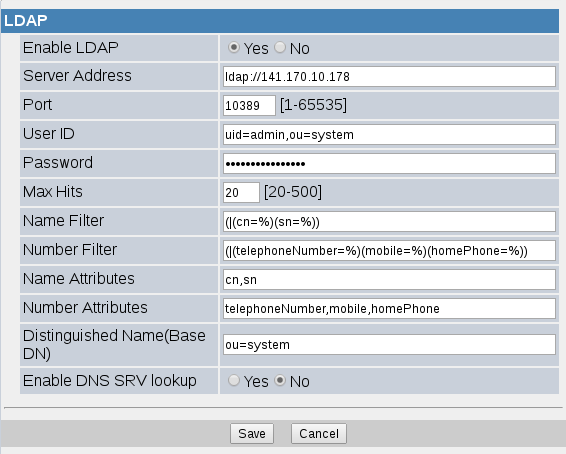
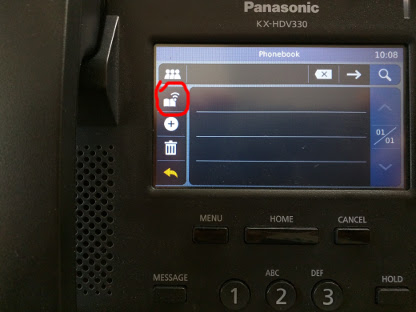 Then you can use the search box to type in a name, matching entries will be displayed:
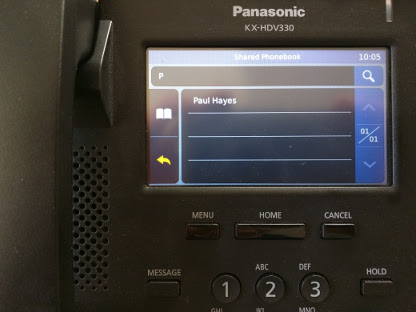 On phones with programmable keys, you can configure a key for shared phone book. Set the key type as ‘phonebook’, set the parameter to ‘2’ (for shared phonebook) and give it a label if required.