Part 1 – Configure the unit to start logging in ‘DEBUG’ mode and replicate the issue
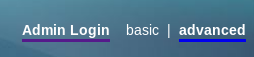
- Login to the web user interface and select the ‘admin‘ user. After selecting the ‘admin‘ user go in to advanced mode by pressing ‘advanced‘ on the top right of the screen.
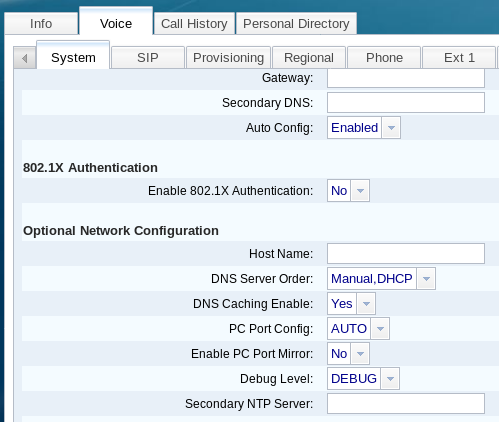
- Once ‘advanced‘ mode is applied press the ‘voice‘ tab and also the ‘system‘ tab. Once on the ‘system‘ page scroll down until you get to ‘Optional Network Configuration‘ and in the drop down box next to ‘Debug Level‘ set this to ‘DEBUG‘ and press ‘Submit All Changes‘.
- Now that the phone is logging everything in ‘DEBUG‘ mode you need to replicate the issue.
Part 2 – Generating the log
Now the you’ve replicated the issue we need to export the log.
To do this follow the steps below:
- Login to the web user interface as before using ‘admin‘ and ‘advanced‘ mode. Once logged in select the ‘info‘ tab and also the ‘Debug Info‘ tab. Once you are on this page press the ‘Generate PRT‘ button.
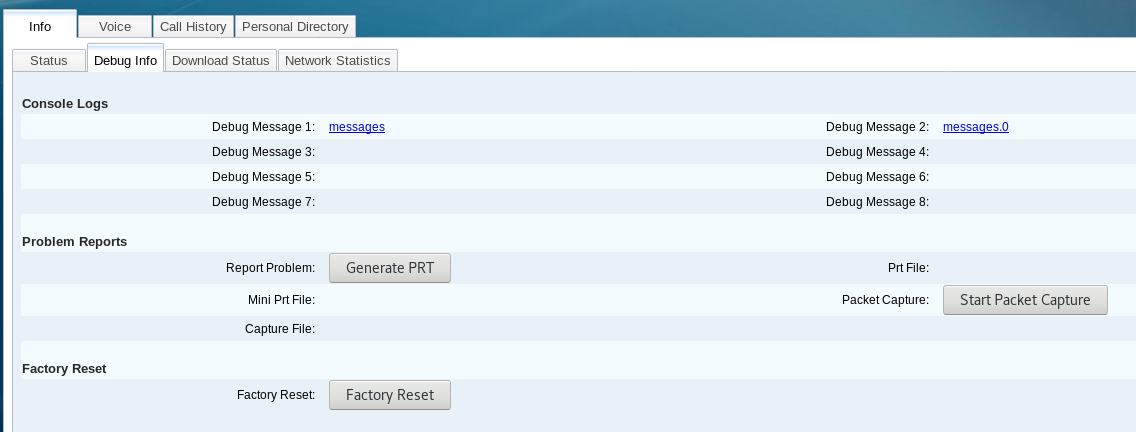
- Once you press the button you will get a popup box asking you to enter the date and time of the problem as well as selecting a description. If your problem isn’t listed select ‘Other‘ and press ‘Submit‘.

- After pressing ‘Submit‘ and allowing the phone to generate the file you should get another popup notification saying the PRT file has been generated and can be access from the phone directly. Press ‘OK‘ and download the file by clicking on the PRT file link across from the ‘Generate PRT‘ button.