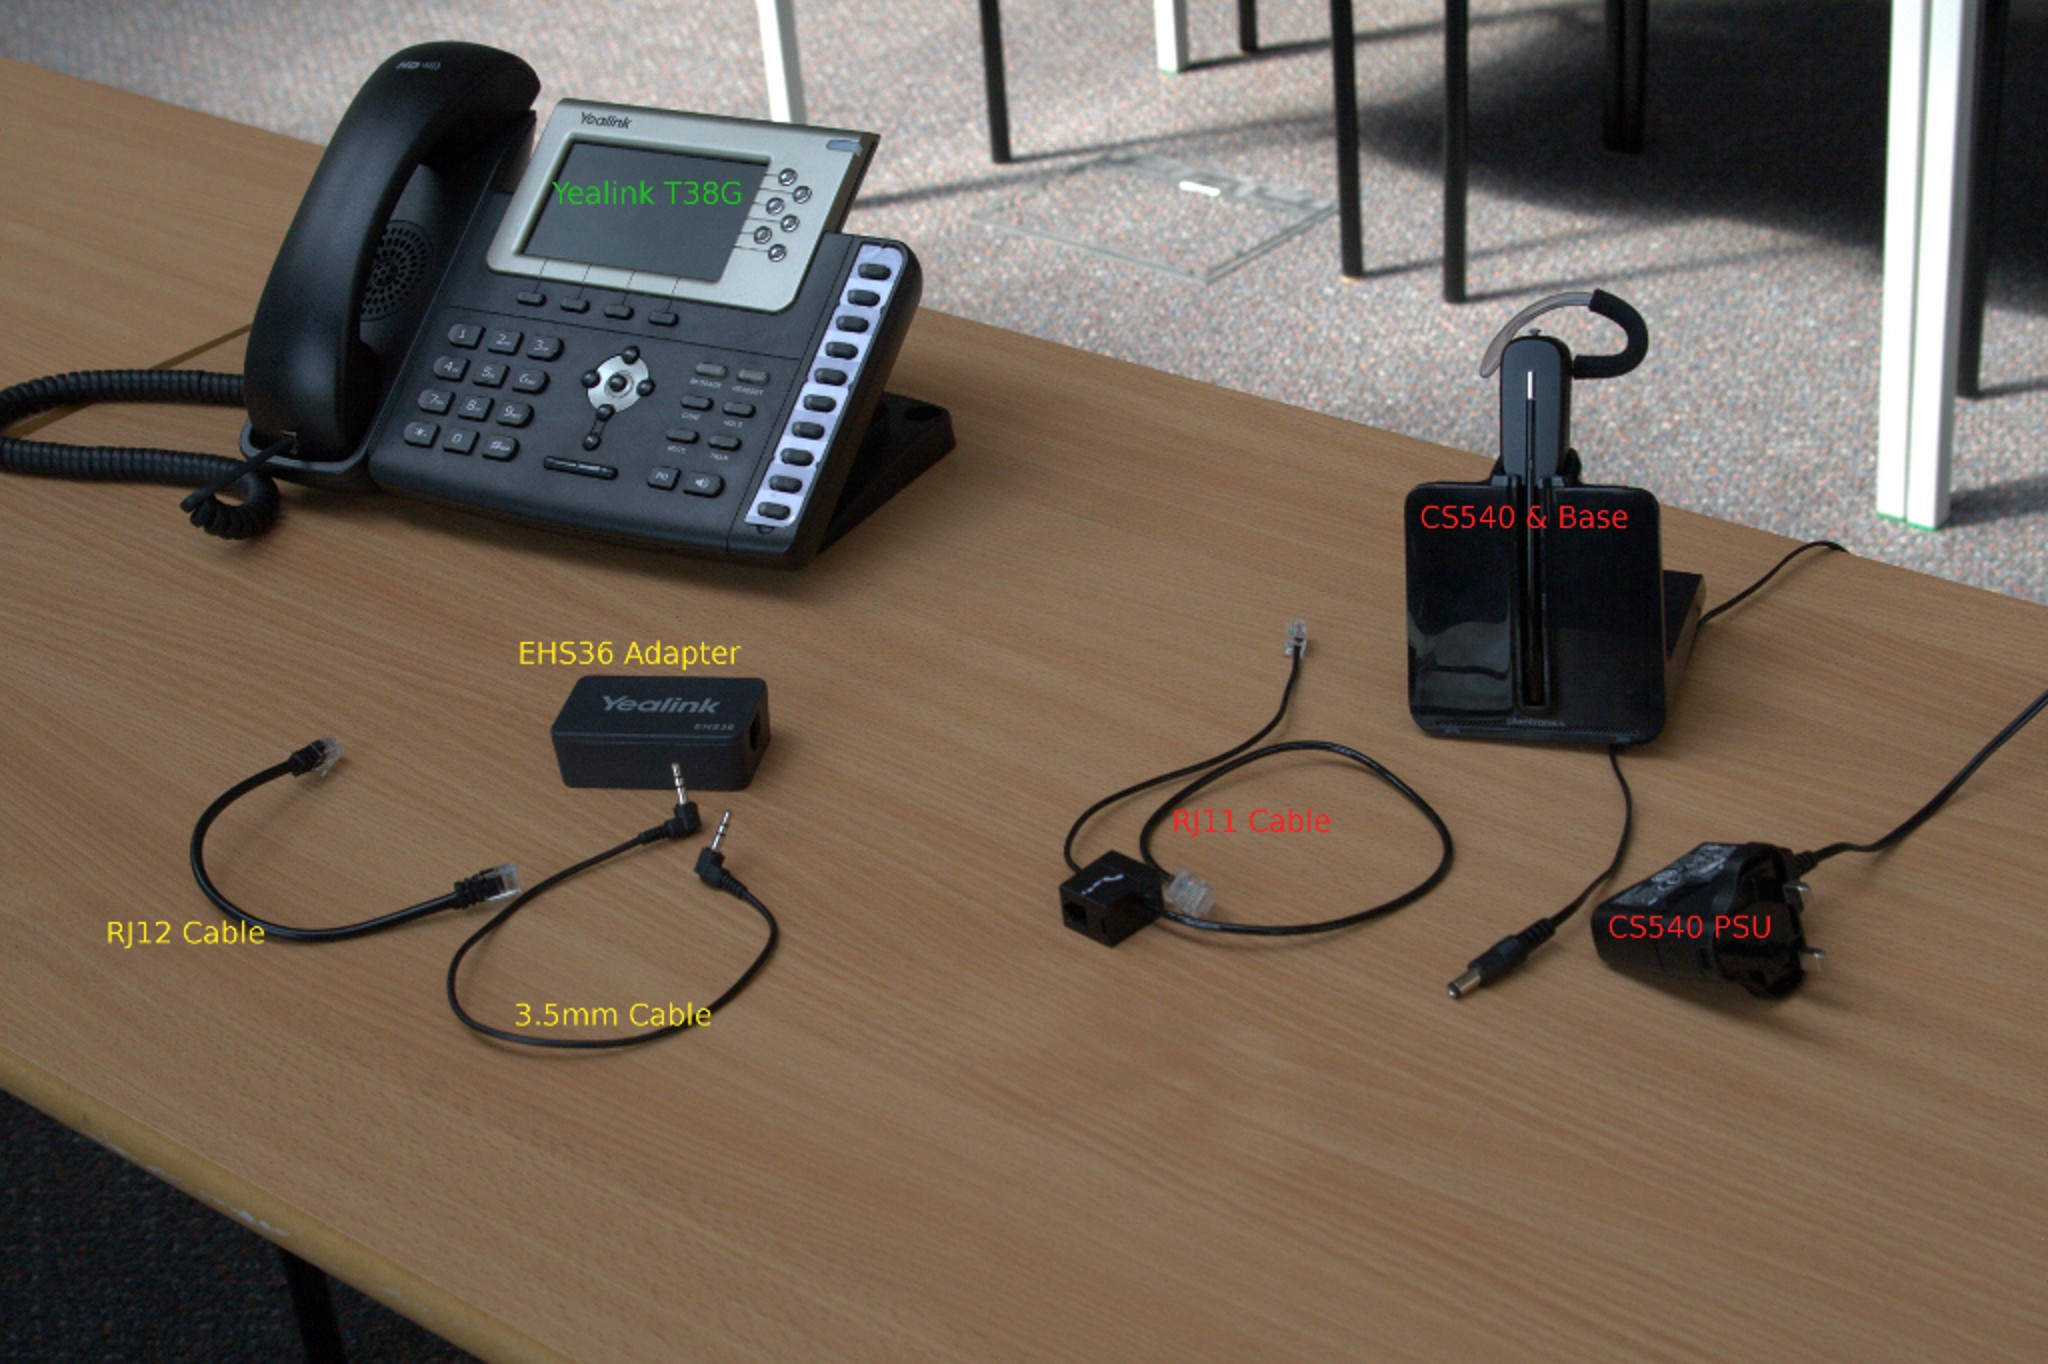
List of Components:
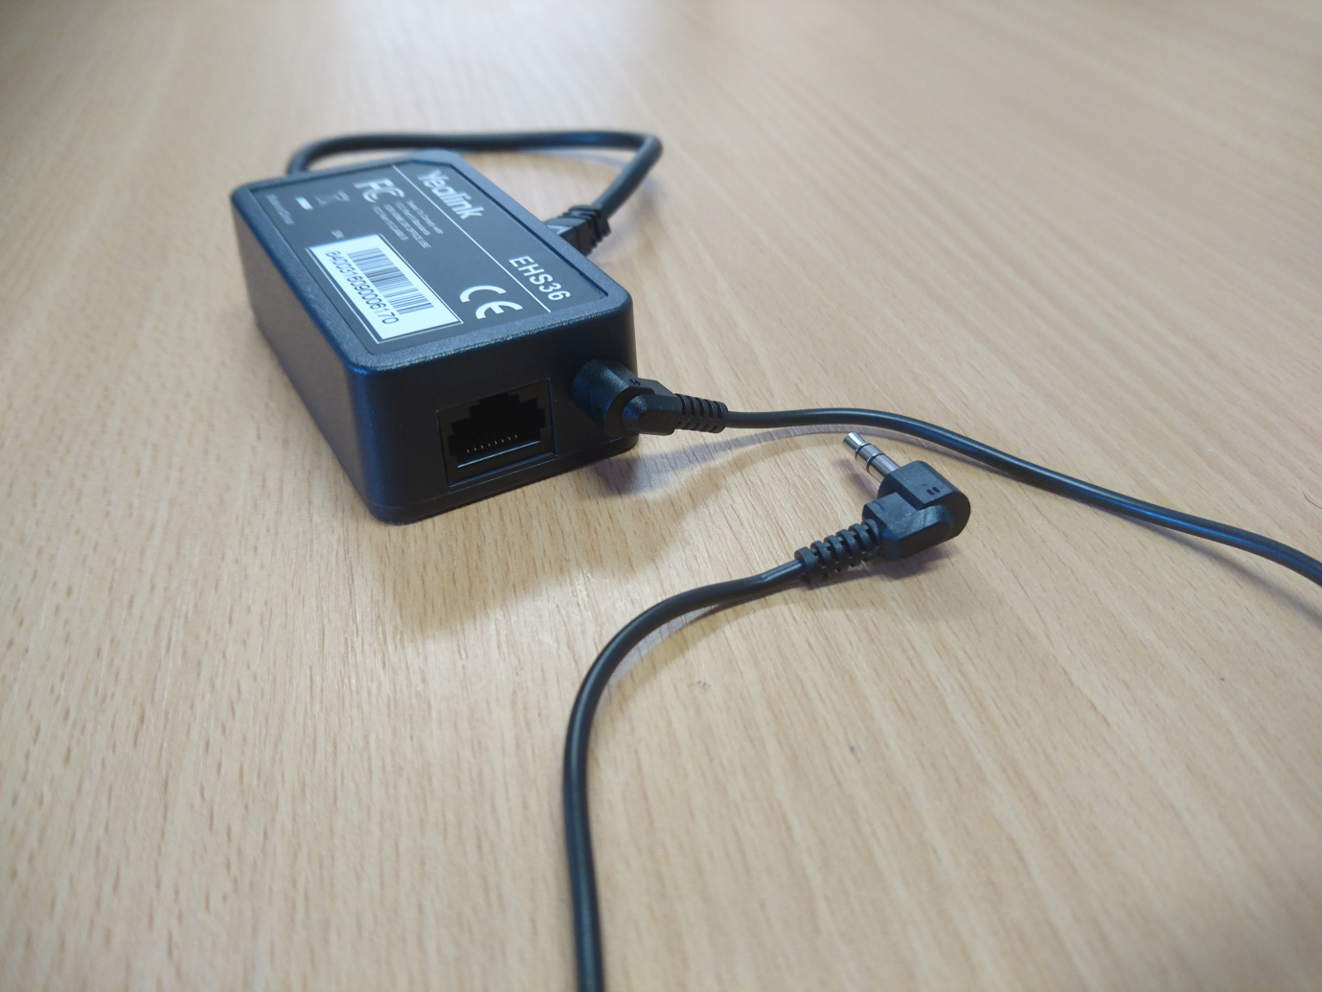
- 3.5mm DC Jack
- Plantronics phone cord
- Plantronics CS520 Headset
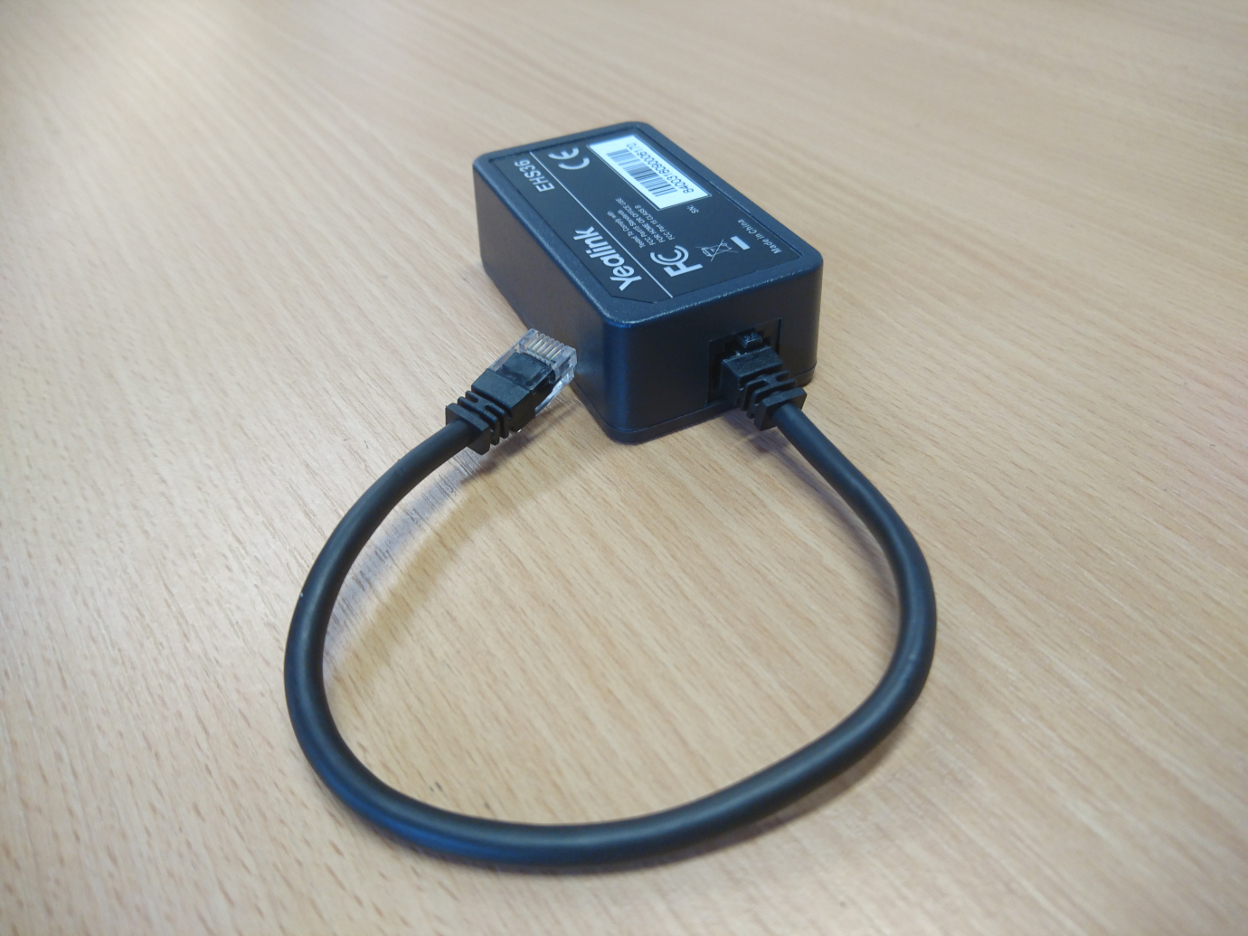
- Yealink EHS36 Adapter
- RJ12 Cord
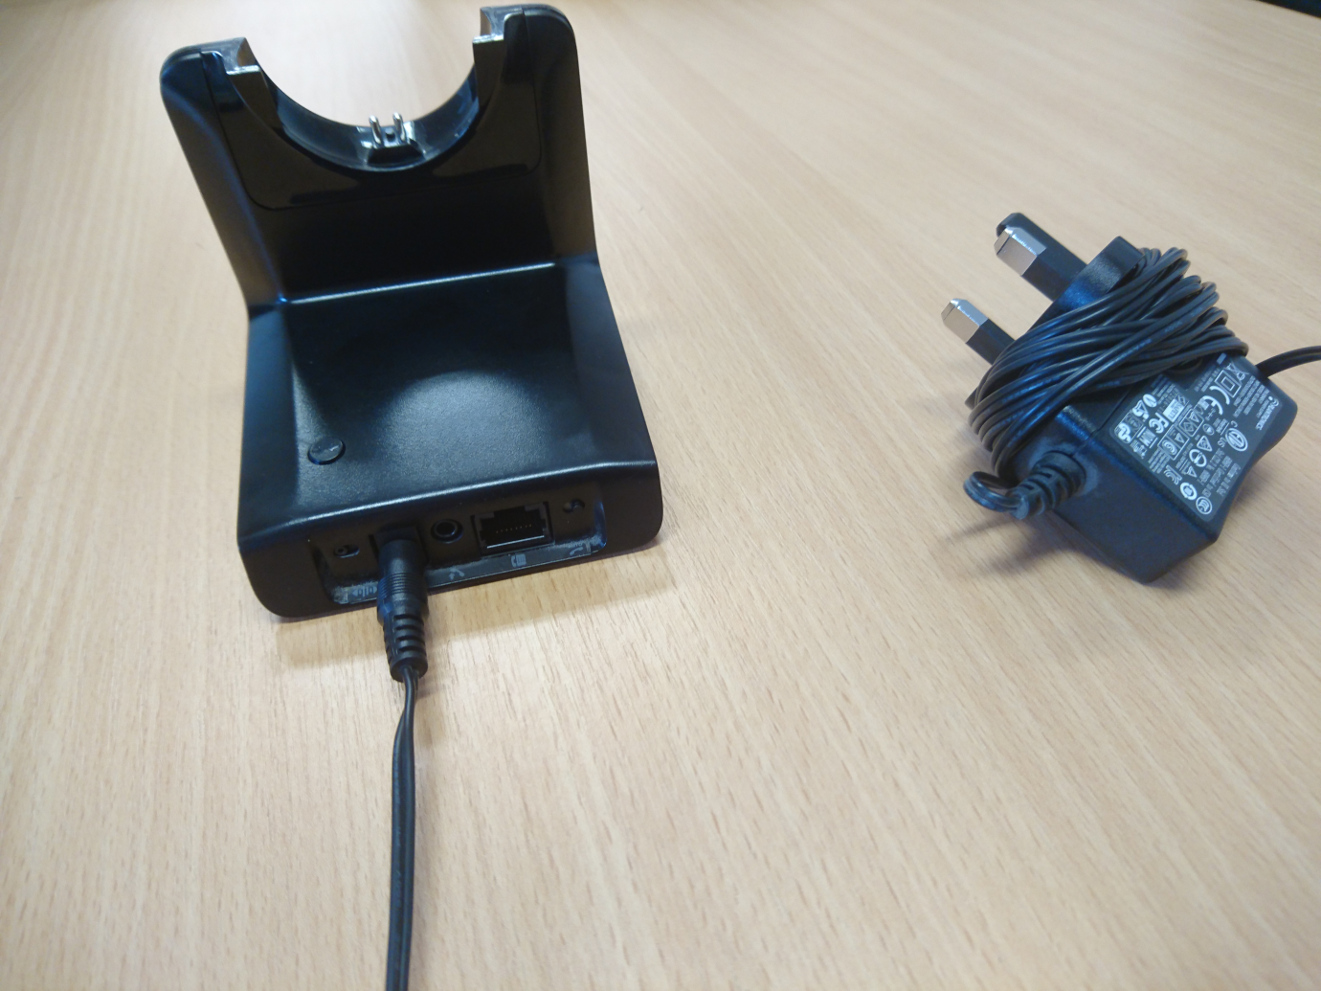
- Plantronics Base
- Plantronics Base power supply
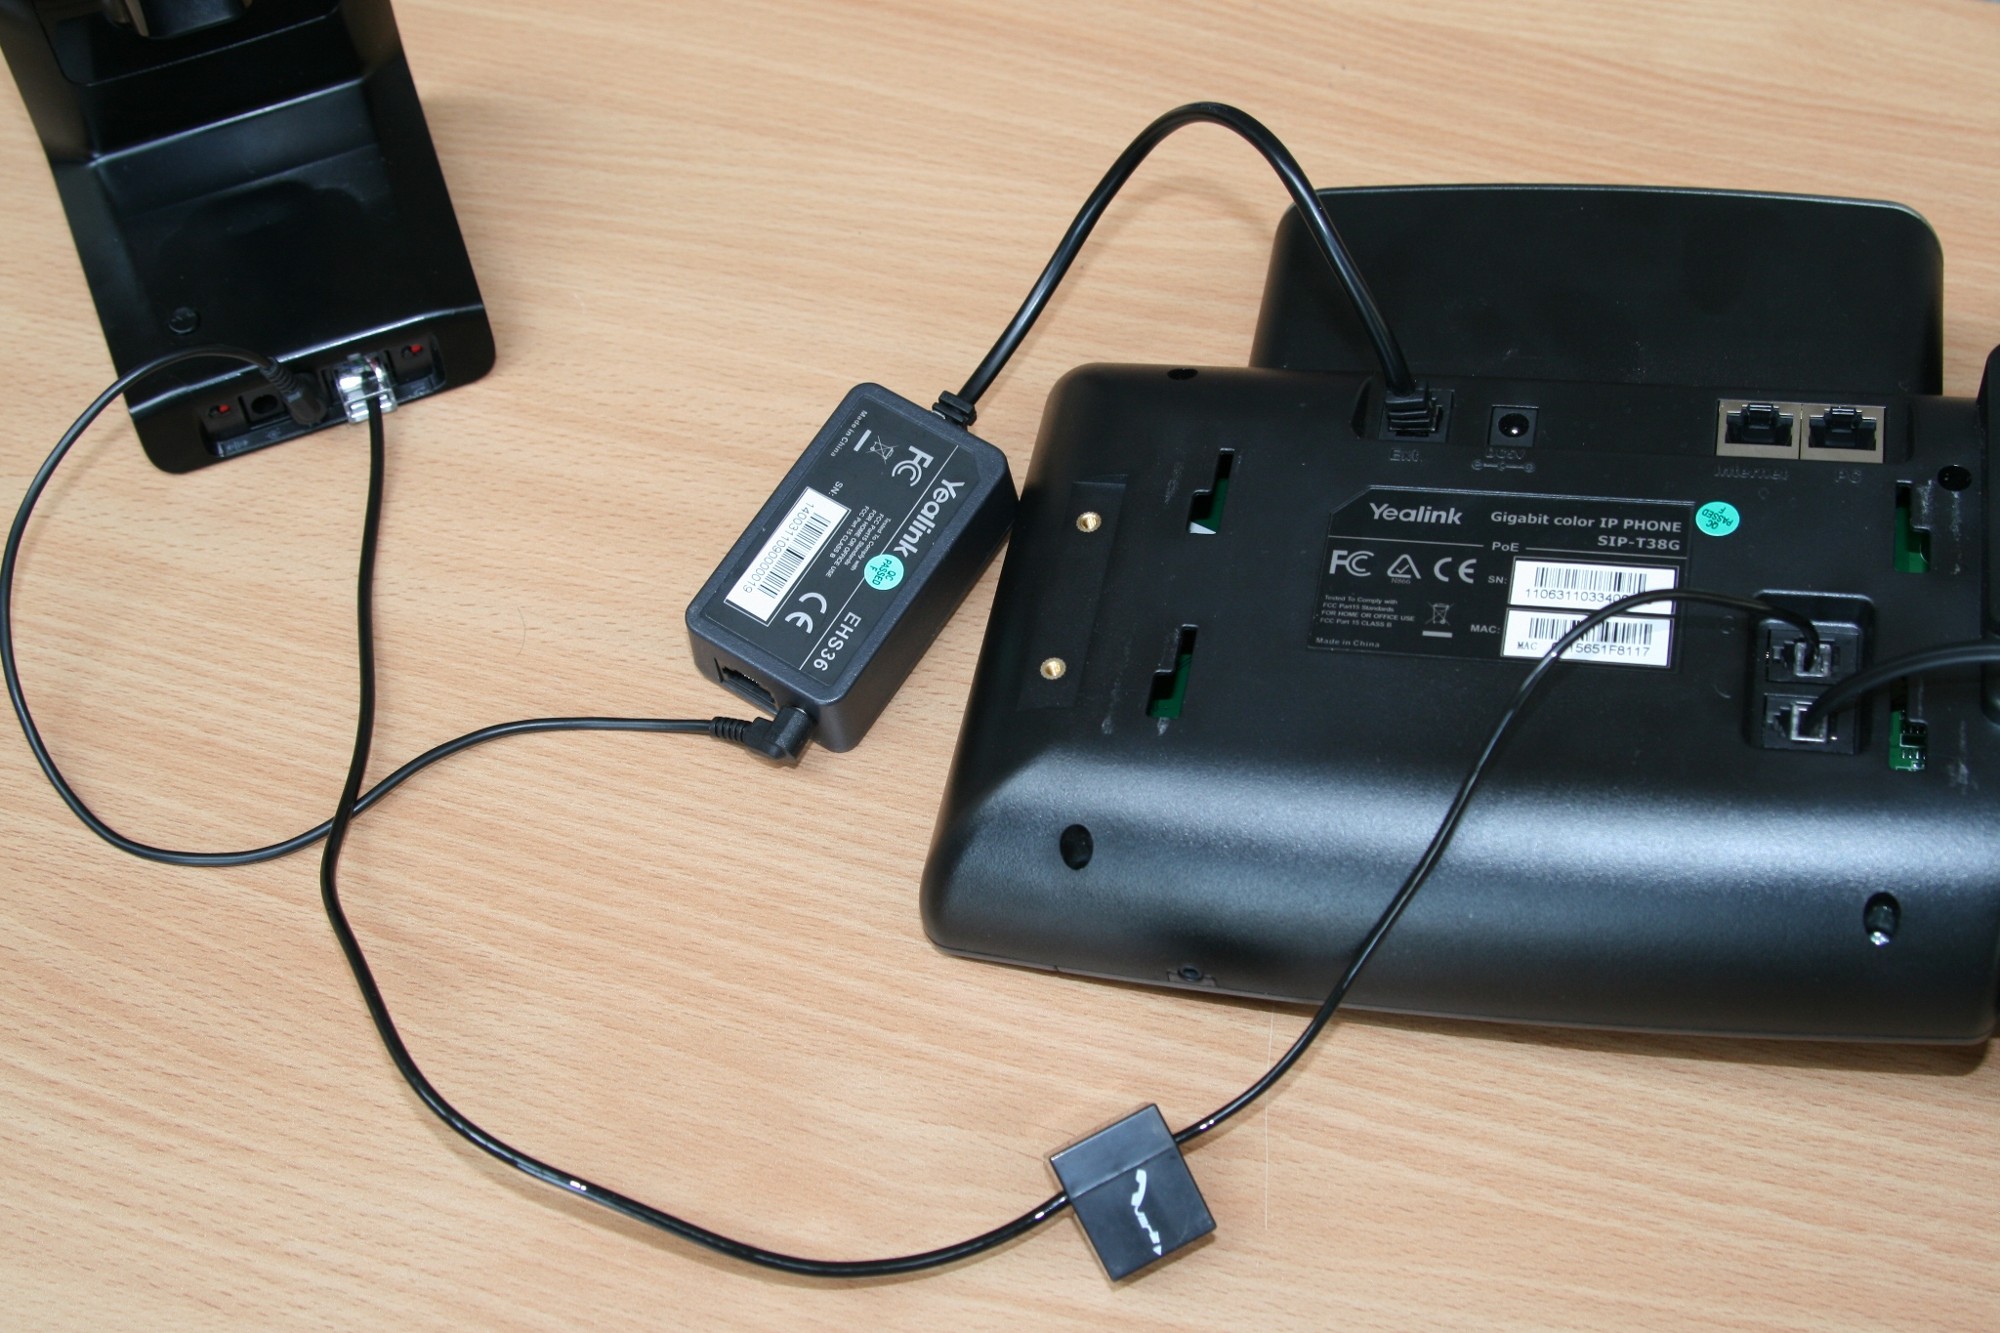
Configuration:
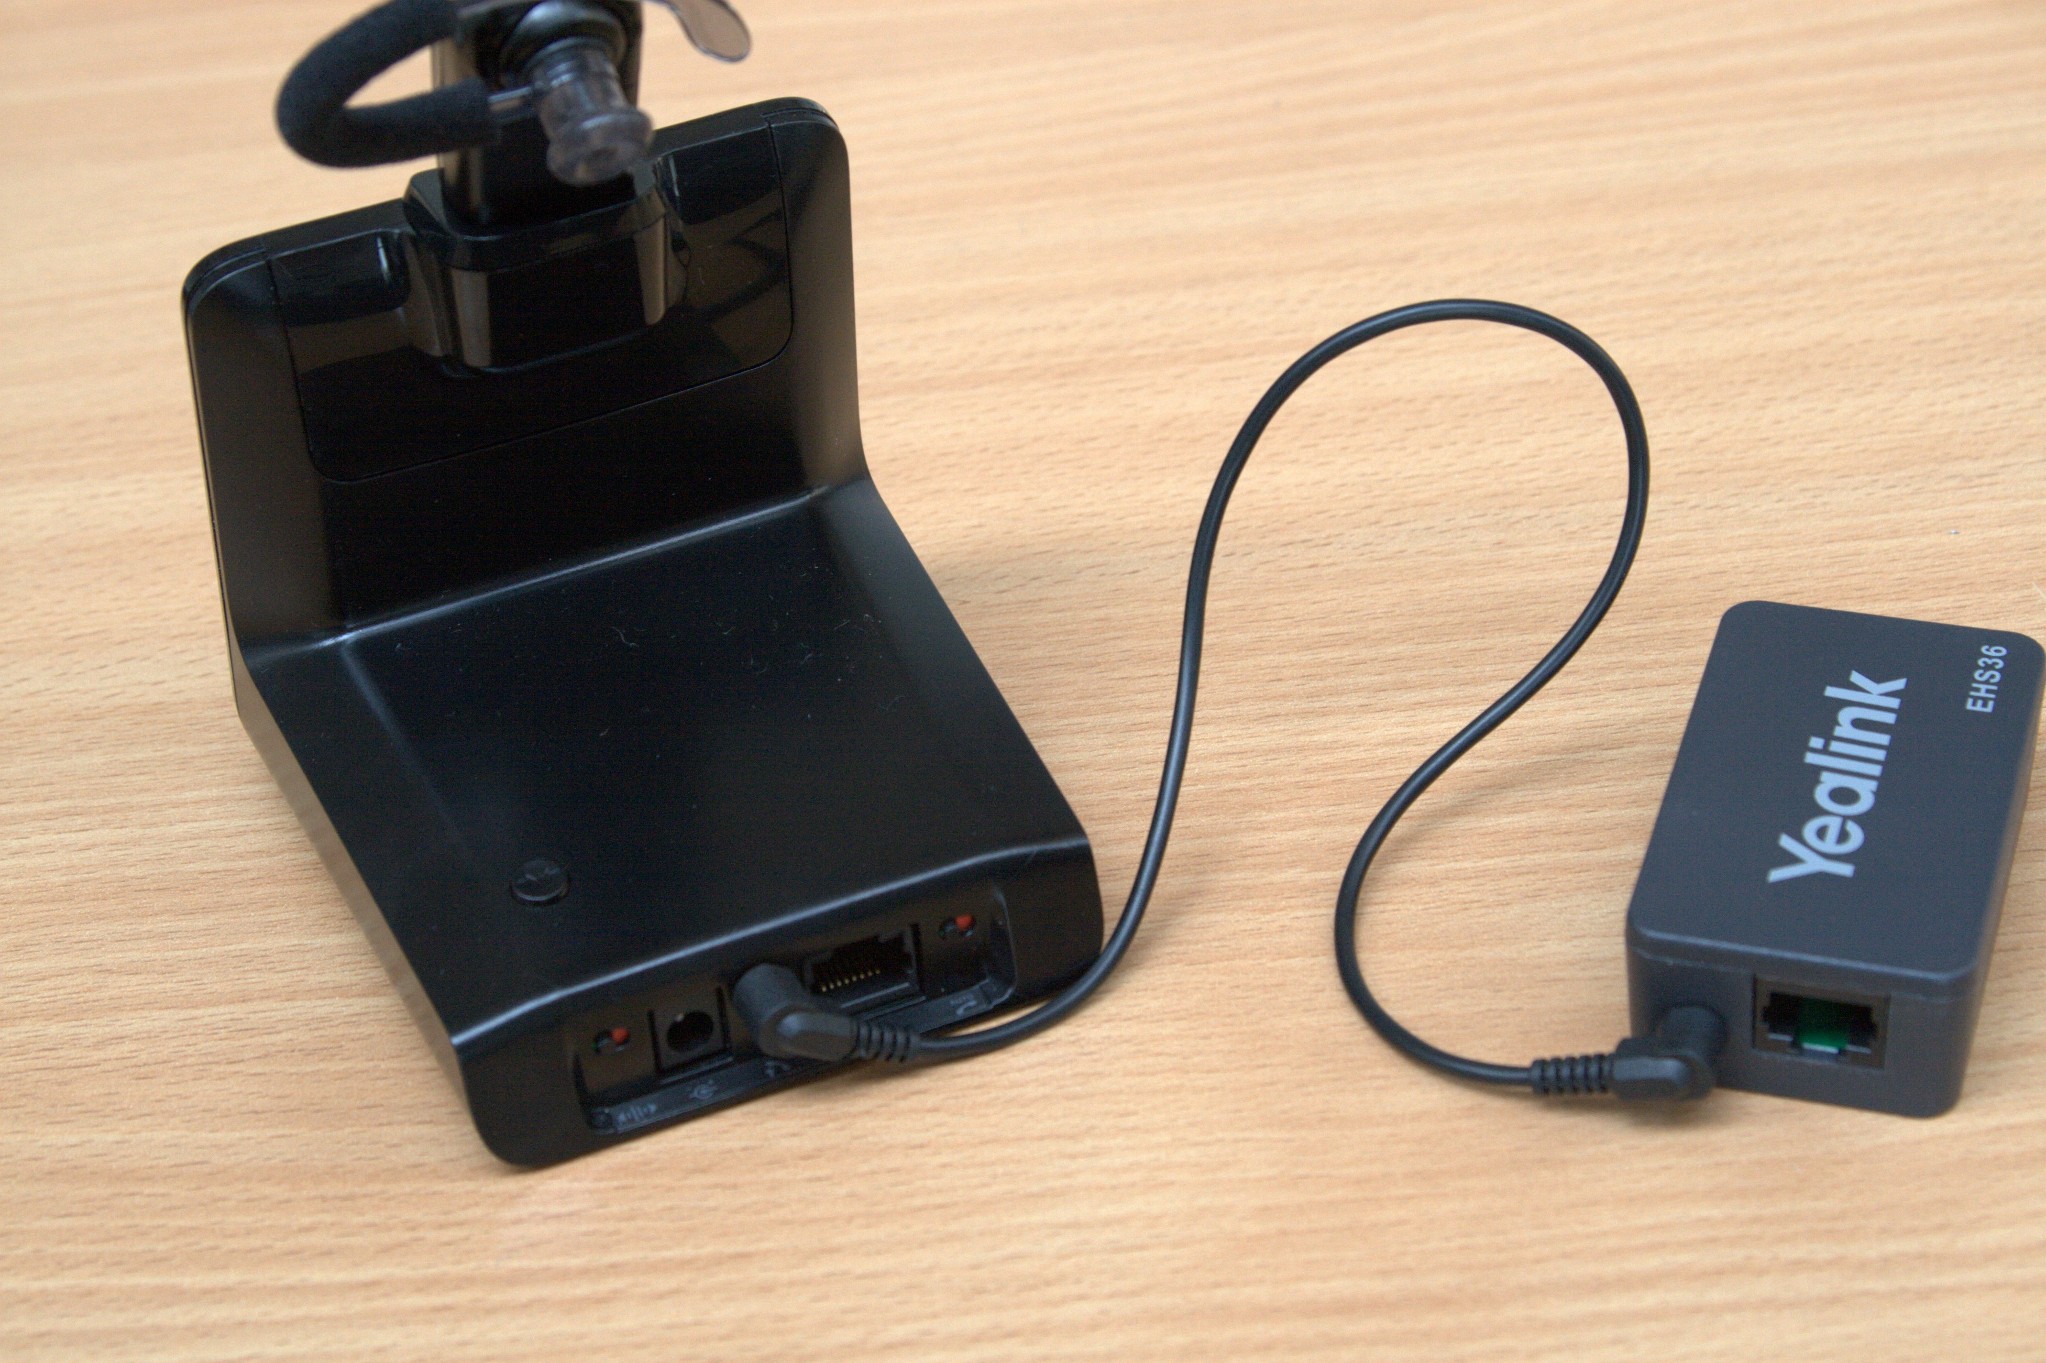
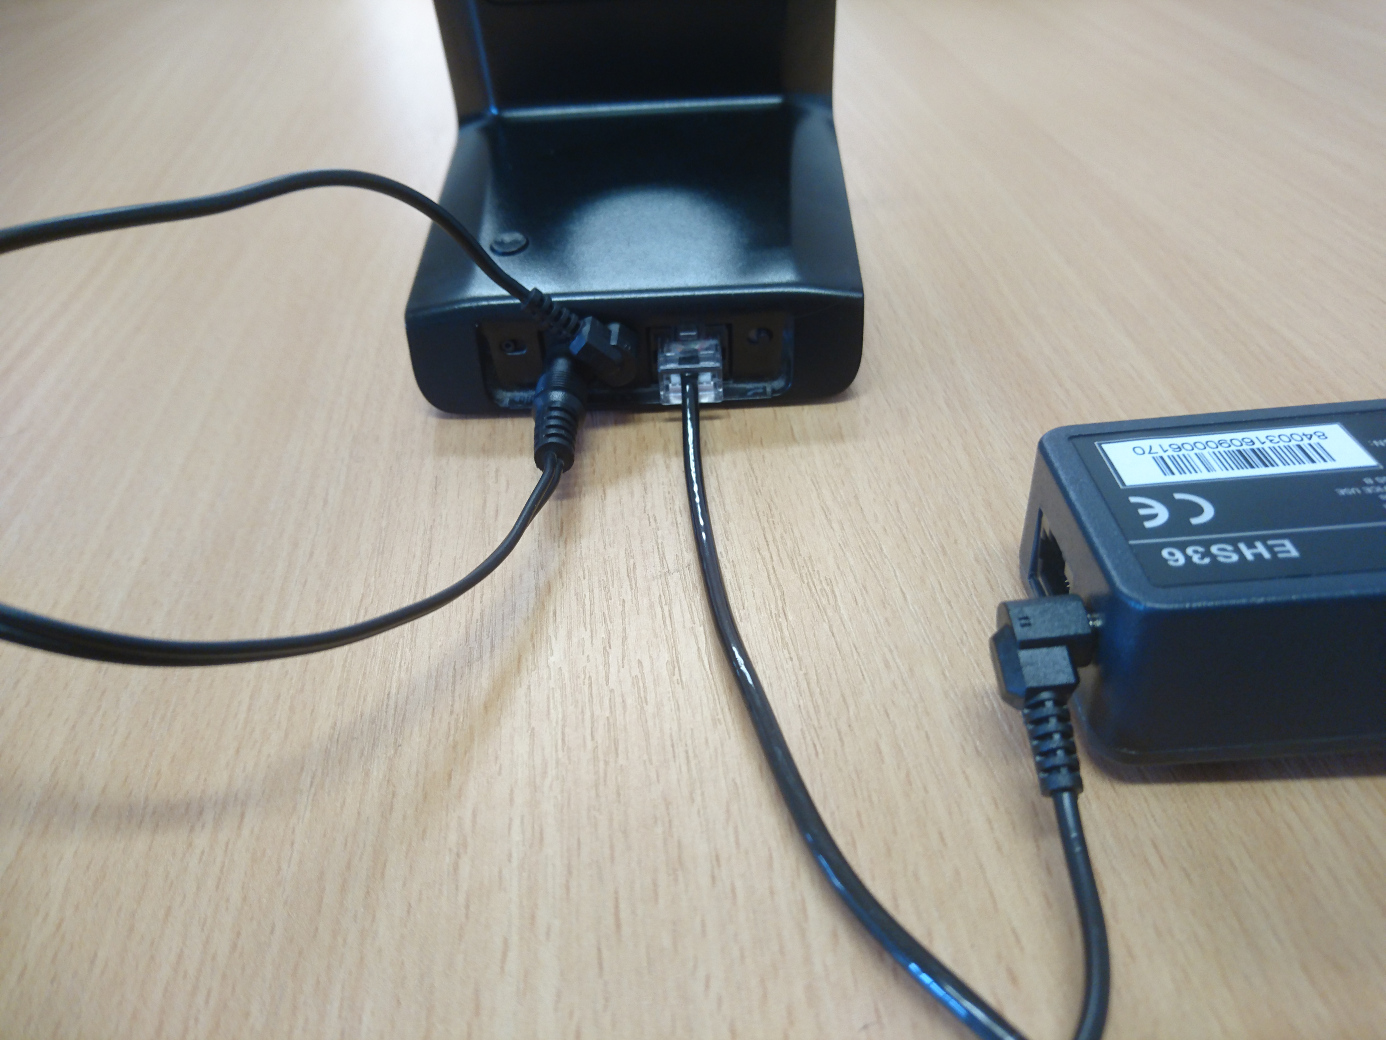
- Connect the RJ12 Cord (5) to the Yealink EHS36 Adapter(4).
2. Connect the 3.5mm DC Jack(1) to the Yealink EHS36 Adapter(4). Note that you only need the DC Jack in this end, you do not need to fill this socket.
3. Connect the Plantronics Base(6) to the power supply(7).
4. Connect the Plantronics phone cord(2) to the Plantronics Base(6).
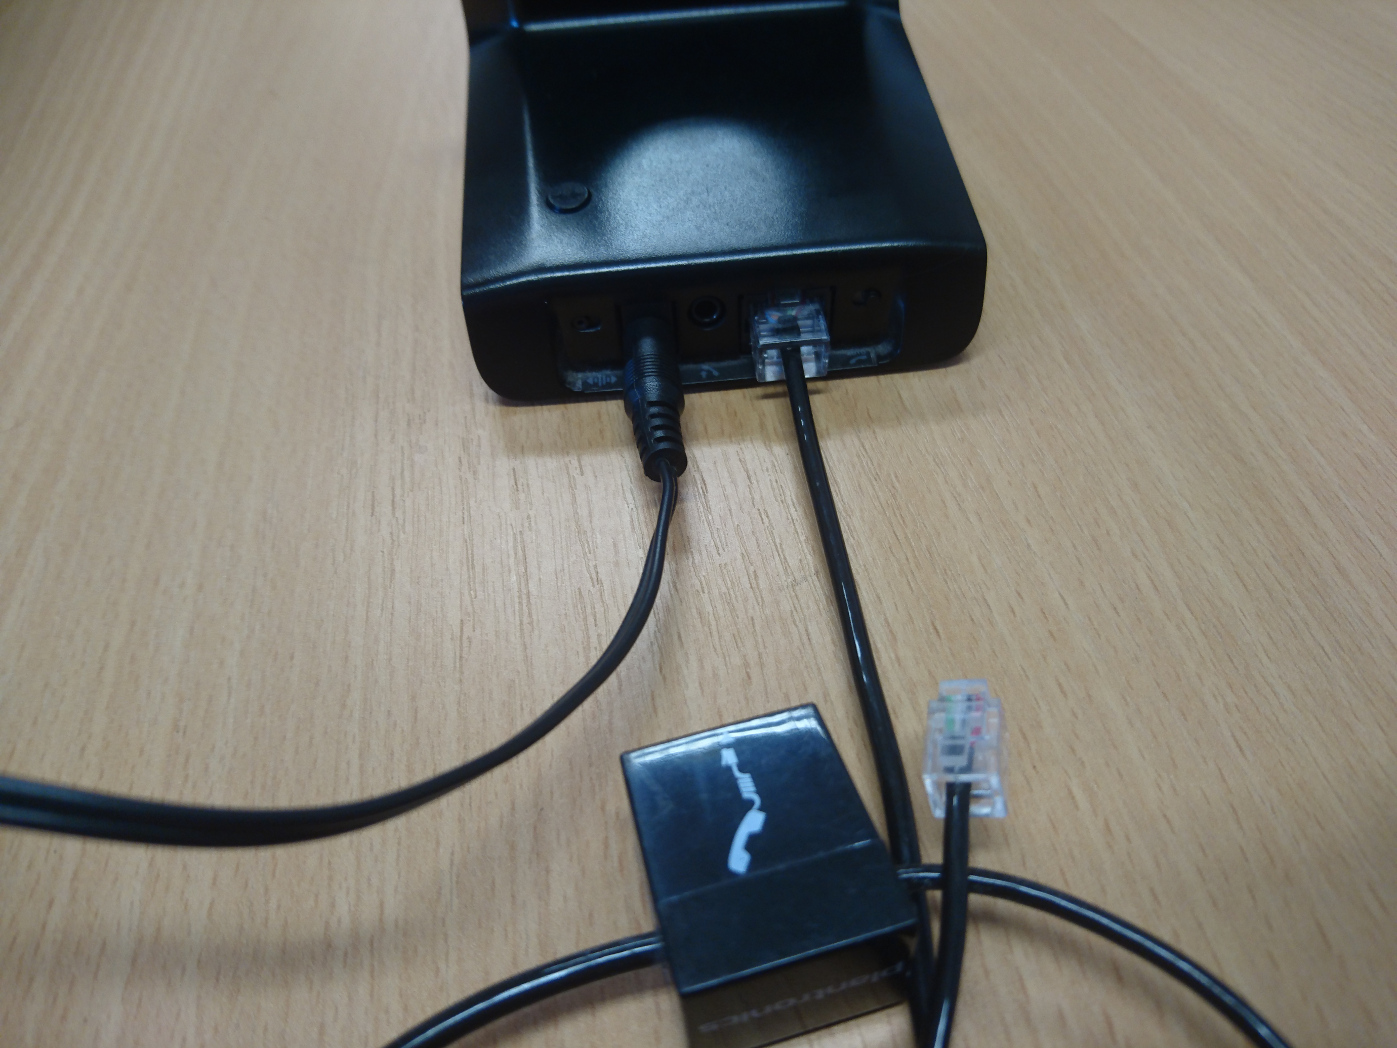
5. Connect the 3.5mm DC Jack(1) to the Plantronics Base(6).
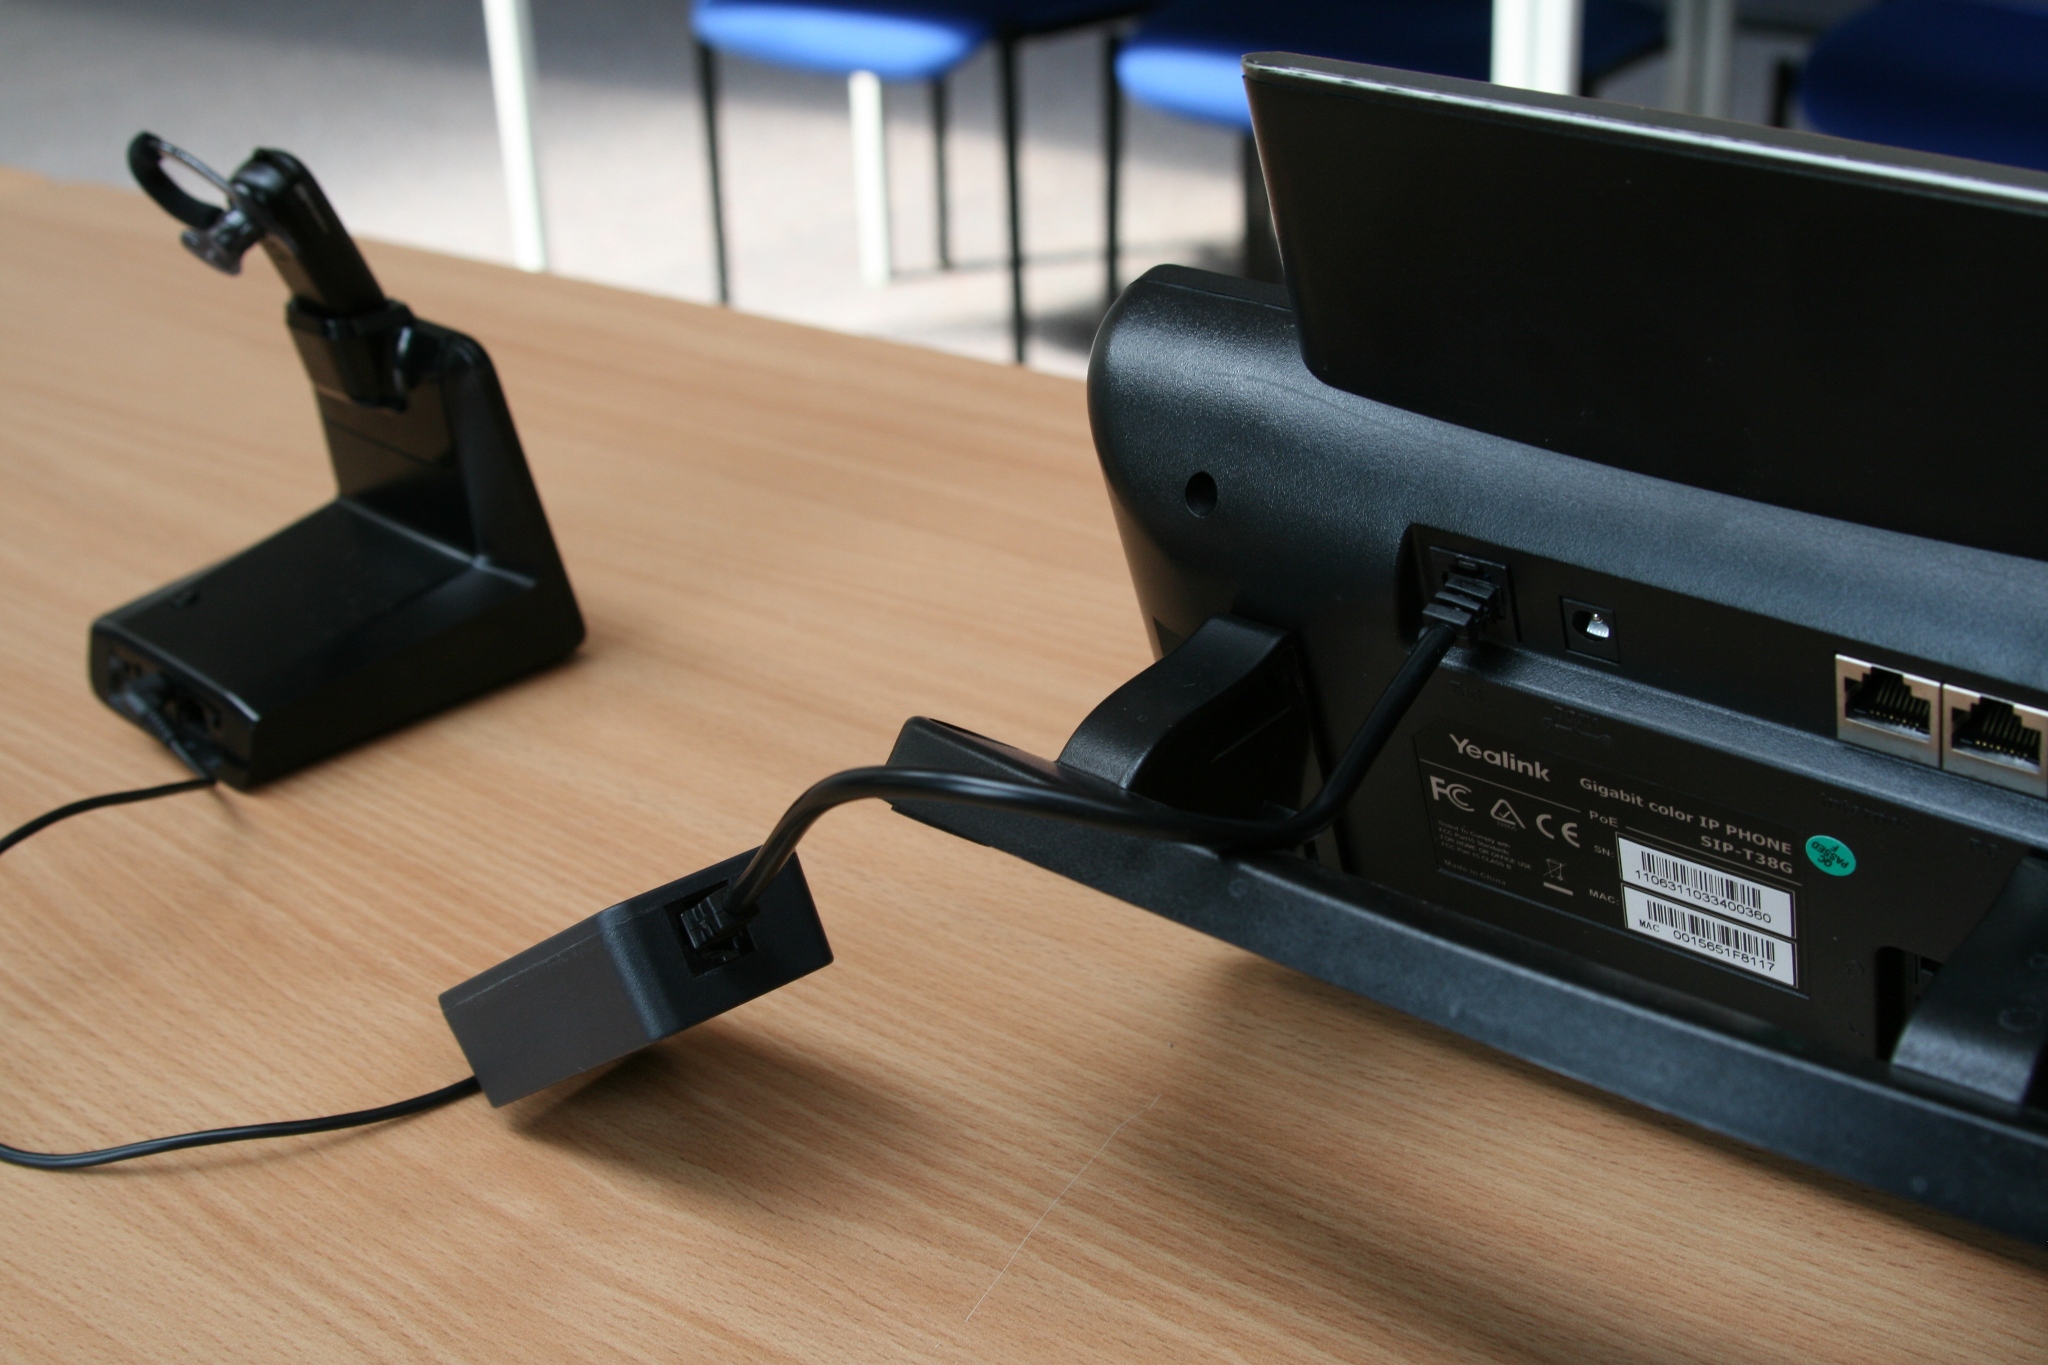
6. Connect the RJ12(5) to the EXT port on the back of the Yealink T46G. Then connect the Plantronics phone cord(2) to the headset port on the back of the phone; making sure you don’t put it in the handset port by mistake.

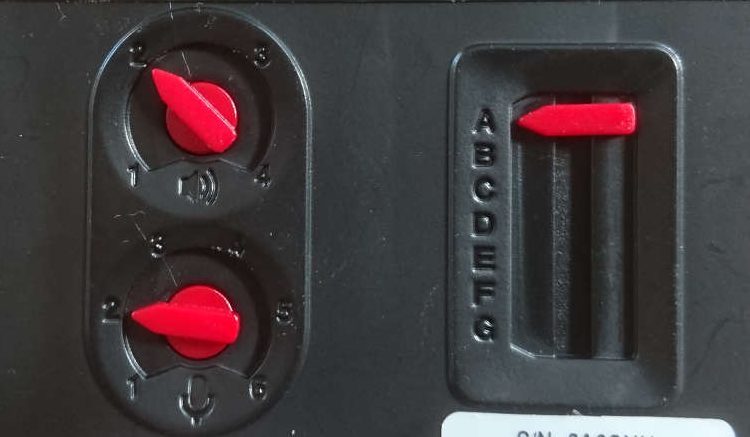
You shouldn’t need to change any of the settings in the phone as the Yealink EHS36 should work out of the box. However, you will want to check that on the bottom of the Plantronics base that the Dial’s are set correctly. This should be the correct setting for the dials :