Sangoma’s PBXact UC systems enable you to remotely manage deployed phones from your computer, but did you know there’s also a range of Apps available, designed to enhance the capabilities of Sangoma IP phones? We’ve put the following step-by-step guide together to enable you to discover how you can start utilising the great features available.
Please note that this guide shows you how to enable Phone Apps, it doesn’t show the process of creating an extension. If you would like to find out how to create an extension, please see our earlier blog post on how to create an extension using PBXact
Step 1:
You will need to start by web browsing to the IP address of your Sangoma PBXact UC system. If you don’t already know the IP address of the PBXact UC system, you may need to log into your router to view a list of active network devices.
Step 2:
Once you have browsed to the IP address of your PBXact UC system, you should see the following options:
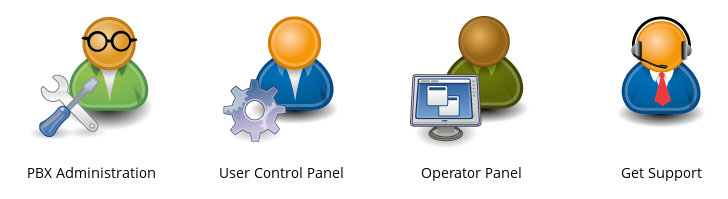
You will need to go ahead and select the ‘PBX Admini
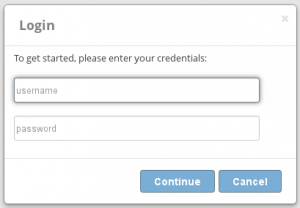
stration’ option. You should then be prompted to enter a username and password in order to login to the main interface of the system.
If you don’t know the username and password, you may need to consult an administrator or relevant person to help you with this.
Step 3:
Providing you have entered the correct username and password, you should now see the homepage showing the ‘System Overview’, ‘PBXact Statistics’, ‘Uptime’ and option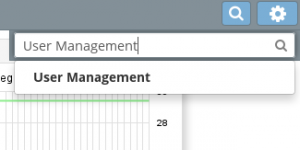 s at the top of the page.
You can either hover over ‘Modules’ located at the top of the screen in ‘Advanced Mode’ and select ‘User Management’, or use the magnifying glass on the right hand side and search for ‘User Management’ and select the option when it appears below the search field.
Step 4:
You should now see the ‘User Manager’ scr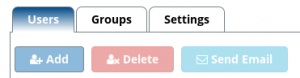 een which may list users below if you already have users registered on the system.
Your screen should look like the screenshot to the right.
Step 5:
Please note that this step will involve creating a new user. You will need to click on the ‘Add’ button as shown in the screenshot above.
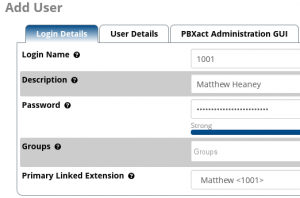
This should then take you to the screenshot shown above. You will then need to enter a ‘Login Name’, ‘Password’ and if you are linking this to an extension that already exists on the system, you will need to select the ‘Primary Linked Extension’ which should display a drop down list of extensions. Please note that extensions already assigned to other users will not be displayed in the drop down list.
Step 6:
Using the navigation bar under ‘Add User’, you will need to navigate to the ‘Phone Apps’ section, as can be seen below.
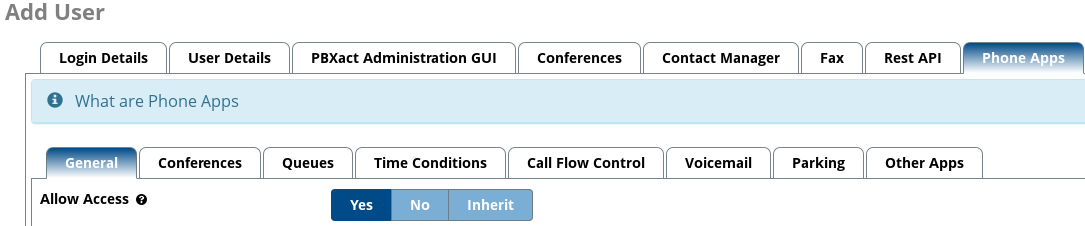
When you navigate to ‘Phone Apps’, you should see the ‘General’ section underneath and a section called ‘Allow Access’. You will need to change this option to ‘Yes’. This allows access to the Phone Apps for the user you are editing.
Step 7:
Depending on which Phone Apps you would like to set up for the user, you will need to navigate across the different tabs and enable the applications that you would like to assign to that particular user.
If you want to enable access to call queues, you will need to navigate to ‘Queues’ and change ‘Enable Queue Access’ to ‘Yes’. If you would also like to setup queue agent access, you will need to change ‘Enable Queue Agent Access’ to ‘Yes’. You will then also need to select the queues from a list under ‘Allowed Queues’. Please see the following screenshot below that shows this:
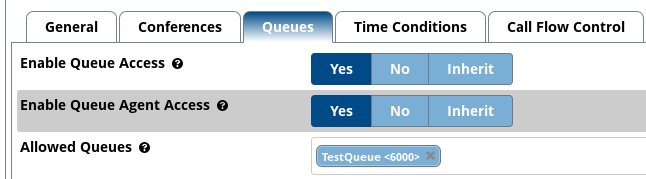
As you can see from the screenshot above, there is ‘TestQueue <6000>’ is shown in the list under ‘Allowed Queues’. Please note that you must have created a queue before hand in order for it to be shown in the list.
Step 8:
You may want to enable the login and logout feature for that user so that they can log out of the Sangoma IP phone once they have finished using it. In order to do this, you will need to navigate to ‘Other Apps’ and change ‘Enabled Login/Logout Access’ to ‘Yes’. Please see below a screenshot that shows this:
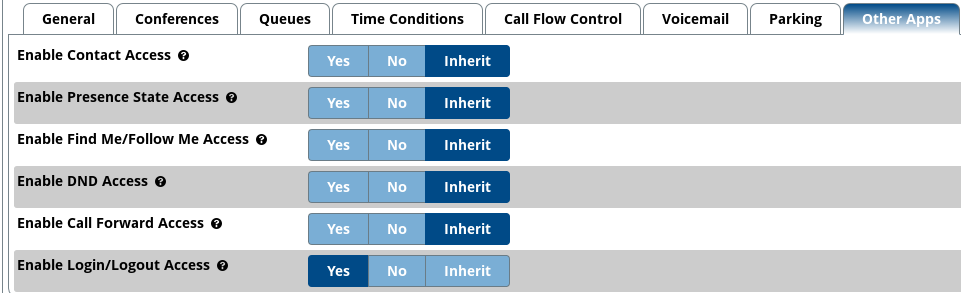
You may also want to allow Do Not Disturb (DND) depending if this is required or not. You can simply change the options that you would like to enable to ‘Yes’. Please note that additional configuration may be required when enabling certain Phone Apps.
Step 9:
Once you have finished configuring the user with Phone Apps, you can go ahead and submit your changes by pressing the ‘Submit’ button located near the bottom right hand side of the page.
You should then be taken back to the ‘User Manager’ section which shows you a list of users. You will then need to click ‘Apply Config’ which should be displayed near the top right hand side of the page. This writes the changes made to the ![]() PBXact UC system.
PBXact UC system.
That’s the end of the configuration process.
Providing you have a valid extension and user set up, you should now be able to see the Phone Apps on the phone once provisioned/configured correctly.