With the added measures many organisations are taking in order to enable their employees to work from home, one critical aspect seems to have been overlooked: how do employees maximise productivity and efficiency while working from home?
We’d like to take a look at a few simple steps we can all take to make working from home more successful. Here are our top 8 tips:
1. Set up a comfortable work station
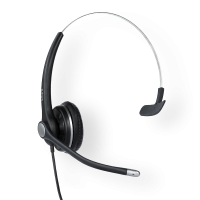
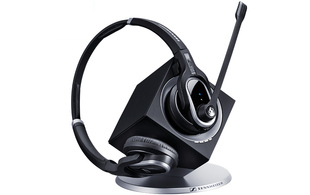
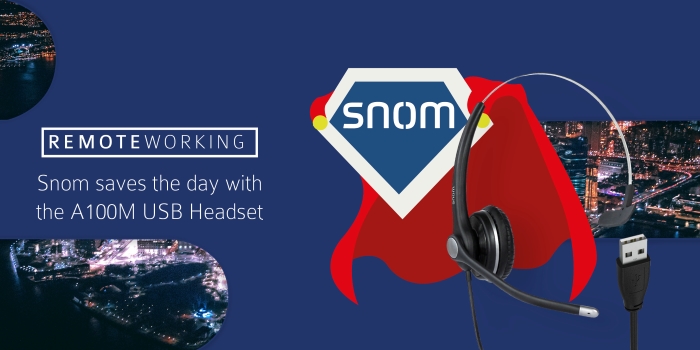
Working from home involves more than setting up a desk and a computer. Take the time to think critically about what you, in particular, need at your work station (it varies person to person) to maximise your daily productivity. Maybe it’s a specific headset like the Snom A100m, an external mouse, a favourite, comfy chair. Whatever it might be, keep the things you use most often close to you, to avoid unnecessary interruptions to your workflow.
2. Take frequent breaks
Vast amounts of research shows that being sedentary for too long is bad for your health. Whether it’s alternating between sitting and standing, taking a break to load the dishwasher or do a few pushups, prioritise physical activity throughout your work day.

Going for a walk in nature can revitalise your senses, clear your mind and allow you to return to work feeling refreshed. It’s better for you in the long run and can help break up the monotony of sitting at your desk.
3. Set office hours and avoid distractions
Depending on where you and the rest of your team are located, chances are you might be dealing with different timezone. For this reason, it’s a good idea to set your office hours and let people know when they can expect you to be available and when they can’t.
Furthermore, it’s a good idea to make necessary calls during regular business hours, when the majority of your team is available, saving administrative tasks for later in the day.
Avoiding unnecessary distractions is also key to being productive while working from home. Although it might seem counter intuitive, multi-tasking isn’t as efficient as most people think. Ultimately, it’s better to focus on one task at a time to accomplish your goals.
4. Invest in a superior Unified Communications (UC) solution
CounterPath’s Bria Enterprise softphone solutions streamlines work communications and lets users easily connect, communicate, and collaborate. Bria includes features such as HD voice and video calling support calling, when integrated with a business’ call server (PBX) or VoIP service.
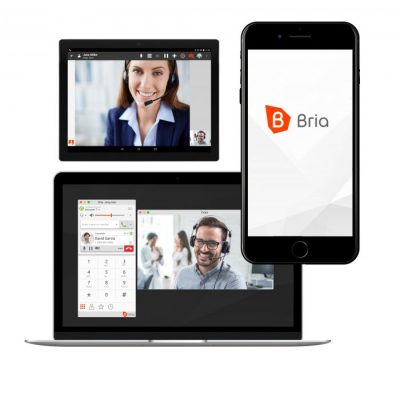
A Bria Enterprise solution enables your teams to take their business number with them, regardless of where they are and which device they are using, and also provides additional tools to easily share a presentation on their screen, and meet face to face on video calls.
5. Check in with direct reports or managers regularly
Just because you aren’t in the same office doesn’t mean you can’t be present with one another. Maintaining a good corporate culture is all about checking in often. This is a great way to show support and encourage accountability. This can be done through email, team messaging, and voice and video conferencing.
Video conferencing, in particular, is an effective and easy way to add a personal touch to your daily communications. Since the majority of human communication involves nonverbal cues, video can help avoid potential miscommunications.

Just because you aren’t in the same office doesn’t mean you can’t be present with one another. Developing a good corporate culture is all about checking in often. This is a great way to show support and encourage accountability. This can be done through email, messaging, and voice and video conferencing. Video conferencing, in particular, is an effective and easy way to add a personal touch to your daily communications. Since the majority of human communication involves nonverbal cues, video can help avoid potential miscommunications.
In order to help businesses seeking video conferencing and teleworking solutions during the COVID-19 outbreak, Bria Enterprise can support video conferencing and virtual meeting room services in its Business Bundle package.
6. Add a second monitor to your workstation
Adding a second screen is particularly useful when collaborating on a document and simultaneously hosting a video conference or screen sharing session. Two screens allows you to look at multiple documents or windows without constantly going back and forth between them, saving both time and energy.
7. Prioritise deliverables
When teams can’t physically be in the same space, a shift in perspective must occur in order to measure success. Focusing on goals, deliverable and quality of work output must become paramount when assessing remote workers’ performance. Staying productive is while working remotely is crucial to maintaining business continuity, especially during uncertain times. Making sure your employees know exactly what their daily deliverables are and holding them accountable will ensure remote working success for all involved.
8. Sit near a window with a nice view
Working near a window that overlooks a view is another pro tip. When you’re taking breaks from staring at your screen, it’s ideal if you have something visually appealing to look at instead of a blank wall.

Apart from offering a view of something else, sitting near a window has added benefits because it invites more light into your work space. A well-lit room is crucial if you’re working from home and frequently hosting video conferences. Studies have shown that not getting enough sunlight exposure can decrease your serotonin levels, leading to a higher risk of developing major depression. So when you’re setting up your work area, find a place that is close to a window that lets in plenty of natural light.
These are undoubtedly unprecedented times for us all, but we are here to support you and with many items available for next day delivery, you and your customers can be up and running in no time.
Get in touch today!
