If you have contacted Support regarding a technical issue that you are having with your 2N door intercom then we may have asked you to capture a trace replicating the fault.
This guide will show you how to capture a PCAP trace from a 2N Door Intercom.
Step 1:
Web browse to the IP address of the intercom. If you don’t have a DHCP table or network scanner to find the IP address reboot the intercom and wait for the second beep tone, after this press the main button 5 times. The intercom should then read the IP address out to you.
More information on this can be found on 2N’s Wiki.
Step 2:
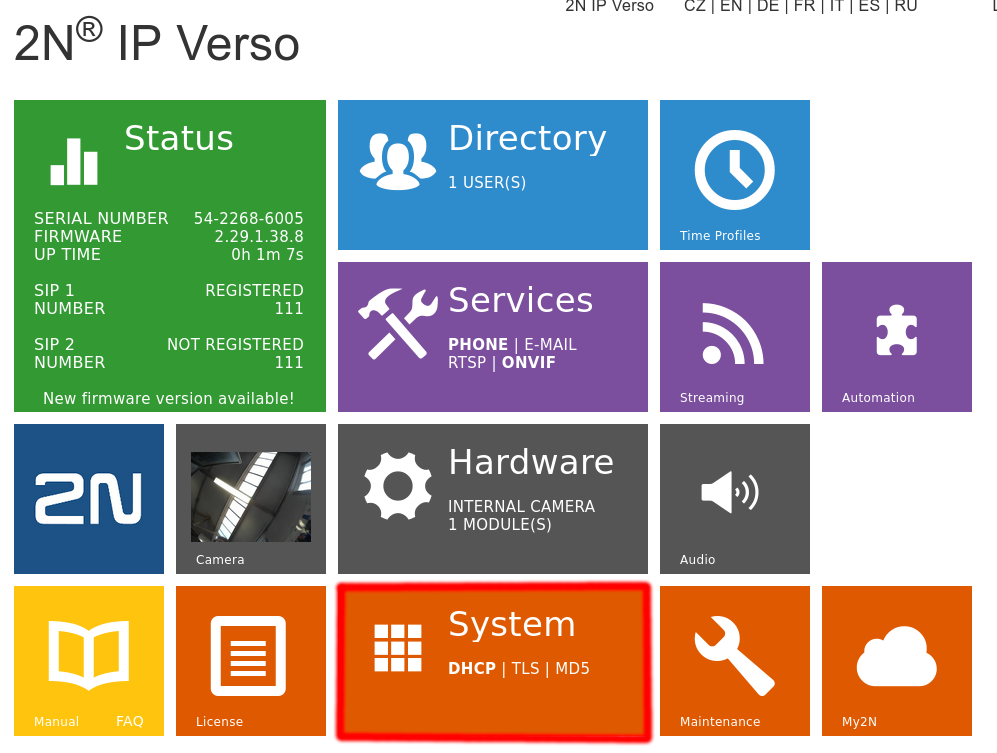
Once you have logged into the web interface go to System highlighted below:
Step 3:
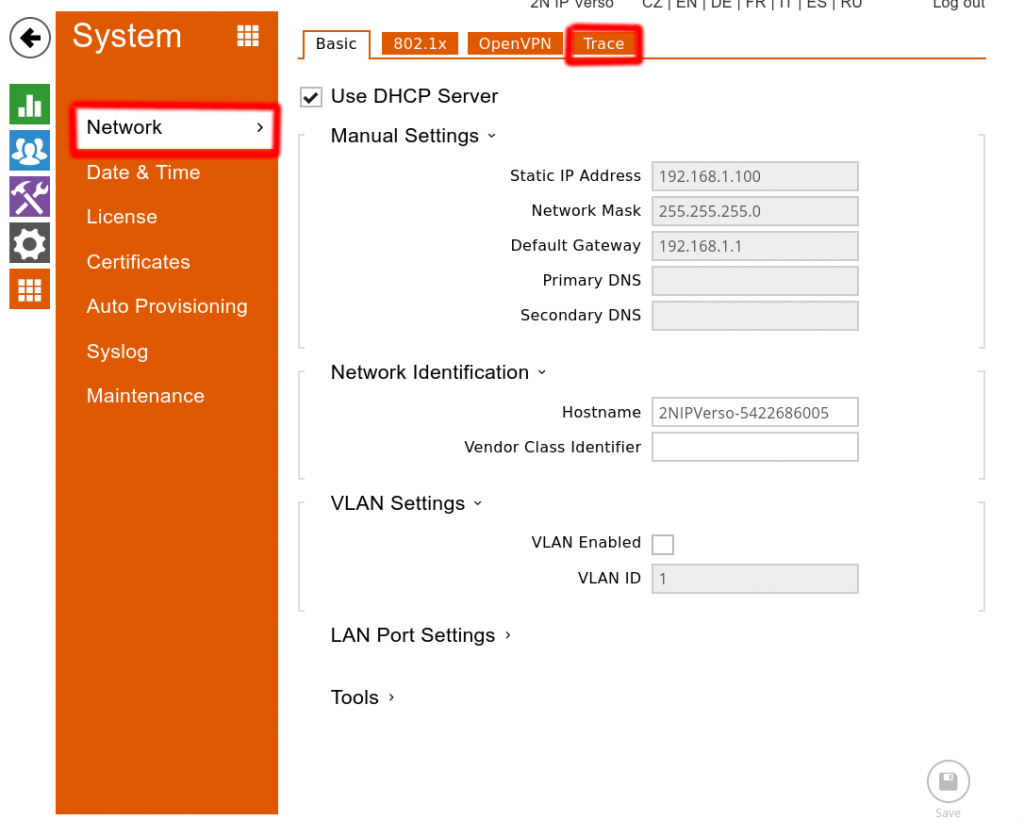
Go to Network > Trace as highlighted below:
Step 4:
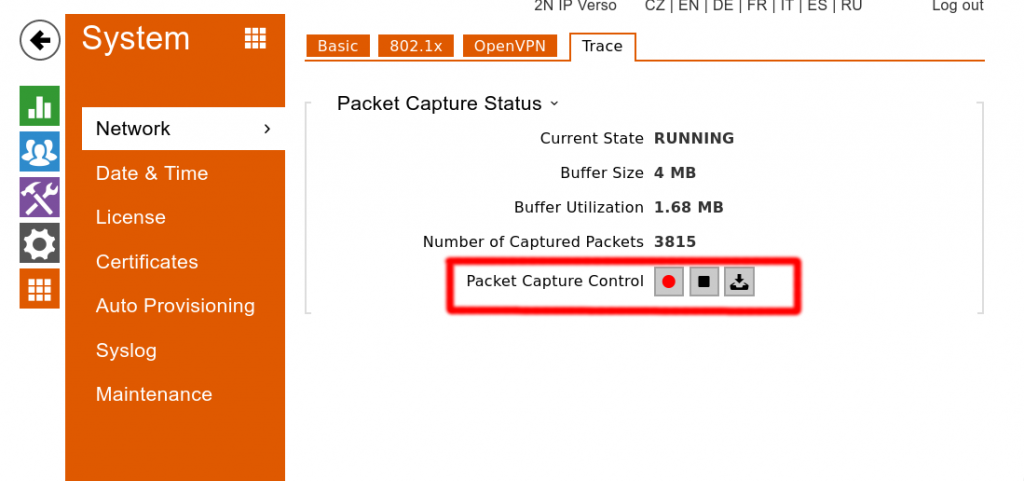
Once you are on the Trace page, press the red record button to start the trace > This is now the time to replicate the fault the customer is experiencing.
Step 5:
Once the fault has been replicated press the Stop button > then press Export > Finally send this to support@provu.co.uk
If you have any problems with this please contact support on 01484840048 option 2 or email support@provu.co.uk.