With the huge amount of interest we are seeing in our IP Door Entry systems we are pleased to bring you this dedicated product update with news on:
- New models,
- A low cost bundled solution,
- Plus how to get your PBX or hosted service fully tested and approved for working with our IP Door entry systems.
New Slim IP Door Entry system with Integrated RFID reader
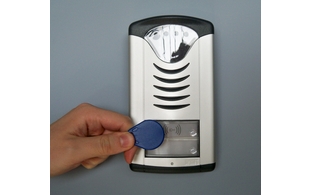
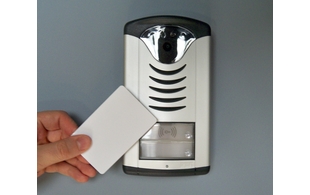
This new Slim IP Door entry model features an in-built RFID reader that enables authorised personnel to gain access to a building or office by simply presenting an RFID tag or card up to the unit.
It is a really neat all in one system that eliminates the need for every one to have to speak with some one on the inside in order to gain access to the building.
Of course normal visitors will simply press the single button below the RFID reader and speak with a receptionist or other person within the building. They can then allow visitors access in the normal way by tapping the default release code into their IP phone.
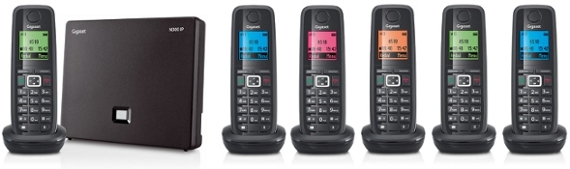
Use the snom one mini PBX for a low cost IP door Entry bundled solution
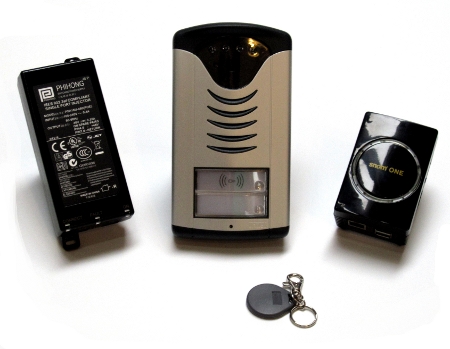
By combining the new snom one mini PBX with our range of IP Door Entry systems we are now able to offer a extremely competitive low cost bundled solution.
The snom SoHo PBX has a trade price of just £155 and is supplied complete with the snom ONE PBX software with up to 10 extensions.
This bundle is ideal for those installations where a small phone system is required purely to route calls from the door entry system to IP phones or PCs. However being a fully featured business class PBX it will also provide the flexibility to route calls to other locations and or iPads or smart phones.
The snom SoHo PBX is compatible with all our Slim IP Cityline and Skyline range of IP Door Entry systems
IP Door Entry Interop Testing
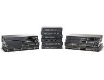
Over the last 12 months we have been running extensive Interop testing with many of the leading SIP PBX systems and Hosted Telephony platforms. You can view all the systems and service providers that we have currently approved below:
Phone systems

Hosted providers

If you would like us to list your hosted service or PBX system as approved for working with our IP Door Entry systems we will be happy to run the interop testing program for you. Or if you would like to evaluate a system and run your own interop tests we can make available some sample units on a unit on Sale or Return basis.
For more information on any of these products or to arrange for the interop testing with your PBX or Hosted service please call a member of the ProVu team on 01484 840048 or email contact@provu.co.uk
 By Trefor Davis, Chief Technology Offier at Timico on Monday, 31 October, 2011
 We will be attending the Convergence Summit South event 3rd – 4th October at the Sandown Park, Surrey. We hope you will come and see us, we will be working with Yealink, snom and Gigaset over the event. We look forward to seeing you there 🙂
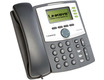
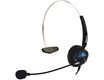 Buying a headset for your VoIP phone can sometimes be confusing, but after some testing we have put together an easy to understand guide as to what headsets are compatible with which handsets. The guide tells you what choices you have and exactly what cables/adaptors are required to get your headsets working.