It’s that time of year again when we don the ‘posh frocks’ and kick off the year’s Channel awards. One of the first industry awards in our calendar is the Comms Dealer Sales and Marketing Awards, for which we were shortlisted for five awards! Designed to celebrate the work and achievements of Sales and Marketing teams throughout the Channel, the awards are a great event to celebrate success throughout the industry.
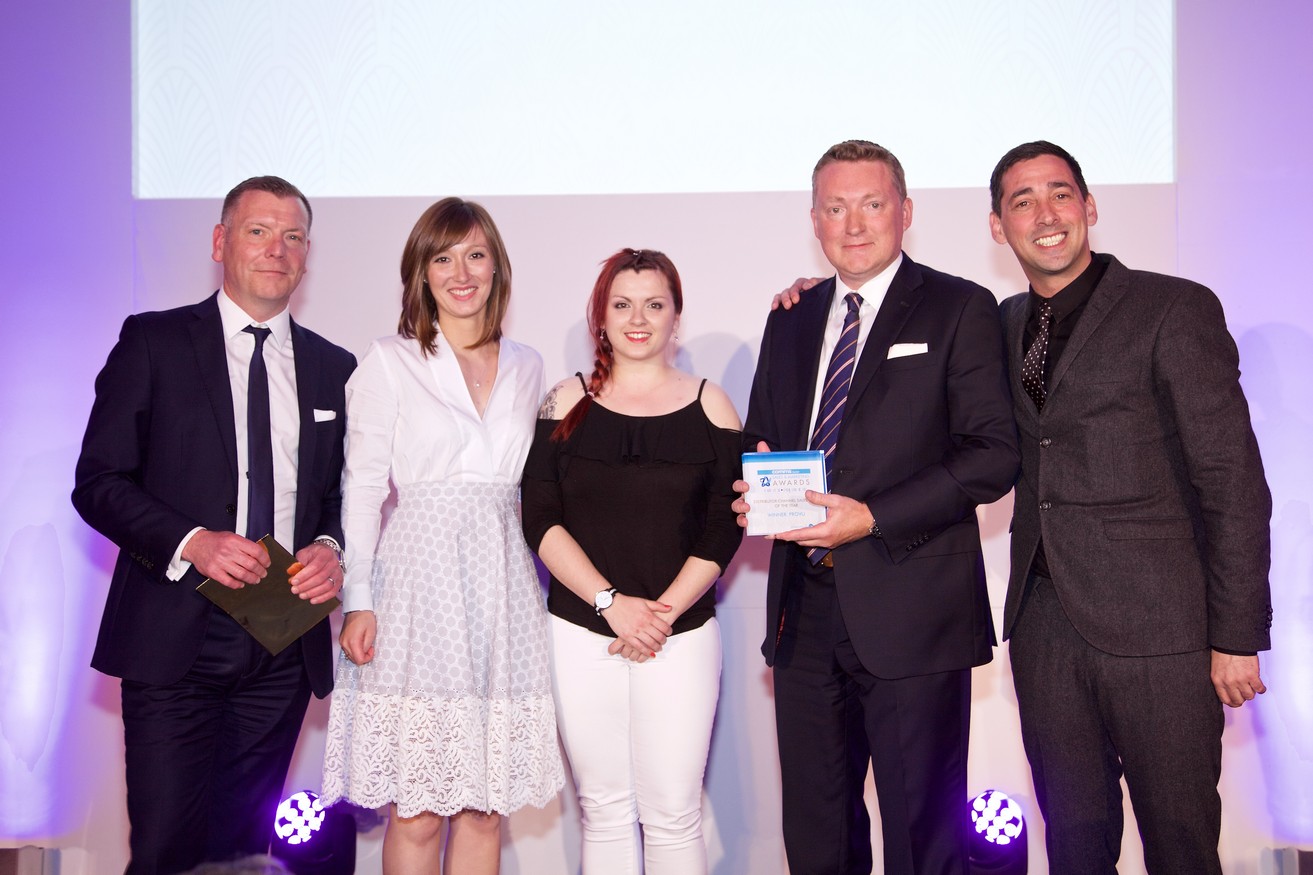
Taking place at the Park Lane Hotel on 4th May myself, our Managing Director, Darren and Sales Team Leader, Anna travelled down to London to attend the awards. Having been shortlisted for five awards, we were sceptical about how we may perform; all 5 awards had strong competition and following our success at last year’s awards, we didn’t think we’d do it again.
Much to our delight, we were named winners of the following awards:
- Distributor Channel Sales Team of the Year
- Distributor Channel Marketing Campaign of the Year
We were also thrilled to be highly commended for the Distributor Marketing Team of the Year award.
The last 12 months have seen some great achievements for the ProVu team, with yet another record-breaking year in the bag. We are continuously striving to bring more to the Channel and develop our services. But, for us, there are four core messages that we believe stood out to the judges.
- We have an incredibly dedicated, passionate team who carry out everything in-house; we do not outsource anything we do.
- We listen to and value our partners’ feedback, enabling us to tailor our services and develop our sales and marketing strategies in response to this.
- We hold strong relationships with all of our vendor partners, by working with them closely, we are able to offer them marketing support and run joint marketing campaigns for maximum ROI.
- We’re a great team and we know our stuff – did you know that over 50% of our team are trained technical engineers?
Compared to many of our fellow entrants, we are a very small team – to be named among them is a great achievement in itself!
We would like to congratulate all finalists and thank our Channel and vendor Partners for your continued support over the past year. But most of all, well done to each and every member of the ProVu team, without your hard work and determination this simply would not have been possible! Here’s to another great year!