In my Previous blog post, I explained how to connect a digital keypad with ProTalk door unit. That was entertaining was is`nt :). Now lets add a push button to the previous scenario to make things more exciting.
The blog post will go through the process of attaching all three components together. Each module comes with separate connection cables that can be found in packaging. You should have following cables with each module.
a. 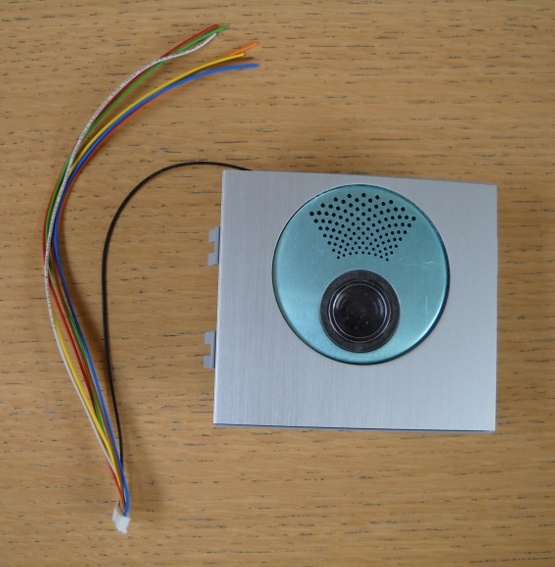 :
:
>> 1 x 8 pin connector (CC8)
b. 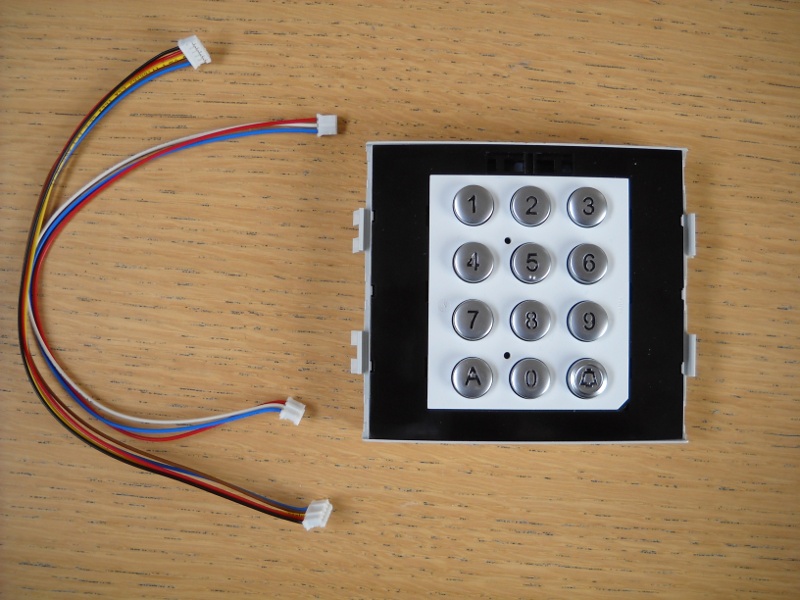 :
:
>> 1 x 5 pin connector (CC5)
>> 1 x 3 pin connector (CC3)
c. 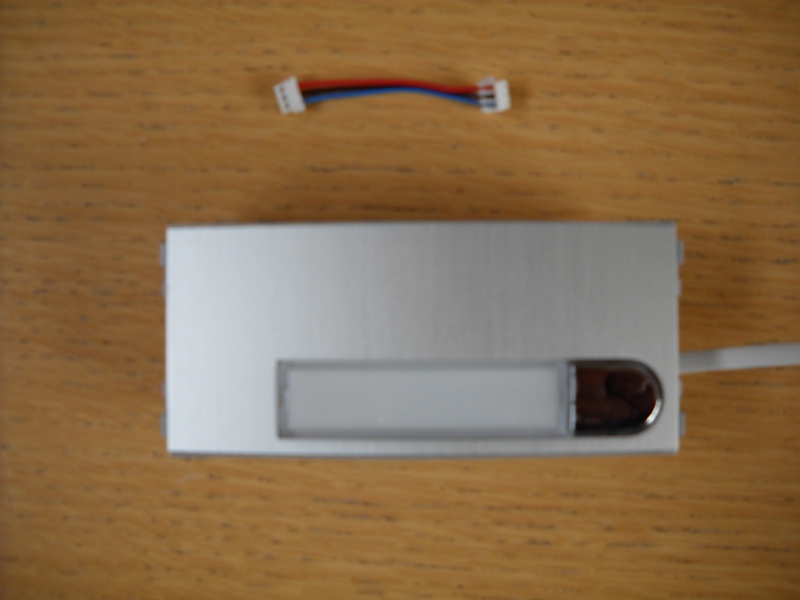 :
:
>> 1 x 3 pin connector (CC3)
Lets start connecting these components step by step.
1. Connect CC8 cable to 8 pin connector on Audio Video module.
2. Connect one end of CC5 to Output(CN2) and one end of CC3 cable to Input(CN1) connector on the keypad.
3. Connect CC3 cable to the Input(CN1) on the push button.
If everything is connected correctly, it should look something like 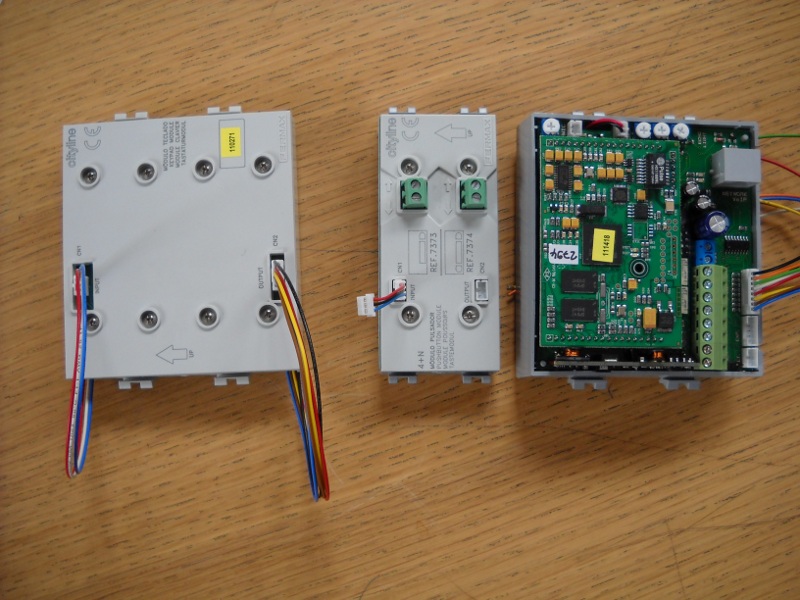
Now lets move forward to last few step.
4. Connect other end of CC3 cable connected to push button to LT(3 pin) connector on A/V module.
5. Connect second end of CC5 cable from keypad to EXP(5 pin) connector on the A/V module and CC3 cable to the Output(CN2) on the push button
6. Finally, last step is to connect the CC8 cable to the push button. One thing to keep in mind is, each cable from the 8 equate to “key 3-10” on the web interface. i.e.
black = 3rd pushbutton
orange = 4th pushbutton
green = 5th pushbutton
white = 6th pushbutton
red = 7th pushbutton
yellow = 8th pushbutton
brown = 9th pushbutton
blue = 10th pushbutton
Since our scenario just has one push button in place, I need only one out of 8 cables i.e. Black. So last step is to plug the stripped end of the black cable to the green screw terminal block on the push button.
Click picuture 1 or 2 to see final connections.
%> <%popup(20110603-DSCN0395.JPG)
NOTE: Microphone is part of front frame on Skyline units and not shown in pictures above. Please make sure to connect it to the sip module
Now log on to the web interface of the door unit and configure the unit to get things started.

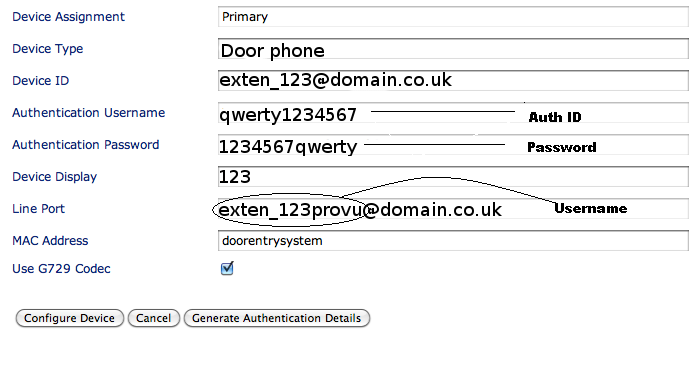 to see a snapshot showing require Broadsoft server user details.