If you have contacted our support team with a technical issue we may require to see a trace from the phone.
Please note: This guide is for TLS, if you are using UDP or TCP please refer to the following guide below:
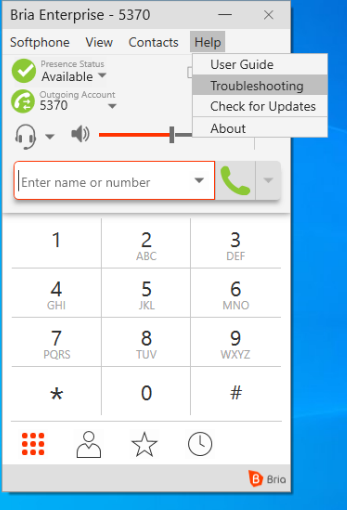
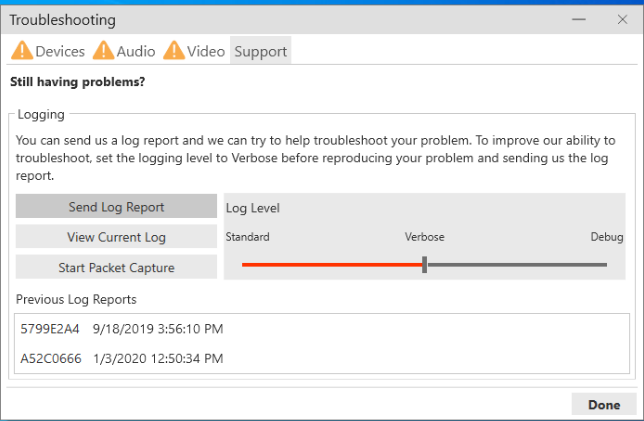
Here is how to obtain the logs from the phone.
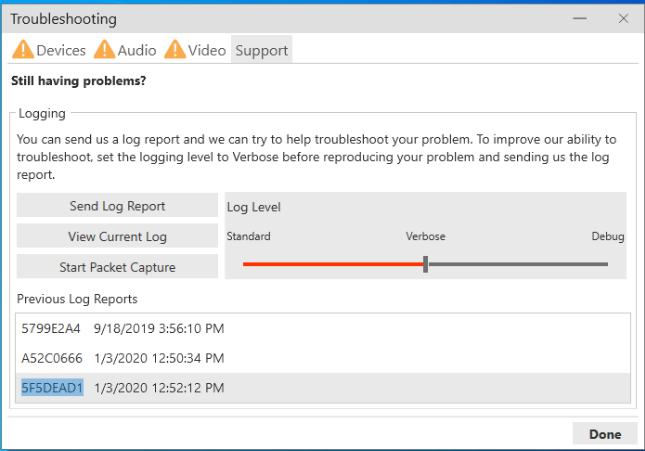
Step 1 – Web browse to the phones web interface.
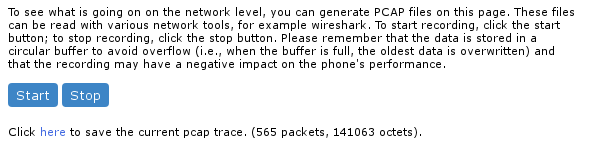
Step 2 – Once logged in navigate to SIP Trace down the left hand side (As shown below)
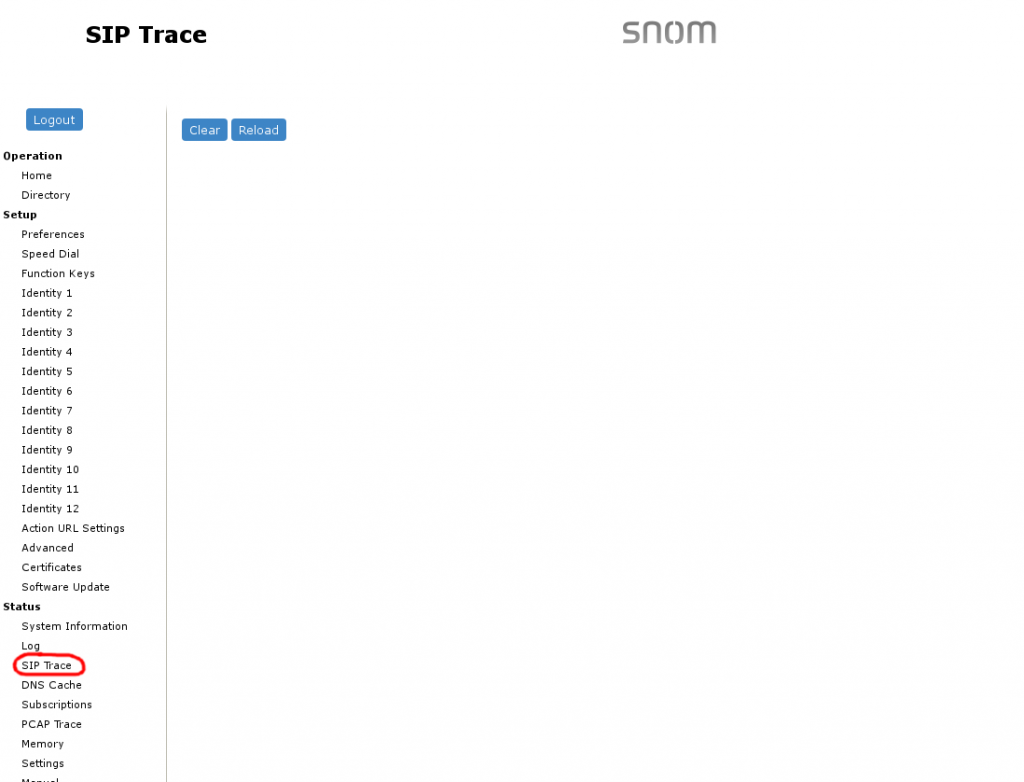
Step 3 – Click on Clear then replicate the fault you are having.
Step 4 – Once you have replicated the fault go back to this page (above) and click Reload.
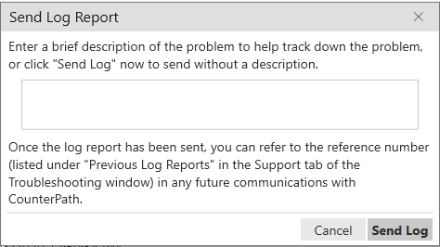
Step 5 – Please save this trace into a plain text editor and send it over to support@provu.co.uk for us to investigate your issue further.
If you have any problems obtaining a trace please contact support@provu.co.uk or call 01484840048 option 2 for support.