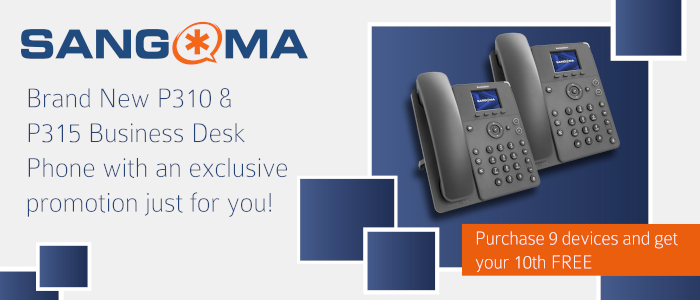
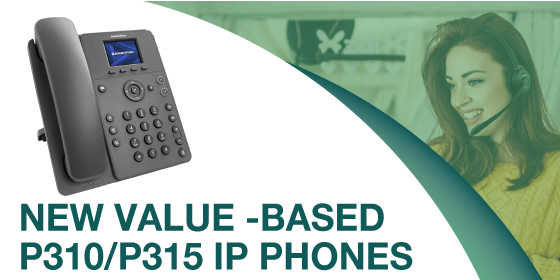
Brand new from Sangoma! The P310 & P315 Business Desk Phones offering you a low-cost, high performance desk phone solution. Providing all the essentials you would need of an entry-level desk phone with the added bonus of enterprise-grade audio. Giving you access to a richer audio experience at a fraction of the cost.
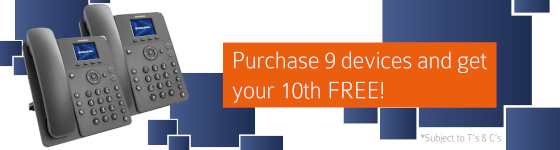
What’s more, ProVu have teamed with Sangoma to offer you an exciting new promotion for you to take advantage of. Purchase 9 of either the P310 & P315 and receive a 10th FREE*! What is even better is that there is no limit on this promotion, so make the most of it and take advantage of the savings.
If the last 12 months have taught us anything, it’s that FLEXIBILITY is key. Sangoma’s fully customisable PBXact puts a whole new spin on UC systems, but why do you need it?
Enable your customers’ workforce to operate wherever they may be with the functionalities they need. Customise systems to integrate with third party applications and to embody enhanced features such as call recording reports, extension routing and Conference Pro included as standard.
It’s not unusual for users to work across multiple devices. Create a continuous user experience with support for use on mobile, desktop and desk phone devices.
Discover Sangoma’s zero-touch auto-provisioning across the entire Sangoma IP desk phone range including the brand new P310/P315. Once set up, you can then remotely manage every aspect of PBXact from anywhere.
With hardware or software versions available, you can deploy PBXact however you want to.
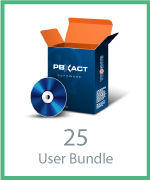
NEW LICENSE BUNDLES
Discover all the features of Sangoma PBXact without the additional cost of the hardware with our new software license bundles. With three easy ways to purchase simply select from either 25 or 50 licenses to build your solution. You can then purchase individual licenses to make up the total number you require.
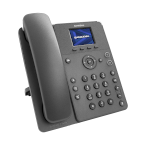
Experience the powerful PBXact UC system with their brand new P310 and P315 (Gigabit connectivity) IP desk phones. Now in stock and available for next day delivery, these entry-level devices provide a rich user experience at a price that fits any budget.
If desired on your Yealink Teams phone you can set a screen lock to prevent unauthorized people from making changes to your device, scheduled meetings or prevent them from making outbound calls. When the screen is locked you can still answer incoming calls.
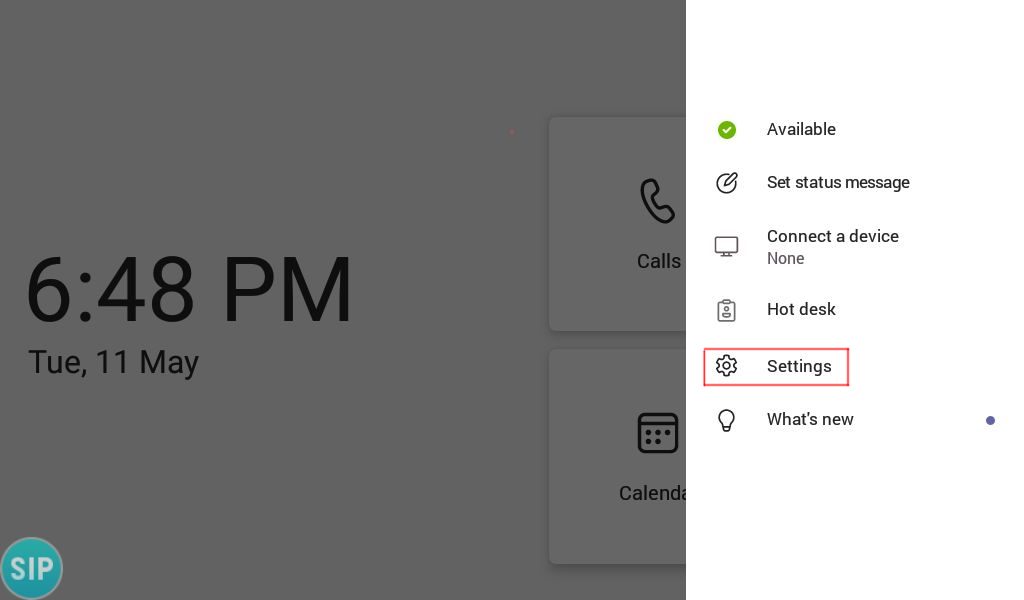
Step 1 – Press your account icon in the top right hand corner where it shows your account’s presence status
Step 2 – Select ‘Settings’
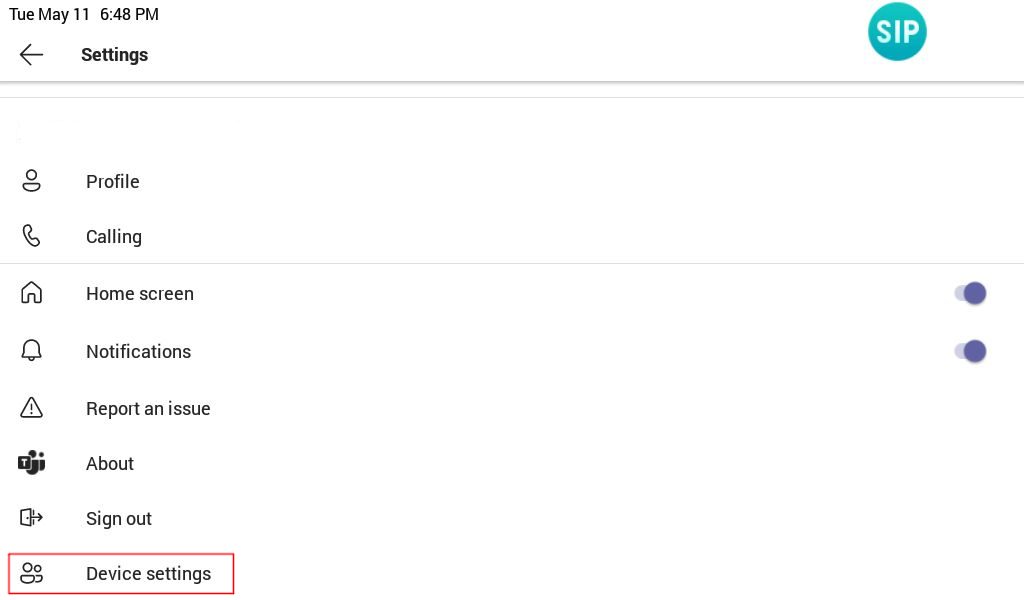
Step 3 – On the settings page scroll down and select ‘Device Settings’
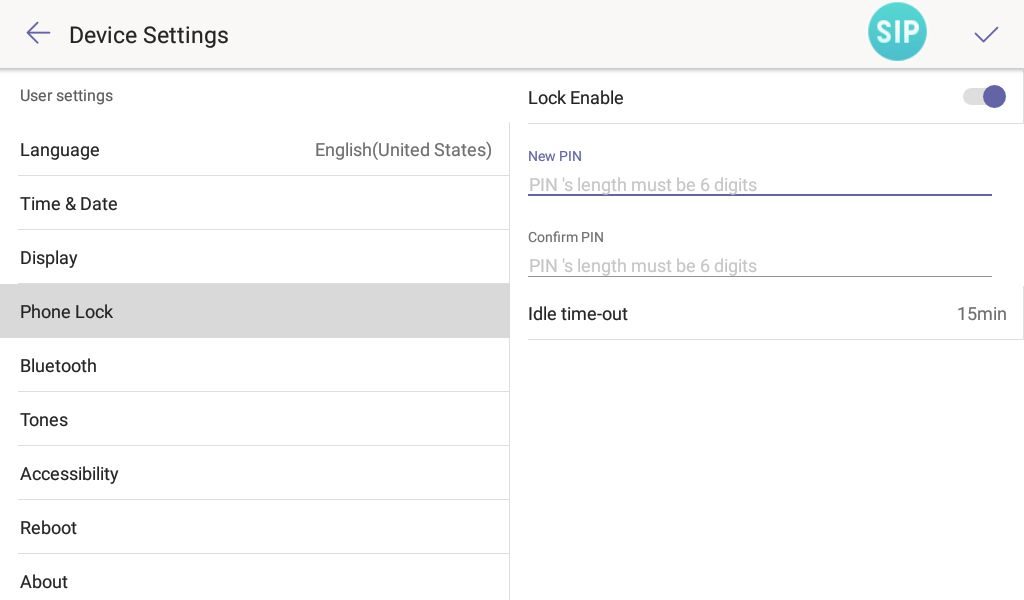
Step 4 – On the ‘device settings’ page find ‘Phone Lock’ and move ‘Lock Enable’ to the ‘ON’ position. Once you have done that enter a PIN with the minimum length of 6 digits, and then enter the digits again to confirm them. You may also wish to decrease the idle time-out to something less that 15 minutes as there’s no way to manually lock the device.
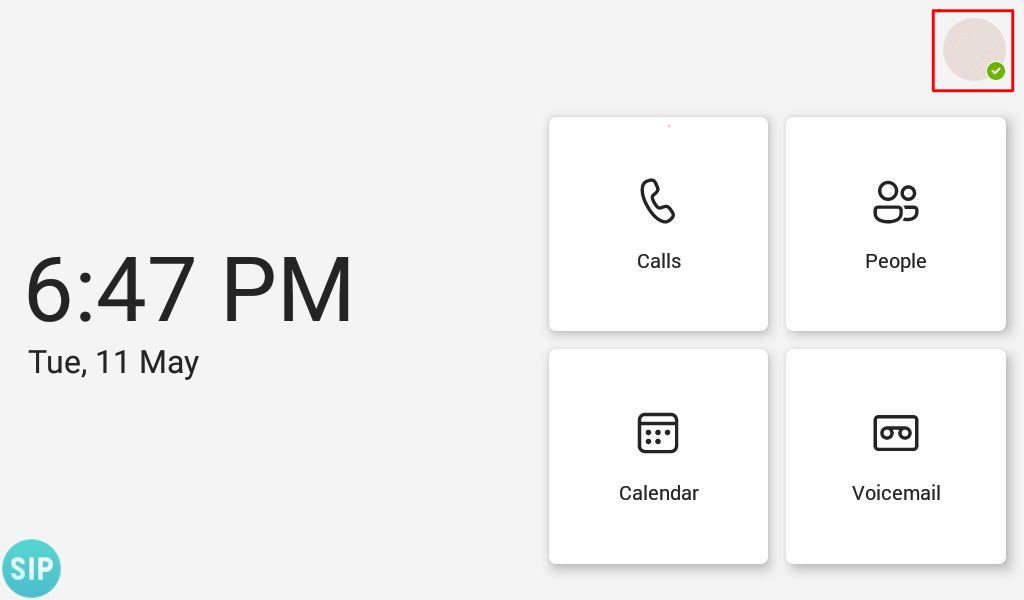
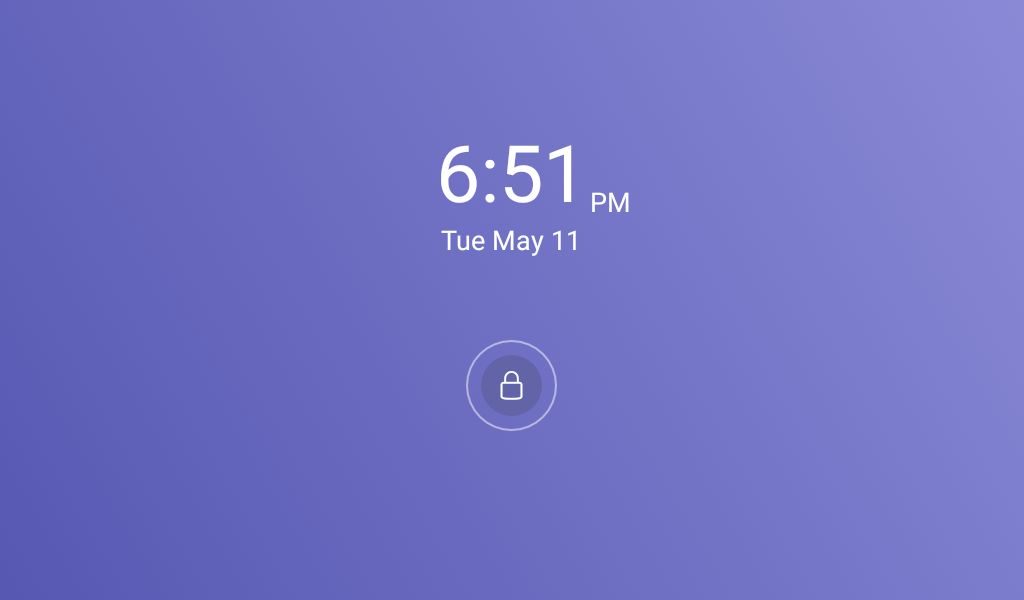
Step 5 – When your phone screen locks it should change to the one shown in the image below, press the padlock icon and enter your pin to unlock to the device.
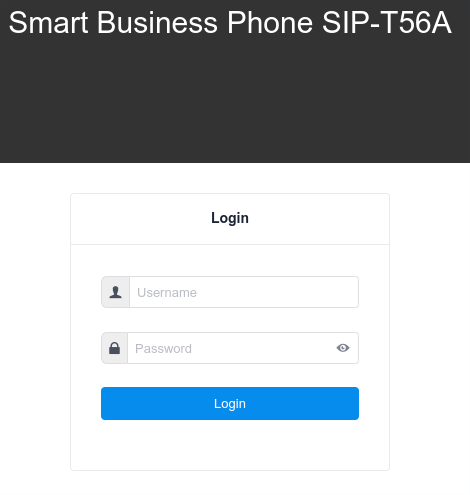
If you would like to disable screen lock, go to ‘Settings’ > ‘Device Settings’ and change ‘Phone Lock’ to disabled. If your device is forcibly being set with a screen lock you must speak to your system administrator about getting it disabled.
If you have purchased your Yealink Team’s devices from ProVu and you are having difficulty with this blog post, or anything else related to your device please send an email to support@provu.co.uk explaining your issue.
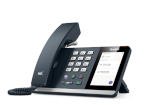
The following blog post was done with a T56A running firmware version 58.15.0.124. The same steps should apply to the following models on the latest firmware version: T55A, T56A, T58A, CP960, MP54, MP56, MP58
You can enable hybrid mode directly through the web user interface of the Teams device. This allows you to use a SIP account to make and receive calls, as well as using your Teams account.
Part 1 – Enable Hybrid mode
Step 1 – Access the web user interface of the phone by entering the IP address of the device in to a web browser. You need to specify ‘https’ and port ‘443’, (Example: https://192.168.1.15:443) in order for the login page to load otherwise you will see an error saying this site cannot be reached.
Step 2 – Once you are presented with the login page for the web user interface, login to the device. By default the credentials are ‘admin’ for the username and password.
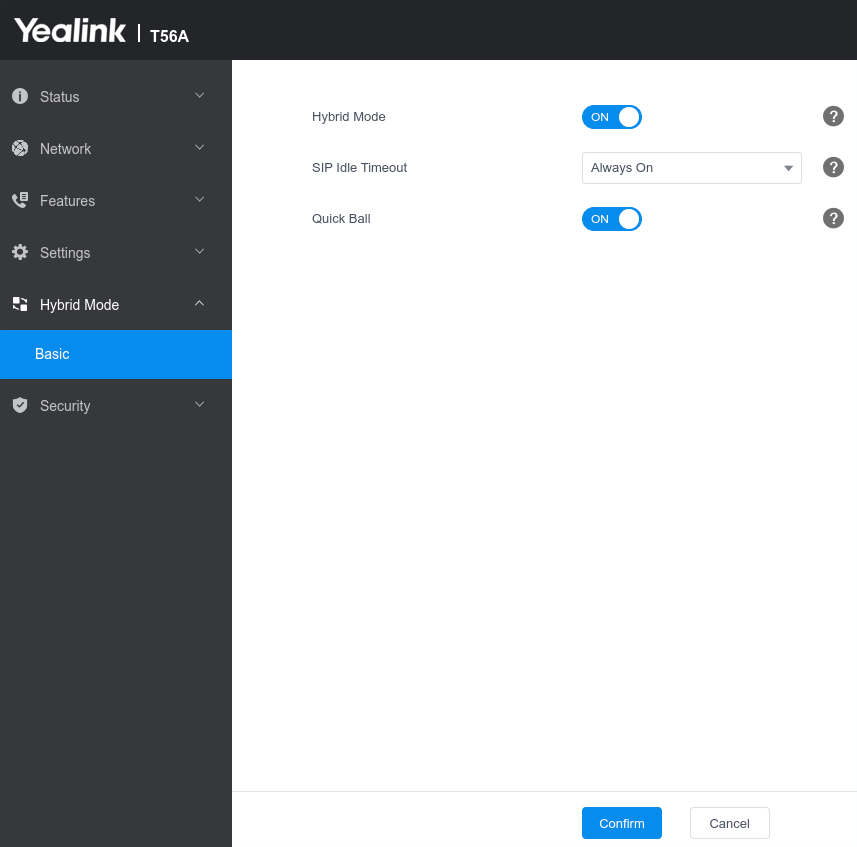
Step 3 – Select Hybrid mode down the column to the left and choose basic. When the page loads move the ‘Hybrid Mode’ slider to ‘ON’.
You will then be presented with two settings, SIP Idle timeout and Quick Ball. The SIP Idle timeout configures if the device should revert back to teams mode after a period of inactivity. The Quick Ball mode is a handy setting that when enabled presents a little button on the screen to flick between teams mode and Hybrid (SIP) mode.
Step 4 – Once you are happy with the settings picked click confirm and the phone will restart.
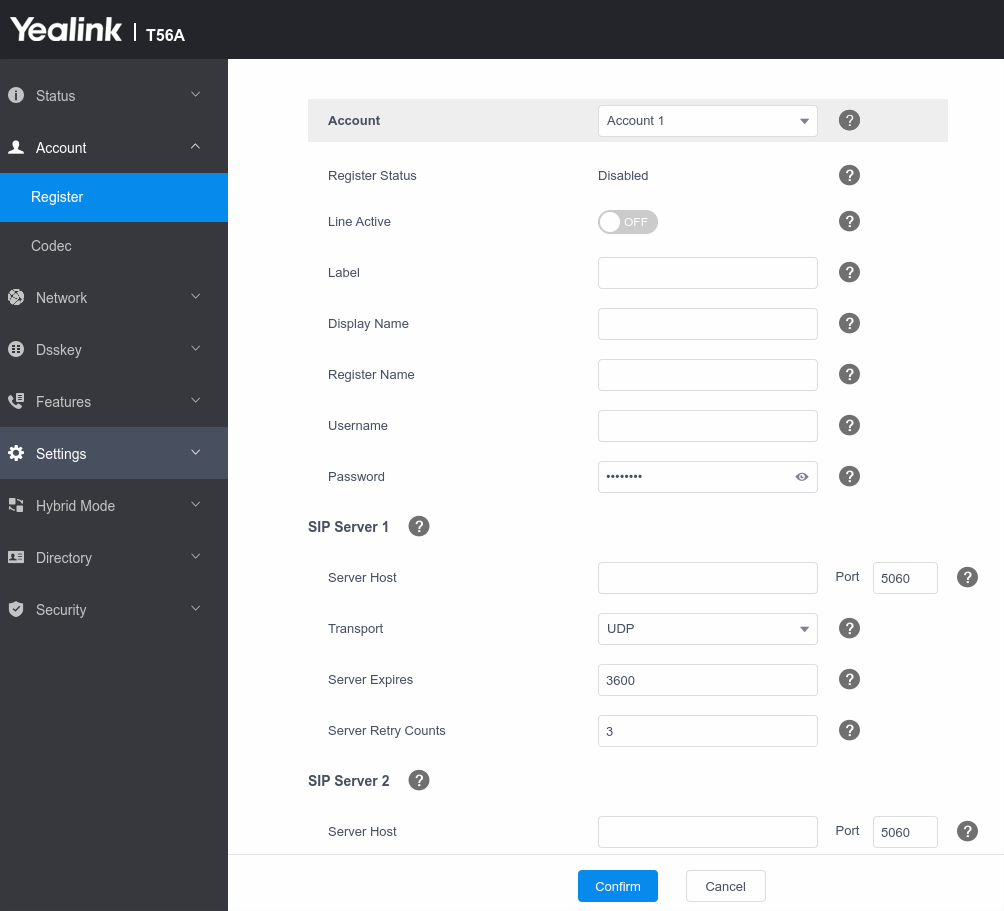
Step – 5 Once the phone has restarted login to the web user interface and click ‘Account’ to setup your SIP account on this device.
Note: If you have Quick Ball turned off, you will need to follow the steps below to access Hybrid mode from the phone user interface otherwise you can easily flick between the two modes via the Quick Ball.
Part 2 – Access SIP (Hybrid mode) from the Phone User Interface
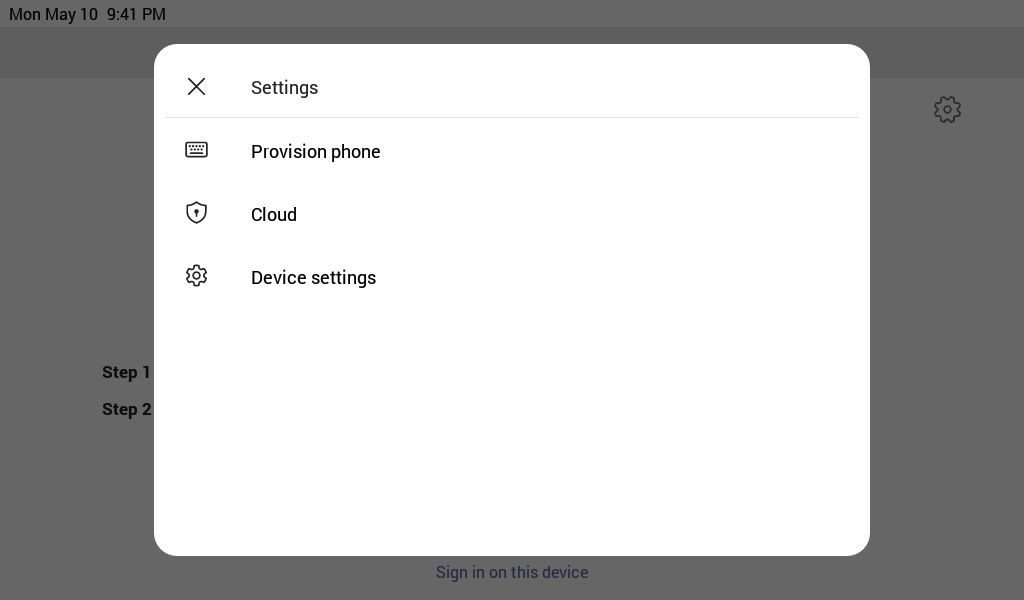
Step 1 – From the settings menu go to ‘device settings’, or when on the sign in screen click the cog symbol highlighted in the image below.
Step 2 – When the new page opens click ‘Device settings’
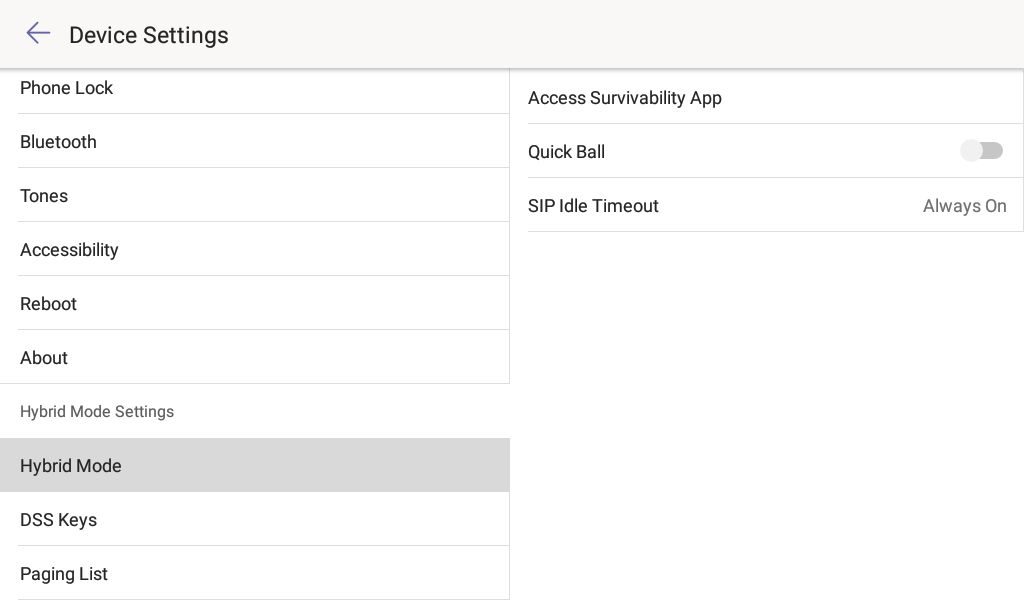
Step 3 – Once on the ‘device settings’ page scroll down to ‘Hybrid Mode’ and you should see the page as shown in the image below. To proceed to access ‘Hybrid mode’ click ‘Access Survivability App’
If you would like to quickly switch between your teams and SIP account I would recommend turning on the Quick Ball feature. This will allow you to change between Teams mode and Hybrid mode at the click of a button. The ‘SIP Idle timeout’ configures if the device should revert back to teams mode after a period of inactivity.
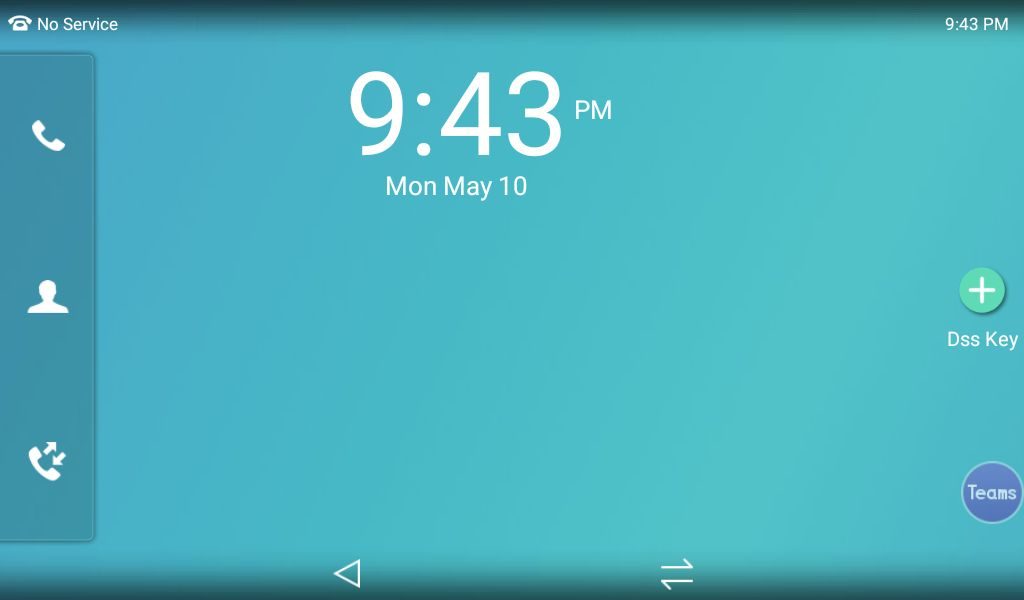
Step 4 – Once you have clicked Survivability you will see a similar screen to the one below and if you have an account registered you can start placing and receiving calls.
In the image below you can see a little circle in the bottom right corner saying teams. This is the Quick Ball to easily change modes, otherwise press the two lines at the bottom of the screen to go back to teams mode and follow the steps above to get back in to hybrid mode.
If you have purchased your Yealink Team’s devices from ProVu and you are having difficulty with this blog post, or anything else related to your device please send an email to support@provu.co.uk explaining your issue.
This blog post was created with a T56A on firmware version 58.15.0.124 but the process should be the same across all Teams desk phones. In order to login to a Yealink Teams device, you need a certain subscription as outlined in this blog post.
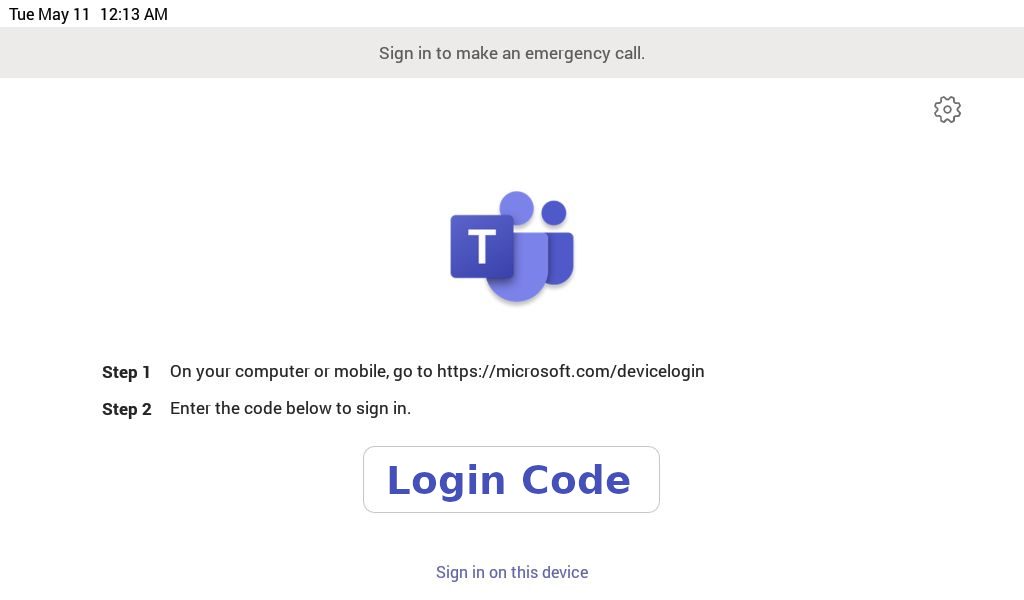
Method 1 – Using an internet capable device with a login code
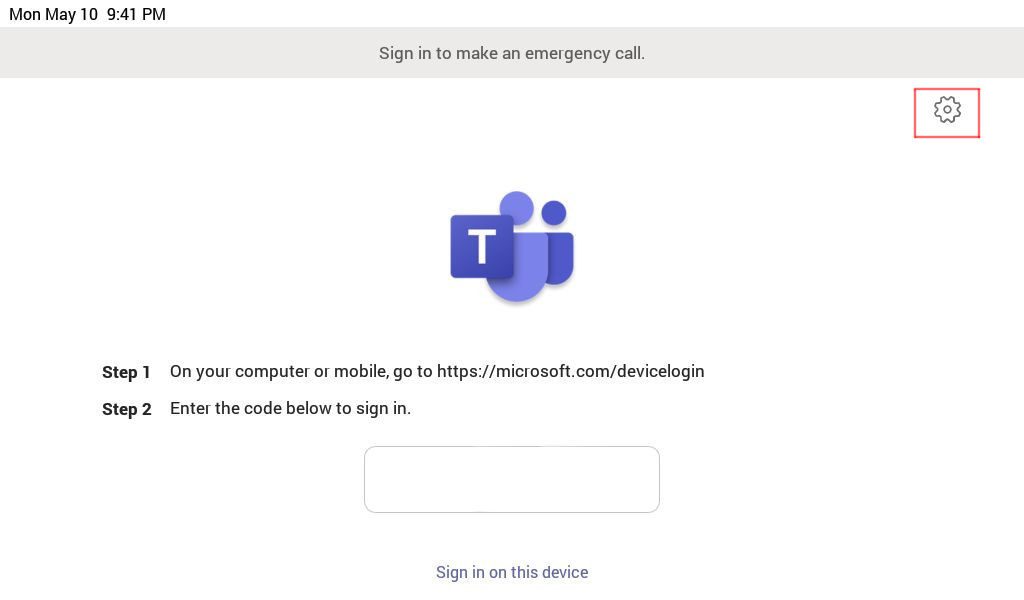
Step 1 – Follow the instructions on the login page of your Yealink Teams device, example shown in the image below, it tells you to web browse to the following URL on an internet capable device: https://microsoft.com/devicelogin
Step 2 – Once you’ve browsed to that URL enter your login code from your devices login screen.
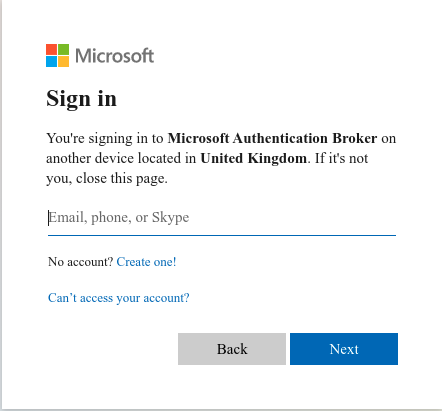
Step 3 – Once you’ve entered the code, you will be presented with a page to enter your email address.
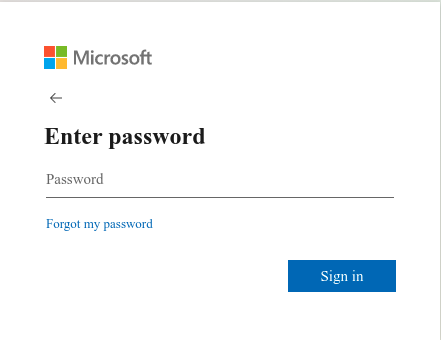
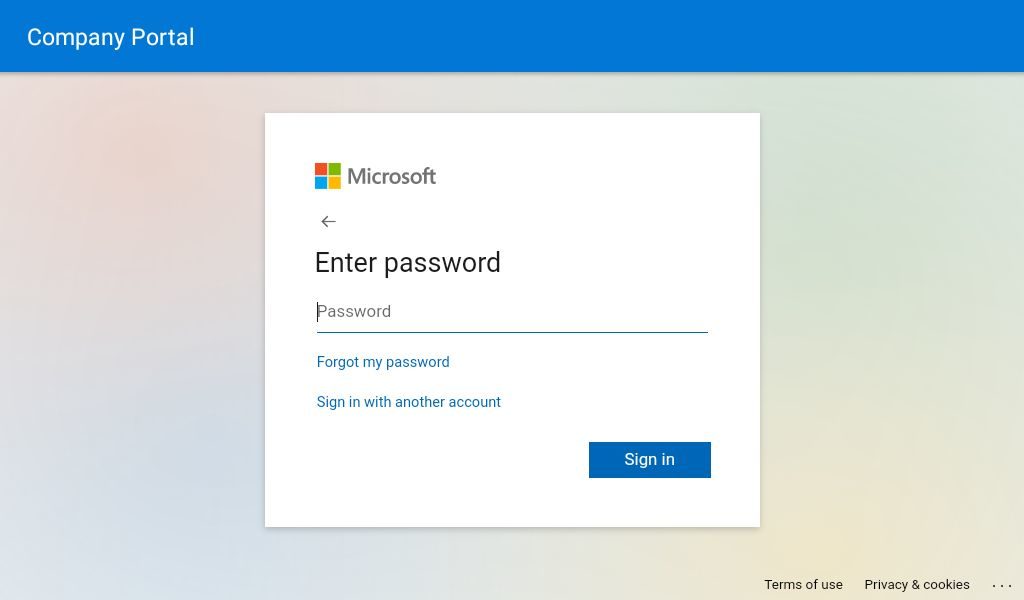
Step 4 – Once you’ve entered your email address, you will then be asked to enter your password for this account.
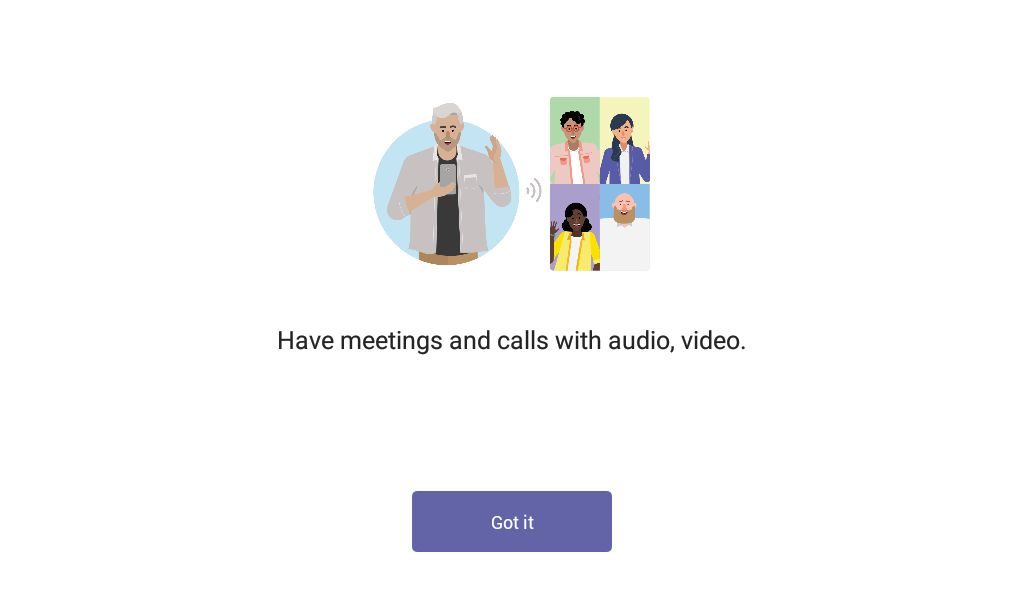
Step 5 – Once you have done that, your phone will automatically sign-in to your teams account and the web page will tell you to close the page. If your phone is nearby you may see it automatically start to log you in and then your phone will display this page. Click ‘Got it’ to start making or receiving calls.
Method 2 – Using the phones user interface
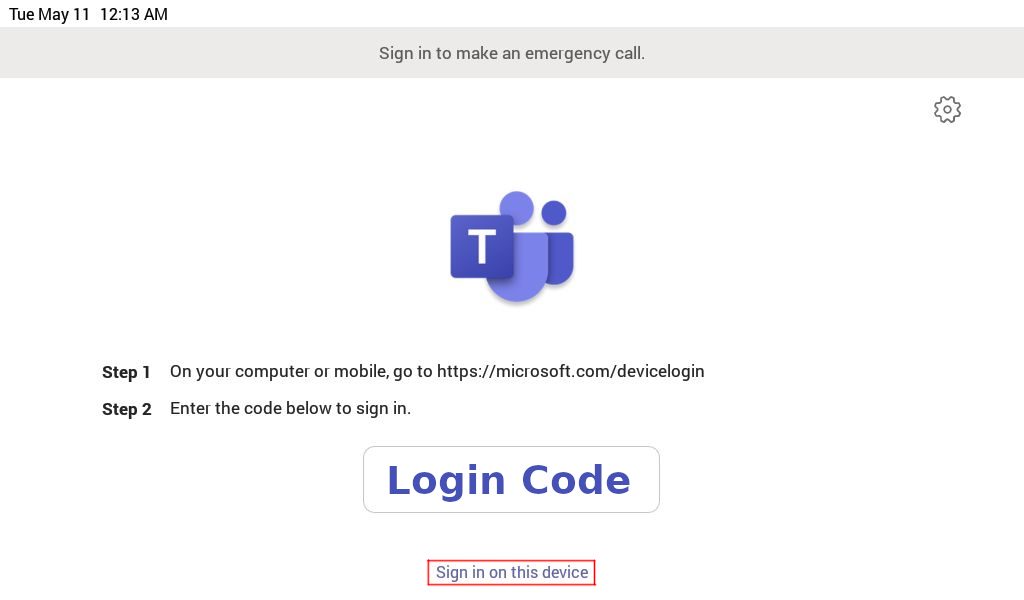
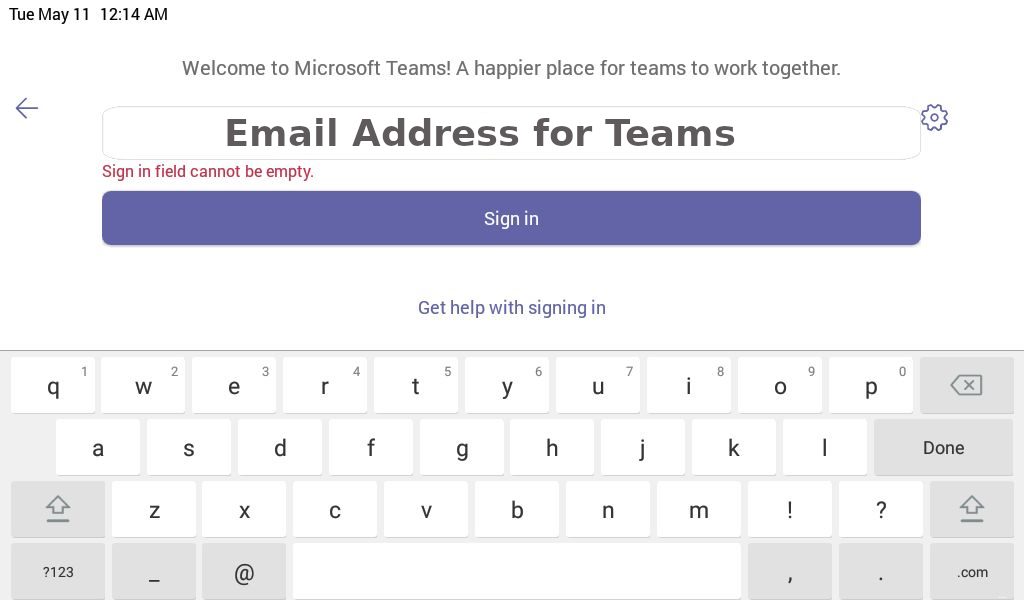
Step 1 – On the device’s login page, press “Sign in on this device”
Step 2 – Once you have done that a new screen will load asking for your to enter your Microsoft Teams email address, Once you have done that click the sign in button.
Step 3 – Another screen will then load asking you to enter the password for the Microsoft Teams account you are trying to sign in with.
Step 4 – Once you have done that, it will cycle through some more screens and eventually, it will have signed in to your Teams account on this device. Click ‘Got it’ and you can start to make and receive calls.
If you have purchased your Yealink Team’s devices from ProVu and you are having difficulty with this blog post, or anything else related to your device please send an email to support@provu.co.uk explaining your issue.
Ease the transition of your Yealink devices with our latest Yealink webinar! Hosted by our Head of Sales, Anna Maria Marzec-Smith, we will be covering the support and guidance we can offer to help you transition from Yealink’s now EOL T2 & T4 series, to the next generation of Yealink devices.
Register now to get our top sales tactics to identify and drive the unique features Yealink’s next generation brings to grow your customer base. What’s more, you will also get a sneak peak at Yealink’s upcoming devices as well as getting a head start levelling up your portfolio!
Topics the Webinar will cover
Transitioning your Yealink Devices – What are the replacements?
How we can support your transition
Top Sales tactics for identifying & driving unique features & benefits
Looking for a solution that enables your partners to work productively from anywhere? 3CX offers you a variety of options, whatever your customers’ preferences. Join our upcoming training courses to discover how you too can offer a feature-rich PBX with minimum management.
Whether you’re new to 3CX or are an accredited partner, develop your knowledge with our upcoming virtual training courses. These courses are free to attend and open to all. Designed to give you a better understanding ot VoIP technology and the 3CX phone system, our courses aim to support you in:
Increasing Sales
Improving customer satisfaction
Learn how to deploy and maintain systems more efficiently
3CX Basic Training
A great place to start with 3CX or to brush up on your knowledge. Learn about the basic concepts of getting 3CX up and running and develop techniques for basic troubleshooting.
Ideal for those already familiar with 3CX. The advanced certification consists of seven modules which cover the more advanced settings of 3CX including Bridges, inbound and outbound routing, security and anti-fraud.
Registration is free, simply complete our sign up form to virtually be there! Our team will be on hand throughout these courses to answer any questions you may have. Our courses are designed to provide you with all the information you require to sit the Basic and Advanced certifications. To become an accredited 3CX partner, you will need to sit the relevant exam on the 3CX portal.
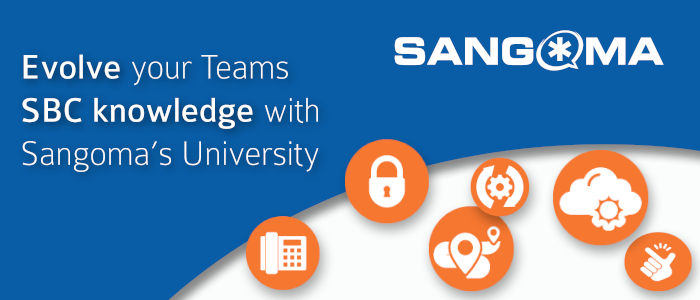
Hybrid working is on the horizon, as more and more companies begin to adopt this working style, Sangoma SBCs can offer a powerful solution to help you securely support this new way of working. Not to mention, they can also provide a cost-effective solution in preparation of the ISDN switch off.
Why not ensure that you and your team are ready for what the future holds and increase your team’s knowledge with Sangoma’s online university! These courses enable you grow your understanding of Sangoma’s solutions as well as Sangoma SBCs.
Best of all, these courses are absolutely FREE! So why not build your Teams knowledge and get a head start future proofing your solutions.
Sangoma SBC Essentials course
Broken into 9 easily digestable chunks, the SBC essentials course offers everything you need to get started with SBCs covering many topics, including:
How & Where to use SBCs
Sangoma SBC Models
SBC Network Topologies
Initial Setup & Configuration
SIP Profiles
Remote Phone setup
SIP Trunking setup
SBC security settings
Troubleshooting options
Why not also try one of the many other FREE Training course Sangoma’s online university offer and expand your teams knowledge and portfolio.
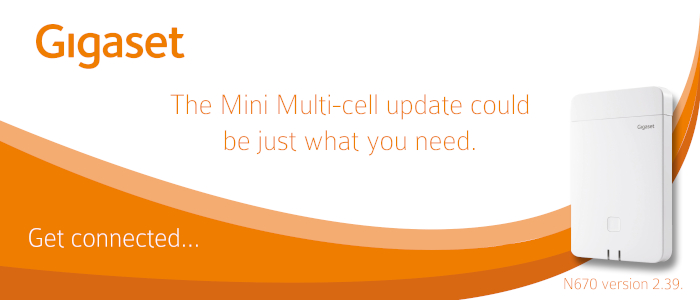
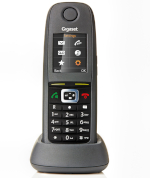
Did you know about the latest Gigaset N670 software upgrade*? Yes? Well did you also know what the upgrade means for the future of multi-cell solutions? Gigaset’s latest software upgrade allows the N670 base station to act in a similar way to a repeater, improving the range of Gigaset handsets. However, unlike a repeater, N670IP will work over IP, making it easier to install and configure without needing a power socket. All you need is a PoE enabled network cable and away you go!
Meet the Mini Multi-cell solution! A perfect solution for those that need to cover a larger area but don’t have the need for a full scale multi-cell solution.
There are now more benefits for using Gigaset’s N670:
Increase the reach of handsets (each base station has a range of up to 50m indoors and 300m outdoors)
Supports up to 20 handsets
Repeaters would normally support 2 simultaneous calls, whereas the N670IP in a mini multicell setup will provide up to 8 simultaneous calls.
Same price range as a repeater
Easy installation with simple visualisation via web interface
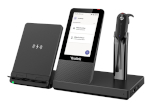
With a wide range of new Microsoft Teams certified products from Yealink now available, there is no better time to expand your Yealink portfolio. From the comfy, everyday use headsets, to the intuitive all-in-one UC workstation, and the adaptable IP Video conferencing systems – there’s something for everyone!
Want to know more about Yealink’s latest and greatest? Get in touch with a member of our team today! Call us on 01484 840048 or email contact@provu.co.uk


 A great place to start with 3CX or to brush up on your knowledge. Learn about the basic concepts of getting 3CX up and running and develop techniques for basic troubleshooting.
 Ideal for those already familiar with 3CX. The advanced certification consists of seven modules which cover the more advanced settings of 3CX including Bridges, inbound and outbound routing, security and anti-fraud.