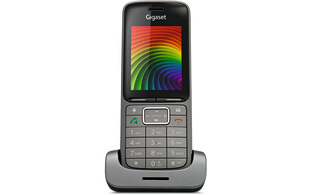
The new Gigaset SL750H PRO is now in stock and available from ProVu. This new, stylish handset is Gigaset’s thinnest PRO handset yet and comes complete with a large 2.4″ illuminated display with an intuitive, icon-based user interface. With its scratch-resistant coating, the SL750H PRO is resilient to scratches on the display, case and keys. The coating also provides protection from disinfectant liquids making it ideal for use in industrial, manufacturing and clinical environments.
Key Features Include:
- Outstanding HD audio quality
- Speaker phone and Bluetooth connectivity for hands-free calling
- Up to 12 hours of talk time and more than 250 hours on standby
- HDSP audio -quality – HD audio and voice
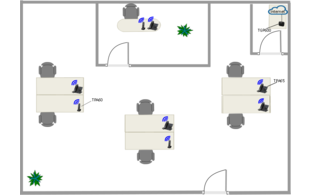
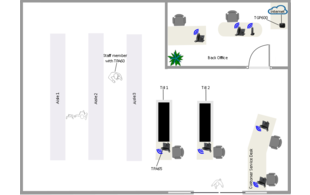
Along with other PRO handsets, the SL750H is compatible with the N510IP PRO, N300IP PRO and the N720IP PRO, offering customers a solution to suit their individual needs. With the N720IP you can offer a multi cell solution that ensures complete coverage of any building or widespread surroundings.
More information can be found on the SL750H webpage. Pricing and stock information is available on our reseller portal, ProSys.


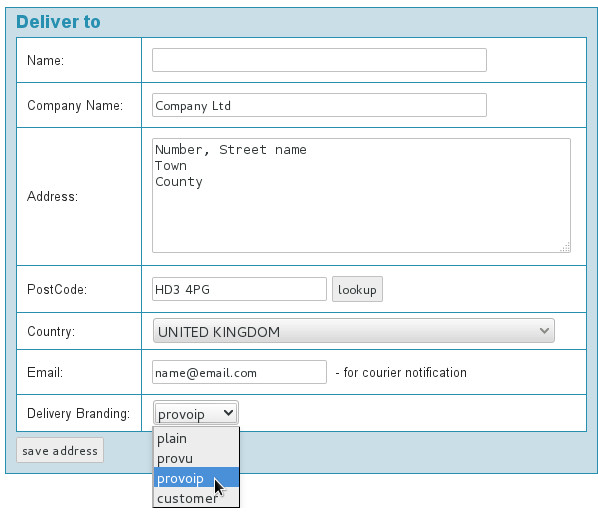
 to add a dropship address. At the bottom of the ‘deliver to box’ you can then select your branding option for this order. And it’s as simple as that.