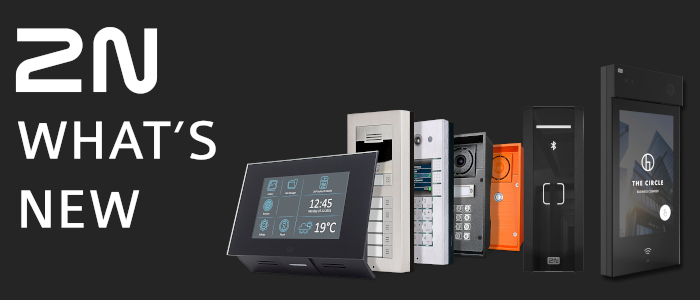
The 2N team have had a busy start to 2023, with some big announcements. They’ve recently been approved by the UK Police Initiative as a member of the Secured by Design (SBD) and have released a new eBook about Access Control 3.0 which offers a unique look at the coming years and how you can capitalise on it. Read on to find out more.
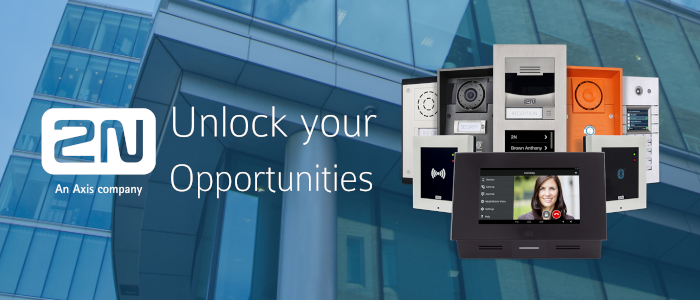
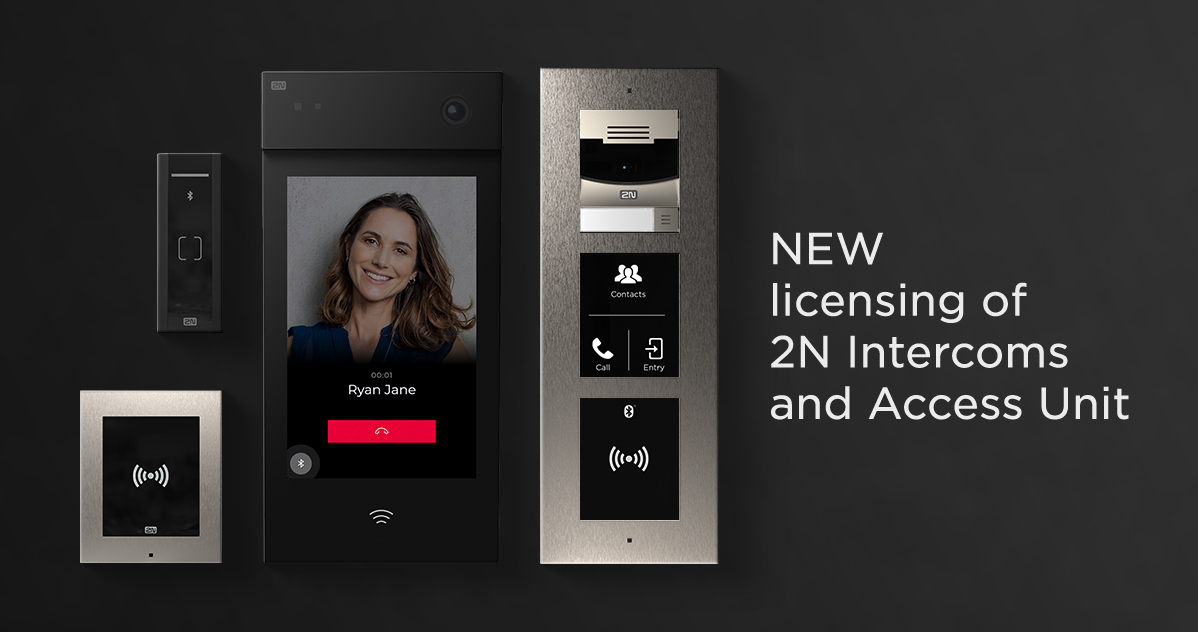
2N products officially ‘Secured by Design’
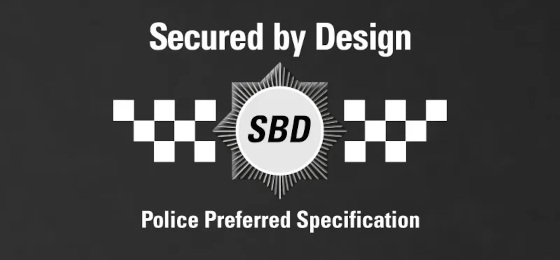
2N prides itself on its product’s physical and cyber security. Their two key values which they strive to achieve in every device they produce. Having already achieved ISO27001 international certification, they have gone one step further and become a member of Secured by Design (SBD), part of the official UK police security initiative.
This is across all 2N IP intercoms, Access Unit 2.0, and Access Unit M readers installed with 2N Security Relay. This means that these devices are inherently secure, from high-quality hardware to the state of the art software.
Now you can be confident that you will always meet the highest security standards for access control systems.
 |
 |
 |
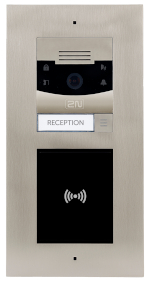 |
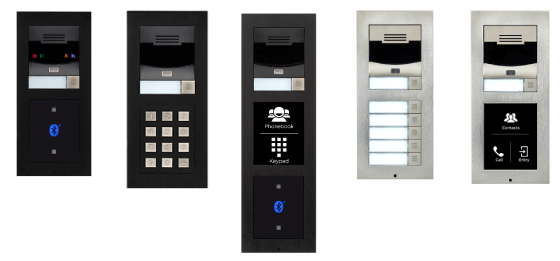
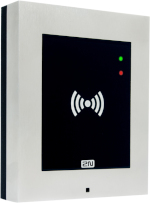
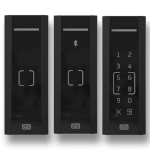
| Access Unit 2.0 | Access Unit M | IP Style | IP Intercoms |
Access Control 3.0 eBook
Access 3.0 represents a fundamental shift in technology that signifies the end of the lock and key and moves to the new age of Internet-based access control. Whether that be IoT or Bluetooth, you will want a modern access control system to combine several recent technology trends to get the most out of your access control.
2N’s new eBook explores this idea and gives you the 7 pillars of Access Control 3.0 to make you an industry pioneer.
Download your FREE copy today!
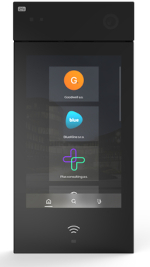
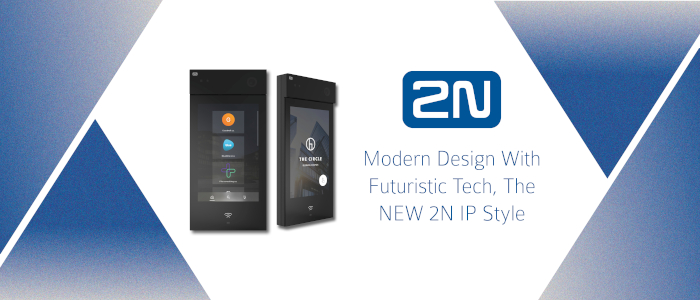
Design your own interface with 2N’s IP Style
Display what you want, how you want. From custom colours to personalised layouts, additional information, and animation. The new 2N OS version 2.37 allows you to customise the display API for whatever your customer desires.
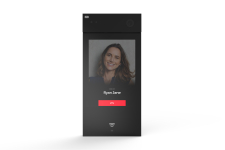
2N Mobile Video app is changing
The 2N Mobile video app will be changing to the My2N app. What does this means for you and your customers? It means a easier to navigate user interface, landscape mode for full-screen video calling, and new features to make access control smoother.
Looking to get started with IP door entry & access control? We offer a range of services to help support you. Get in touch today to discuss how we can help you to support your partner’s in upgrading their systems with minimal effort.