End of life notice: T22PN and T28PN

There will be no further production or shipments of the Yealink T22PN and T28PN. Therefore both these models will be going end of life as soon as our current stock levels are exhausted. But we have for you an exciting new range of new products from Yealink.

T23GN
The T23GN has replaced the T22PN. The T23GN is an attractive alternative to the T22PN as it offers a new larger phonebook increased from 300 to 1000 entries, new dual coloured (red & green) LED buttons for more effective BLF and dual Gigabit Ethernet ports.

For the T28PN there is a choice of the T27PN or T29GN.

T27PN
The T27PN comes at a lower price point but with the advantage of 8 paperless functions keys which can be used for various programmable features including up to 21 BLFs.

T29GN
If you want to go up in the range the T29GN comes at a slightly higher price than the T28PN but offers a large colour screen, 10 paperless function keys which can be used for up to 27 BLFs. Plus it has Gigabit pass through and support for a Bluetooth headset via the BT40 Bluetooth Dongle.

Trade pricing and stock information is available from ProSys our reseller portal. If you are a telecoms service provider/reseller and you do not have access to ProSys or if you have any queries please contact the ProVu sales team on 01484 840048.

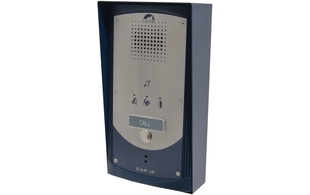
How to: 2N Video on Snom Screen

The 2N door intercoms have built in XML that allows you to stream the video feed from the camera directly onto the screen of a snom phone (760, 821, 870 models only).
This works by getting a static JPEG image and refreshing it frequently to make it appear as a video.

The URL you need to use is:

http://ip.addr.of.2n:80/enu/snom-video.xml

** Make sure to edit the URL so that it actually contains your 2N units IP address **

Now you need to browse to the web UI of your snom phone and add your 2N intercom to the directory. In the number field, enter the extension number of the 2N (the unit it presents as its Caller ID). Then in the Action URL field enter the URL shown above. Click the Add button to add the directory entry.

Now when you receive a call from your door intercom, the video stream will be shown on the display of your snom phone.

Please note, we recommend that you have the following firmware versions on each unit as a minimum:

Snom: 8.7.3.25
2N: 2.10

If you have any problems getting this to work, please email us at support@provu.co.uk.

NEW Yealink T27PN and CP860

Today Yealink UK have announced the pending arrival of the new T27PN IP desk phone and the CP860, Yealink’s first IP conference phone.

Stock is due to be available in the UK early April 2015.

Key features of the Yealink CP860

  • Full duplex HD IP Conference Phone
  • Power over Ethernet
  • 3 metre range and 360 degree voice pickup
  • 5 way conference
  • USB call recording

Key features of the Yealink T27PN

  • 240 x 120 pixels graphical backlit LCD
  • 6 SIP user accounts
  • Dual 10/100 ethernet port
  • PoE support
  • Zero touch secure provisioning
  • 7 programmable keys with LED indication (3 page view for a total of 21 keys)

New snom 2015 Spring Price list

We are pleased to confirm that snom have issued a new price list with some reductions in price to the 710, 720 and 760. In addition with the recent strengthening of the Pound against the Euro we are also applying some further adjustments that will reduce pricing on some of the other models as well.

These price reductions have been applied as of today Monday 2nd March 2015 and are available to view on ProSys our reseller portal. If you do not have a ProSys login or have forgotten your username and password please call the sales team on 01484 840048.

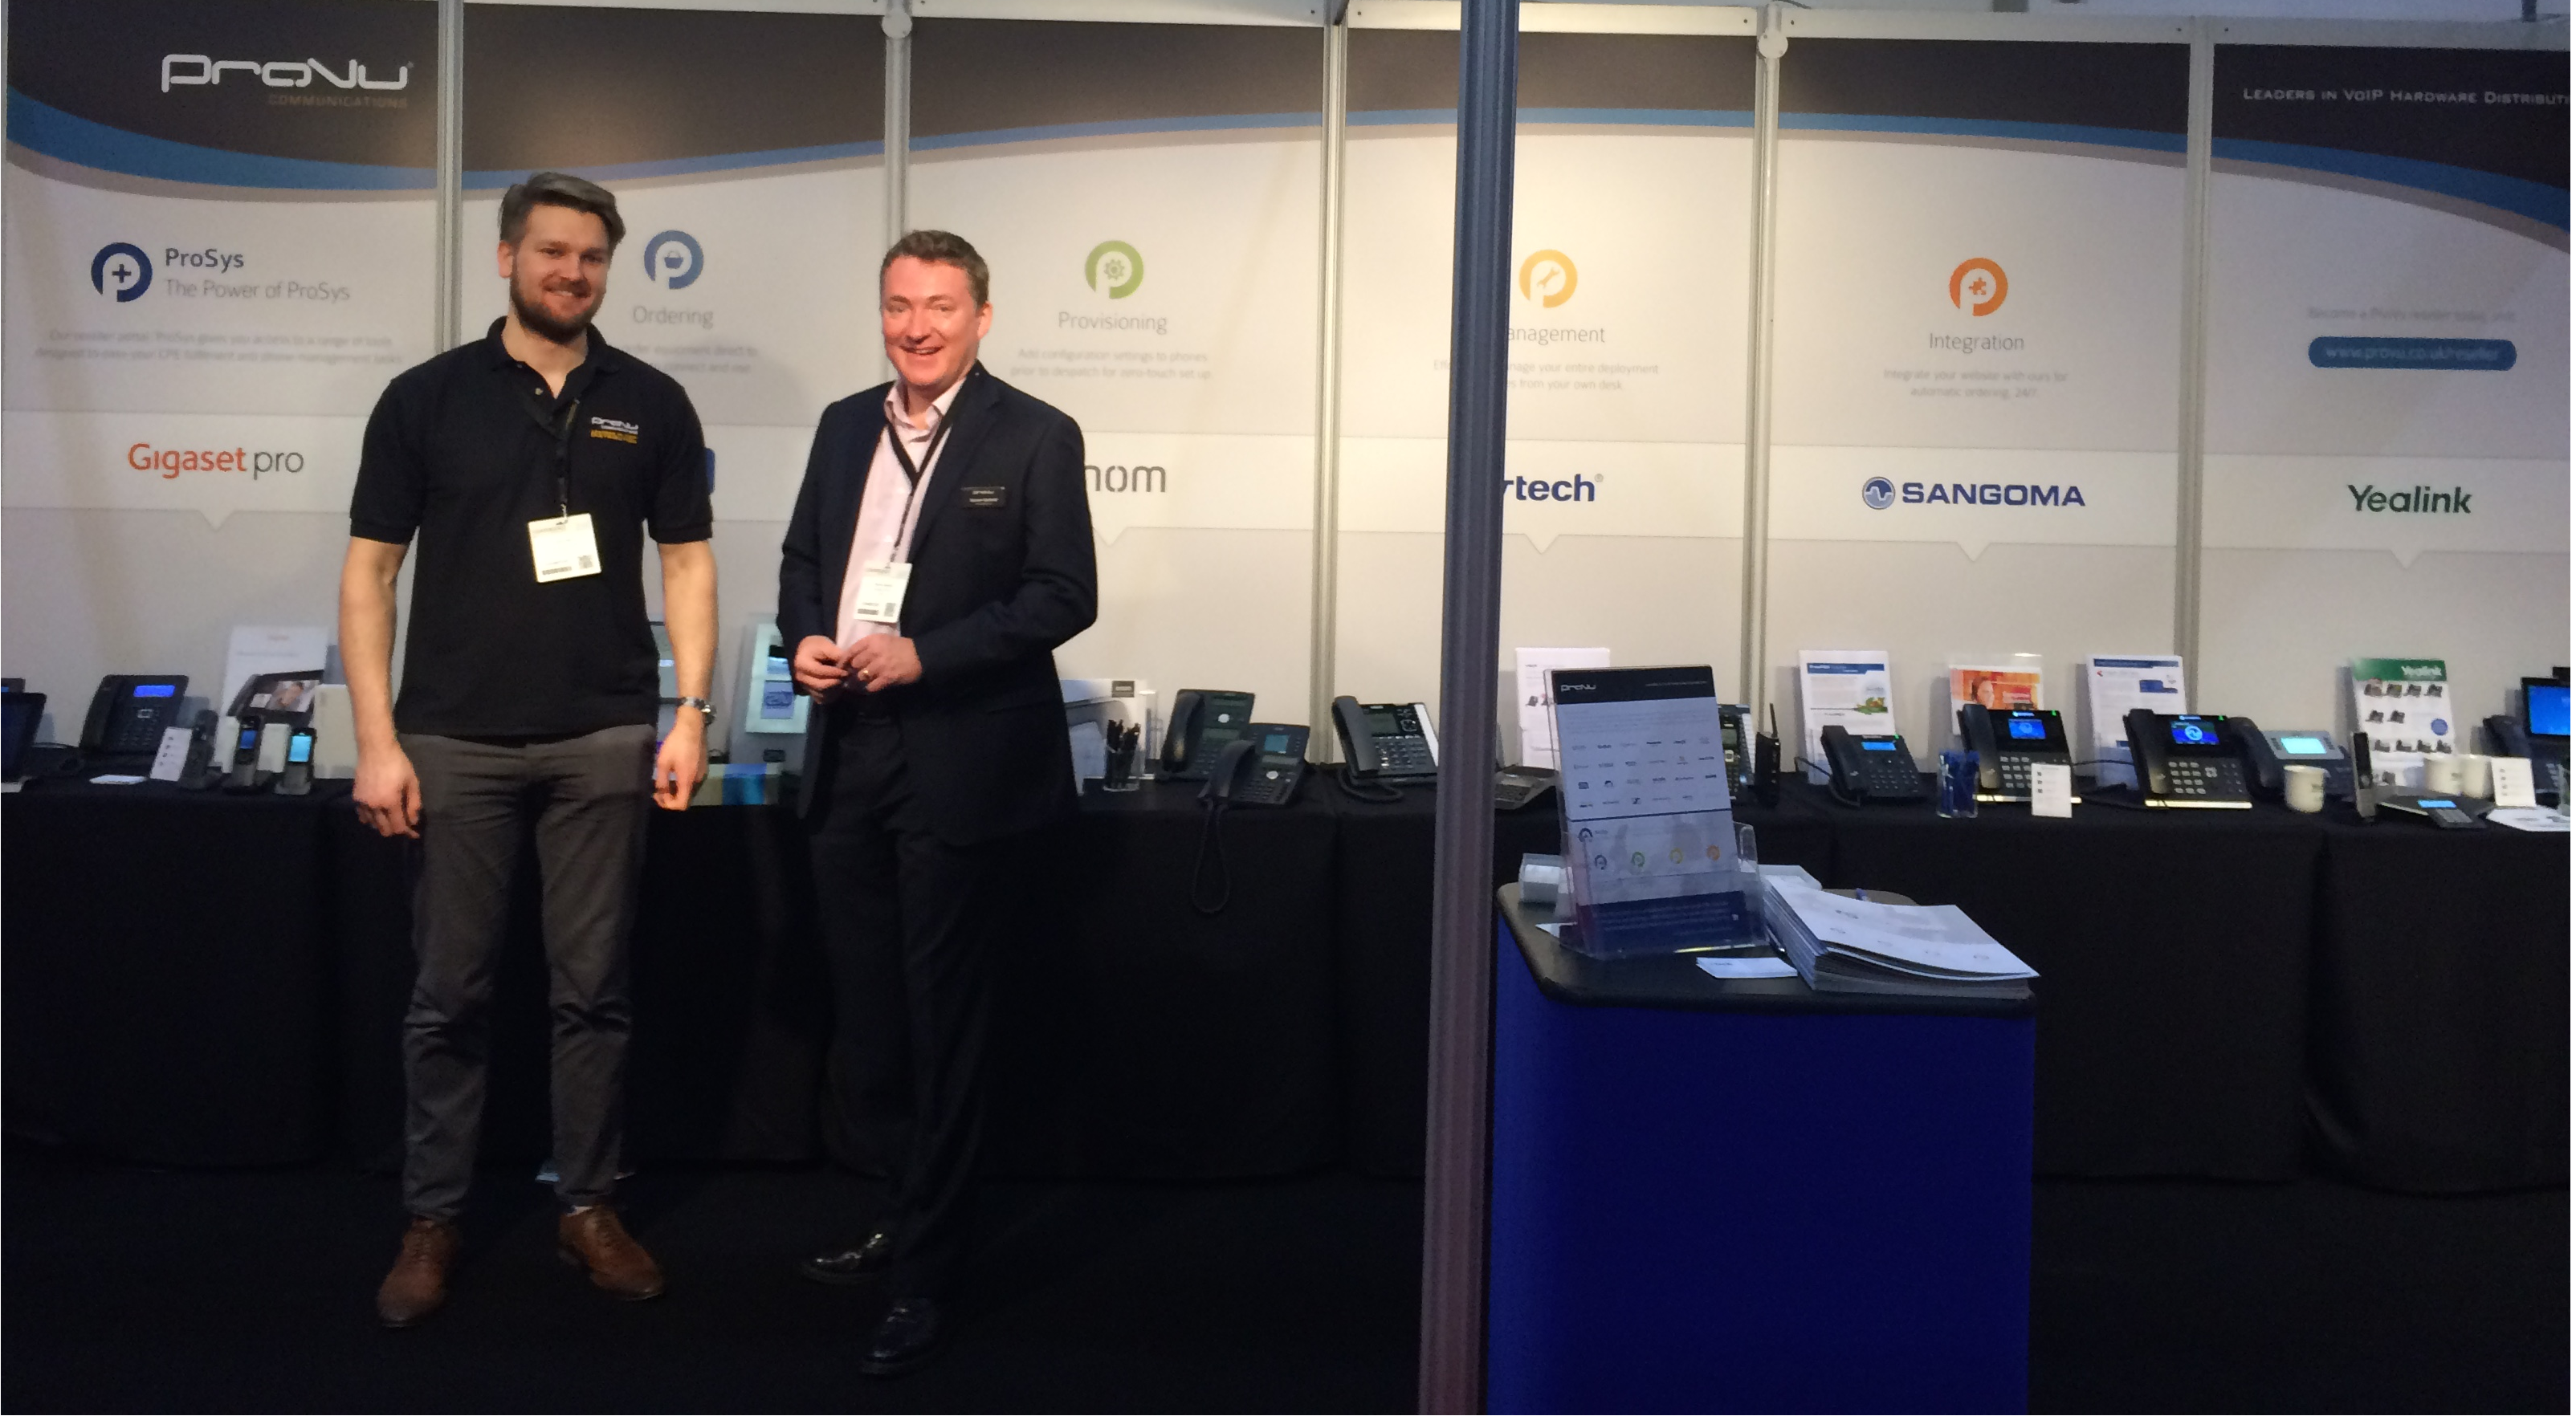
Visit ProVu at the Convergence Summit North 2015

Once again ProVu will be exhibiting at the Convergence Summit North and this time it is being held at the International Centre in Harrogate on 17th and 18th March.

This is a great opportunity to come and meet the ProVu team and view the latest products from snom, Konftel, Gigaset and Sangoma.

On display this year we will be featuring the exciting Gigaset Maxwell 10 tablet phone plus their latest cordless handsets. We will also have the very latest phone designs from snom with their D7 series. Sangoma will also be showcasing their new mini SBC which is designed for small companies and branch offices with call handling from 5 to 16 calls. And for the first time we will be joined by Konftel with their range of conference phones which support SIP.

We will be located on stand 47 and we would love to meet as many of you as possible. All you need to do is register to attend at the link below.

Pre Register Now to attend the show

We look forward to meeting you at the show and if you have any queries or would like to arrange a meeting please drop us a line at contact@provu.co.uk.

How to: Resolve Snom Meeting Point DTMF Issue

We have reports of issues with DTMF tones on a snom Meeting Point, particularly when (but not limited to) dialling in to hosted conference facilities.

The user types the access code or conference PIN in correctly, but they are advised that the code is incorrect.
This is because the microphone on the Snom Meeting Point is picking up the DTMF that is played back when the user types a digit. The phone then sends this code twice (once from the actual key press using RFC2833 and once from the microphone using inband DTMF).

There are a couple of settings you can change on the Meeting Point to stop this happening depending on your users preference:
Please Note: The Meeting Point must be on firmware 8.7.3.25 or newer or the settings will not be present in the device

1) DTMF Volume:

http://wiki.snom.com/Settings/dtmf_volume

Reducing this to a lower setting (1 or 2) may be enough, but setting it 0 will stop the playback of the DTMF tones. This may not be desirable if the customer wants to hear the DTMF being played back to them so they know the key press has definitely registered.

2) DTMF Microphone Delay:

http://wiki.snom.com/Settings/dtmf_micro_delay

This setting temporarily disables the microphone when a DTMF key is pressed, to stop it from picking up the tone being played back through the speaker. Set this to 1000 so that it delays for 1 second (it is off by default).

The settings do not appear in the web interface so you will need to use the dummy setting URL to save these changes. Simply type either of the following URLs into the web browser on your PC (that is connected to the same network as the Snom):

http://ip.addr.of.snom/dummy.htm?settings=save&dtmf_volume=0

http://ip.addr.of.snom/dummy.htm?settings=save&dtmf_micro_delay=1000

You need to change ‘ip.addr.of.snom’ to the actual local IP of the Snom Meeting point.

Thats it! Your Meeting Point should now connect to hosted conference rooms without issue.
If you have followed the steps above and are still having issues please email support@provu.co.uk.

Configuring Gigaset Hybird PBX with Sangoma Vega 50 FXO Gateway

This guide is intended to show how to route calls to your Vega 50 4FXO Gateway and out over your PSTN Line. It also includes the settings to route inbound calls from the PSTN line to phones registered to the Gigaset Hybird PBX.

This guide assumes that you have already connected the Gigaset PBX and Vega Gateway to your network and have access to the web interface of each device. If your units are not already plugged in with access to the web interface, please consult the relevant product manuals to get to this stage.

This guide also assumes that you have registered one or more SIP phones to the PBX and configured them as Users on the system. If you have not already done so please consult the Hybird manual for details.

Configuring the Vega 50 4FXO Gateway

To configure this unit, use the Quick Config wizard on the Vega Web Interface. The settings need to be changed as follows:

VoIP Tab

Registration Mode: Off
Outbound Proxy Used: No
SIP Domain: IP Address of your Gigaset PBX
SIP Server IP/Name: IP Address of your Gigaset PBX

FXO Tab

These settings are applied for Interface 0201, assuming that you have connected your analogue line to the FXO1 port on the box.

Numeric Caller ID: Your Analogue Line Telephone Number
DID to Forward to SIP: Your Analogue Line Telephone Number

Once this has been done you need to click Submit, then Apply Changes and finally Save.
This is all the configuration that needs to be done on the Vega, we now need to configure the Hybird.

Configuring the Hybird

To configure this unit via the Web UI, follow the steps below:

Step 1

Go to the VoIP > Settings page and click New to add a new provider, configure the provider as follows:

Description: Vega
Authentication ID: Your Analogue Line Telephone Number
Password: Leave this blank
User Name: Your Analogue Line Telephone Number
Domain: IP Address of the Vega Gateway
Registrar: IP Address of the Vega Gateway

Click Advanced Settings

Proxy: IP Address of the Vega Gateway
Provider Without Registration: Enabled

Click OK to save the setup.

Back on the VoIP > Settings page, click the Locations tab:

Set Default Behaviour: No Registration and click OK to save the setup

Step 2

Go to the Numbering > Trunk Settings page. You should see a Trunk called Vega with the External Port set to SIP Provider. If this is not there, please check that you have completed Step 1 successfully.

Go to the Trunk Numbers tab and click New to create a new Trunk Number, configure it as follows:

Trunk: Vega
Type of Number: Single Number (MSN)
Displayed Name: Your Analogue Line Telephone Number
Single Number (MSN): Your Analogue Line Telephone Number

Click OK to save this Trunk Number

Now go to the Trunk Groups tab and click New to create a new Trunk Group, configure it as follows:

Description: Vega
Sequence in Trunk Group: Vega

Click OK to save this Trunk Group

Step 3

This step assumes that your SIP Phones/Users are all using the CoS Default rule. If they are using a different CoS rule then please use the appropriate rule in the steps below

Go to the Numbering > User Settings > Class of Services tab and edit the CoS Default rule, and set as follows:

Automatic Outside Line: Enabled
Trunk Line Selection with Line Access Number: Click Add and select Vega from the drop down.

Click Apply to save the config.

Step 4

Go to Numbering > Call Distribution and on the Incoming Distribution tab you will see an entry of Type Single Number MSN, with your Analogue Line Telephone Number as the number. Edit this line and set as follows:

Assignment: Internal Number
Internal Number: Your SIP phone User number that you want to dial.

Setting it up as above will route any inbound calls directly to that specific phone. If you want to route it elsewhere then change the Assignment and route it accordingly, there are numerous ways to configure this which will not be covered in this guide.

Thats it!

You should now be able to dial out over your analogue line and inbound calls to your number will route according to your setup in Step 4.

Note: Step 3 configures the setting Trunk Line Selection with Line Access Number. This means that you will have to dial the access number to use this trunk. This setting can be found in the System Management > Access Codes. There is a setting there called Trunk Group Selection, click Add and select Vega from the Trunk Group drop down list. Set the Access Code to whichever number/numbers you want to use to route calls over your Vega/Analogue line.
e.g. Entering 9 in this box will require you to prefix your dialled number with a 9 in order to use this line.

If you have problems setting this up, please email support@provu.co.uk explaining which step you are up to and the problems you are facing.

ProVu Nominated for Distributor of the Year 2015 in Comms Business Awards

We are delighted to let you know that ProVu have been listed for the second year running as a nominee for the Comms Business Distributor of the Year Award.

As you may recall we did win this award last year thanks to the great effort and support we received from so many of our resellers who took the time to register and vote for us. We would love to win this award again and if you feel that we have provided you with good service and support over the last 12 months we would really appreciate it if you could again take the time to vote for us.

To register your vote you will just need to visit the Comms Business Awards web page which you can find here. And in order to place your vote you will need to register yourself which takes around 1 minute.

Many thanks for your time and business over the last 12 months and we very much hope you will be able to vote for us.

We’ve expanded our range of Netgear Switches


We have now been supplying Netgear switches for 3 months these have proven to be very successful and we will now be expanding the range to include some more popular switches:

View the full range of Netgear switches available from ProVu. If there are any other models that you would like us to stock please let us know.