Join us on Tuesday 13th September at 11:00 AM (GMT +1) for our upcoming webinar: 2N IP Audio Overview. Ideal for anyone looking to install a paging or broadcasting system, our webinar topics will include:
Introduction to the range
Usage scenarios
Technical features
Software applications
Pricing and summary
Questions and answers
This webinar is free to attend, simply register your details below.
It’s approaching that time of year again! With less than 4 weeks to go until the 2016 Convergence Summit South, we wanted to give you a sneak peek of who will be joining us and what you can expect to see on our stand.
This year we have doubled the size of our stand, allowing us to exhibit even more new, exciting products across a wider selection of our vendor partners. Joining us on stand 74 will be representatives from: 2N, Cisco, Gigaset, Panasonic, Sangoma and Snom.
To be there, simply register for your free visitor pass below:
Did you know 2N regularly hold free online webinars and training courses giving you opportunities to extend your knowledge about 2N products. They have a variety of topics designed for 2N resellers’ technical and sales staff.
Topics include:
2N Products Overview (Technical)
2N Access Control (Technical)
2N Access Control (Sales)
2N Helis IP Verso (Sales)
2N IP Audio (Technical)
2N IP Intercoms Basic (Technical)
2N IP Intercoms Advanced (Technical)
We have had an enquiry come in about how to wire in a tamper switch without an I/O module or a Wiegand module. I must admit I thought this was strange at first, given that I always thought it was fairly simple to do. It turns out it is but it is also easy to overcomplicate.
Make no mistake that 2N’s ideal setup would be a tamper switch connected to either an I/O module or a Wiegand module – every single piece of documentation I have found shows it connected in this manner. The idea is that it has 2 switches – we’ll call them switch 1 and 2 – with switch 2 connecting to the I/O module and back into the Verso, where it is recognised as a tamper switch, and switch 1 connecting to, for example, a 3rd-party alarm system, where it is recognised as a generic input that activates whatever the alarm system is programmed to activate.
The Verso however has its own generic input, into which you can wire switch 1 and have it behave as exactly that – a generic input.
Please note: in order to make use of a tamper switch in any way, you must have at least the Enhanced Integration Licence.
What you will need:
A 2N Helios IP Verso base unit with or without camera – 9155101C or 9155101
A tamper switch – 9155038
2 lengths of thin wire, about 6 inches long should do it – the lengths of wire I picked up for this demonstration are closer to about 6 feet.
A small screwdriver
Whichever other modules you wish to connect to the Verso – we have just an infopanel on our demo one.
The relevant mounting boxes and/or frames – we are using a 2-module flush-mount box and frame.
A computer on the network to do the programming.
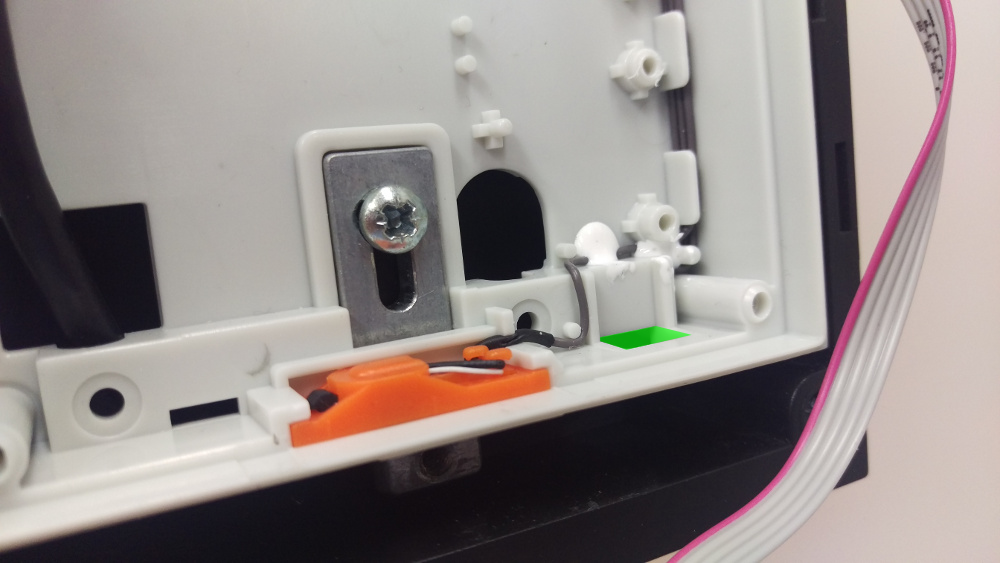
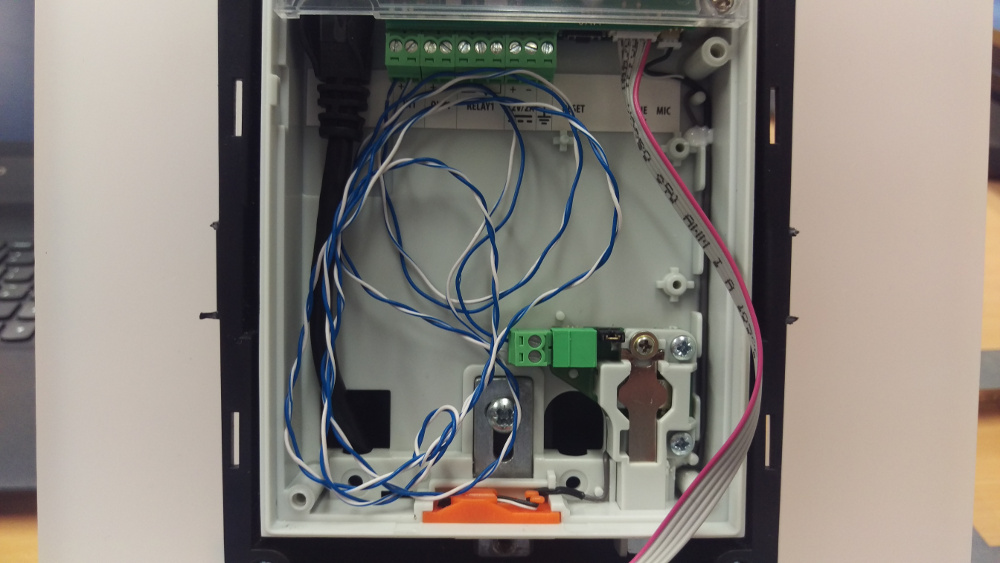
This is the bottom of the backbox and the tamper switch is inserted where the green square is……the tamper switch is inserted like so……and screwed in.
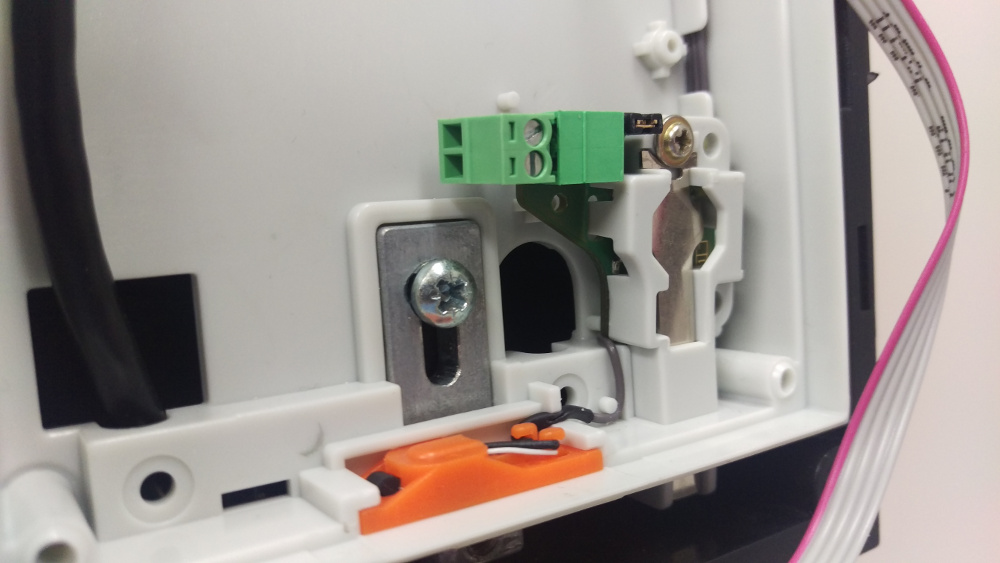
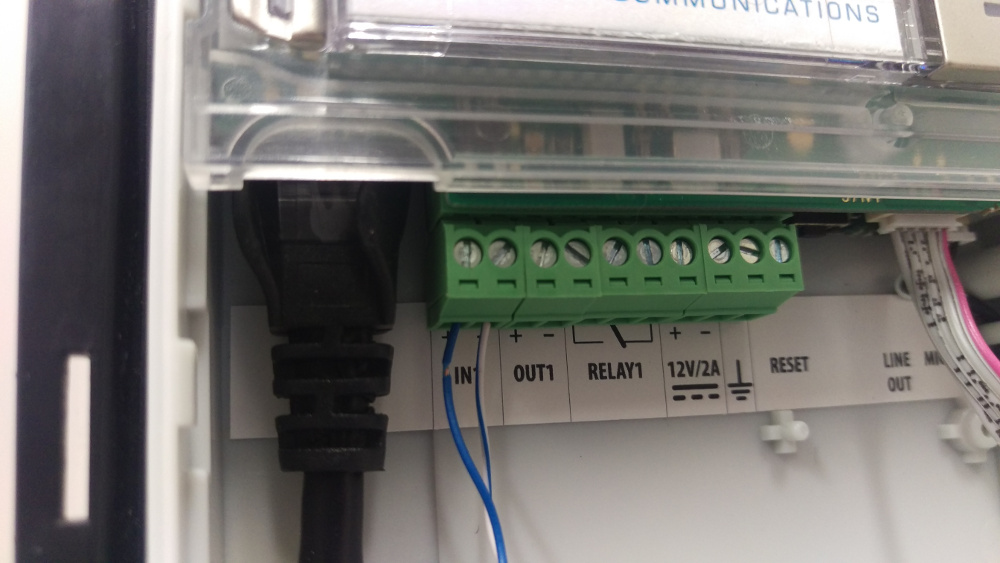
The tamper switch then needs wiring in via that little green terminal block on the left:
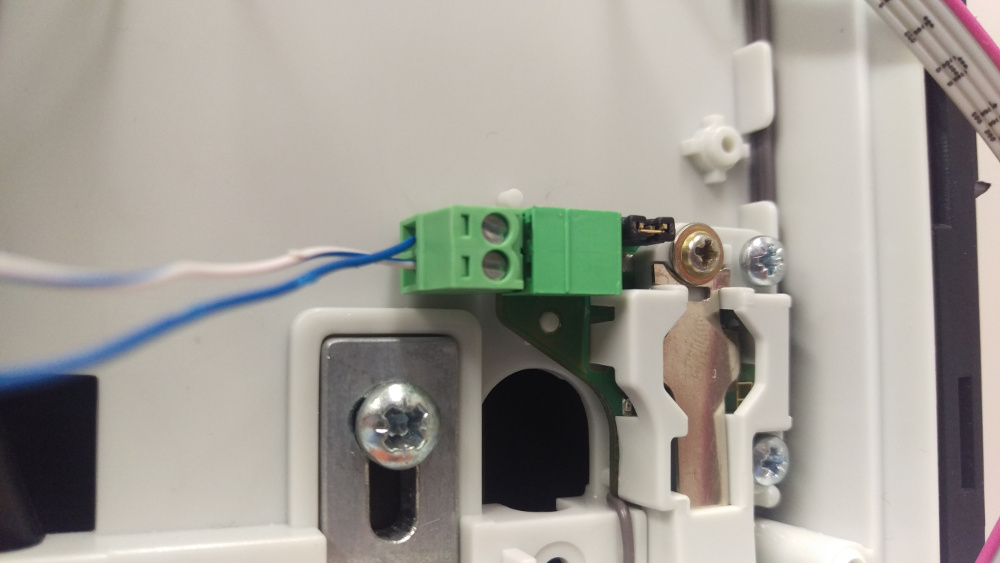
Fairly simple, just insert the wires into here……and here.Your wires will ideally be a bit shorter than this!
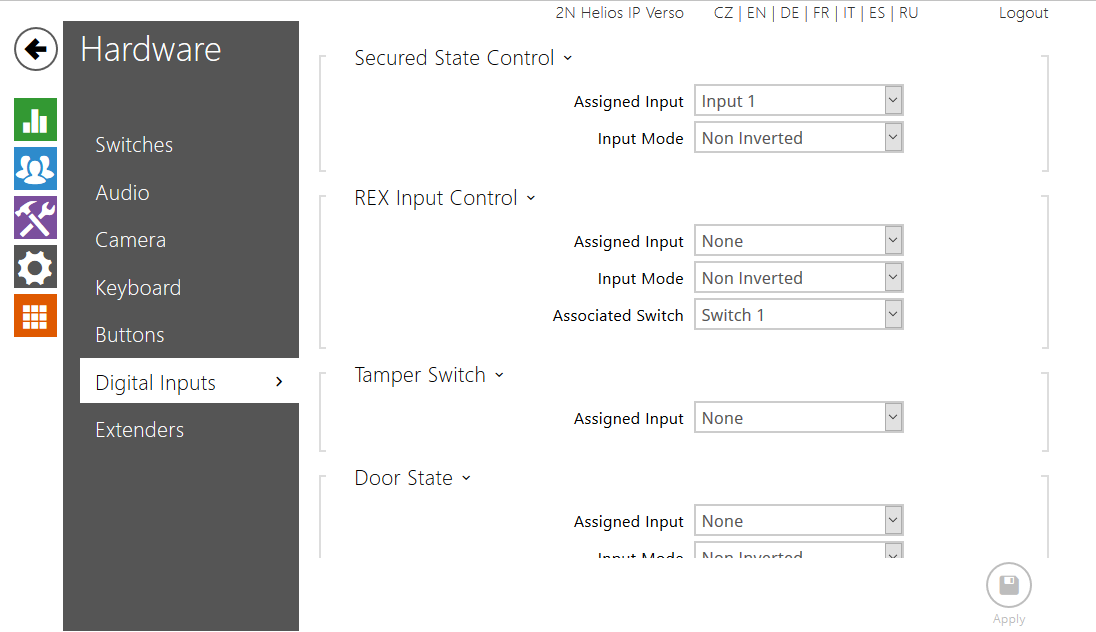
As mentioned earlier, because of the way it’s wired in, the Verso doesn’t know it is communicating with its own tamper switch, so the below is what you’ll see in the web interface when you try and program it as a tamper switch:
To run a quick demo of it working, I told the Verso that its Secured State Control was controlled by the status of input 1 – all this does short of any programming is activate a red LED next to the camera in the shape of a padlock – without the Enhanced Integration Licence this is all it will be able to do.
How to set the Secured State Control.
By using a screwdriver to press and depress the tamper switch, I was then able to turn the red LED on and off.
Please note: If you are using a tamper switch in this way you will not be able to wire anything else, such as an exit button, into the same input on the Verso. The only way to use an exit button without buying an I/O module will be to buy a security relay.
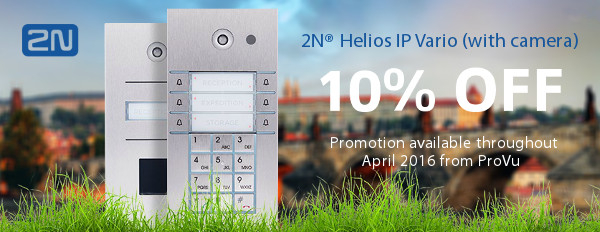
Throughout April we will be offering our resellers a 10% discount on the following 2N Helios IP Vario intercoms with camera:
9137111CU 2N Helios IP Vario 1 button + camera
9137131CU 2N Helios IP Vario 3 button + camera
9137161CU 2N Helios IP Vario 6 button + camera
9137111CKU 2N Helios IP Vario 1 button + keypad + camera
9137131CKU 2N Helios IP Vario 3 button + keypad + camera
9137161CKU 2N Helios IP Vario 6 button + keypad + camera
In addition to this there is a 25% discount on the following accessories:
9137909 2N Helios IP – Gold Licence
9137430E 2N Helios IP card reader 125kHz
This promotion is available to all ProVu registered trade resellers. If you are an ITSP, telecoms reseller or security installer and would like to become a ProVu reseller please fill out our new reseller form.
To take advantage of this great offer, simply contact a member of our sales team who will apply the discount to your order. Standard pricing is available on our reseller portal, ProSys. If you do not have access to ProSys or have forgotten your login details, please complete our ProSys registration form.
You will already be aware of the large range of models available of 2N’s IP Force intercom.
2N have decided to simplify their range slightly by adding a HD camera and phasing out the 1-Watt speakers in favour of more powerful and easily audible 10-Watt speakers.
This means that a few ordering codes have gone, or will be going, end-of-life, to be replaced by the newer codes.
Old Model
New Model
9151101
9151101W
9151101C
9151101CHW
9151101K
9151101KW
9151101CK/9151101CKW
9151101CHKW
9151101RP
9151101RPW
9151101CRP
9151101CHRPW
9151102R
9151102RW
9151102CR
9151102CHRW
9151104
9151104W
9151104C
9151104CHW
If you have already been ordering these new part codes, then nothing will change, however the 10-Watt speaker models have been running in tandem with the older models for a while, resulting in 10-Watt speaker models with non-HD cameras, 9151101CW for example, also going end of life.
We had some larger projects after this post was originally published where we were still able to get hold of the older models from 2N, however as of 31st December 2016 this is no longer possible – only the ones left in stock are available.
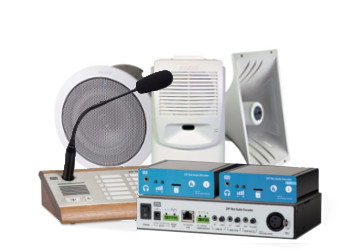
To offer you some useful insights in to the benefits of offering IP PA Paging Systems, we will be running a webinar on the 24th February at 11:00AM GMT (London). Throughout the webinar, we will be giving an overview of IP Paging Systems and how our product range can help you convert existing analogue systems or install new PA Systems for your customers.
Webinar Topics Include:
What is an IP PA System?
The benefits of moving to IP
ProVu’s product range
Integration with existing infrastructure
Usage scenarios
Summary
Questions
This is a great opportunity for you to hear about the latest PA Systems and how they allow broadcasting of public announcements, advertising messages, streaming live or recorded music among a host of additional benefits.
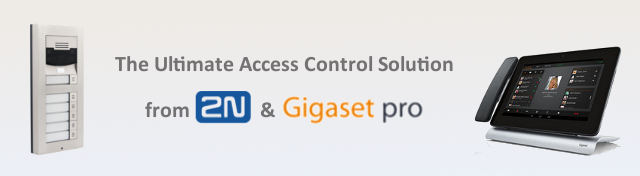
Following rigorous testing and collaborative working between Gigaset pro and 2N, both vendors have announced full compatibility between 2N’s door entry intercom units and Gigaset’s Maxwell 10 tablet-IP phone. Having also been tested by our very own technical team, we believe this is a great collaboration which provides the ultimate access control solution.
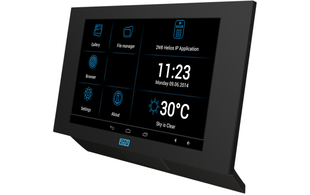
Gigaset Maxwell 10
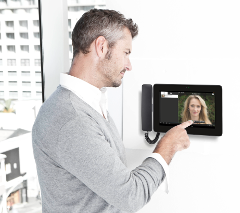
Ideal as an access end point, the Gigaset Maxwell 10 is an all-in-one business communication device. With a large 10 inch HD multi-touch-screen, it makes access control safe and easy by displaying clear images, fed directly from 2N intercom units.
2N Verso
Developed as a modular system, the 2N Verso has great flexibility and can be configured to meet individual requirements. Verso modules can be configured to include:
Multiple buttons
Wide angled camera
Keypad
RFID reader
The Maxwell 10 and Verso combination offers the complete access control solution and we believe this new collaboration is a great package for both business and home automation applications.
Pricing and stock information is available to view on our reseller portal ProSys. If you are not a ProVu reseller and would like to become one, please complete our reseller application form.
You will need to open up the 2N IP Audio Control Panel on your PC, have your 2N Net Audio Decoder connected to your network and a functioning Snom D765. Click ‘Destination & Zones’ using the left hand sidebar, then click Create RTP destination again on the left hand sidebar. You can give the RTP destination a more meaningful name if you wish rather than ‘RTP destination 1’. For better quality sound, you should choose Linear PCM 16 bit Stereo (44.1kHz), then choose the IP address e.g. 239.255.1.10, then set the port number to 7000 and leave TTL as -1. You will then need to save your configuration using the ‘Save configuration’ button located near the top left hand side of the window.
After you have followed the previous steps, you will need to navigate to ‘Sessions’, then right click in the centre in the white space, and click ‘Create session’. On the left hand side, providing you have some media ready such as an Internet radio station, you will need to drag this into the new session you just created. The Internet radio station will then be displayed on the session. Finally, you need to drag the RTP destination you created earlier on, and drag this onto the ‘DESTINATIONS’ section on the session. That’s the main configuration complete for the 2N IP Audio Control Panel (2N Net Audio Decoder). The next step is to configure your Snom phone for multicast.
You will need to obtain the IP address of your Snom phone by pressing the Menu key, pressing key number 6, then pressing key number 2. This will show the System Info which will display the IP address of the phone e.g 192.168.1.64
Web browse to the IP address of the phone using your web browser. You may be prompted for a username and password which you may not know about. If this is the case, you will need to consult your system administrator. By default, there is no username and password set, if this is the case, you should see the Snom web interface.
That’s the end of the configuration process. All you need to do now is go back to the IP Audio Control Panel, click ‘Sessions’, then ensure MASTER CONTROL and Internet radio station is set to on and the volume bar is up. The radio station should now page to your Snom phone.
If there are any questions, please email matthew@provu.co.uk


 Developed as a modular system, the