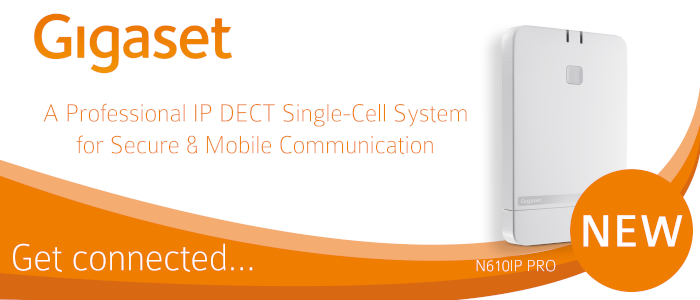
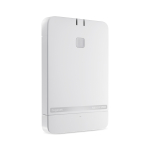
We have exciting news! The new Gigaset N610IP is now available. Discover what this single-cell DECT base station has to offer and the improvements it delivers on its predecessor, the N510IP.
| As one of the first Microsoft Teams certified DECT base stations, there’s a lot to shout about! Renowned for their DECT solutions, Gigaset continues to lead the market, adapting their latest products to support the latest technical advancements in the professional environment. | |
| Move away from the desk and enjoy the benefits of joining a Teams call while roaming around the office, warehouse or even your home office! Acting as a Teams endpoint, the N610IP allows for inbound calls to be forked to users’ SIP devices as well as the common features that can help keep all your customer’s systems interconnected. | |
N610IP PRO
 |
|
Supports up to 8 external parallel calls over the previous 6 from the N510 Enables you to connect up to 8 handsets, 2 more than the N510 Microsoft Teams Compatible |
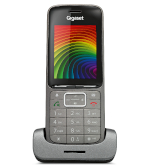
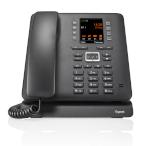
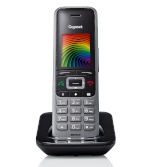
Compatiable Handsets
 |
 |
 |
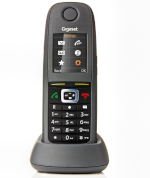 |
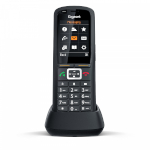
| SL750H PRO | Maxwell C | S650H | R650H |
 |
 |
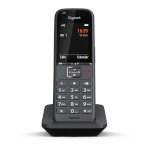 |
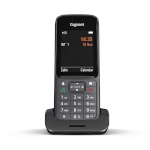
| SL800H PRO | R700H PRO | S700H PRO |
N510IP Replacement NoticeImproving on the features and capabilities of the N510, the N610IP will be replacing the N510IP. We expect the N510 to be announced as End of Sale later this year. If you have any questions how this will affect you, please get in touch with our sales team at contact@provu.co.uk. |
 |
Let us help with White Label InstallationDon’t have the resources to carry out your own DECT surveys? We’ve got your back! Did you know we also offer a white-label DECT survey and installation service. Speak to our team today about maximising your opportunities through these services. |