Here in the ProVu technical office things are starting to get festive.
Our trusty old Christmas tree has gone up.
With so much in the news this year about the boom we are going to see in IoT & M2M, we thought we’d better smart-enable our Christmas tree to keep up with the times.
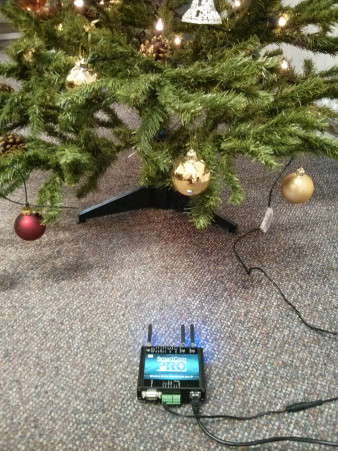
I’d been testing the 2n Smartcom Pro recently, so I used that:
This allows me to convert non-IP devices (and our old Christmas tree is definitely not an IP device) into IP-enabled devices I can access over my network.
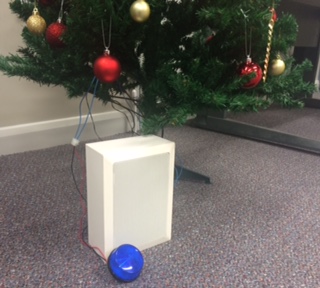
To actually control the tree’s lights, I used a Zigbee power switch since the Smartcom Pro has a Zigbee interface (amongst others):
This set up allows me to use “AT” style commands over a telnet connection from any computer on our network to the Smartcom to turn the Christmas tree lights off and on. That works OK but is rather cumbersome so to finish this off I wrote a quick Python script which connects to the Smartcom and allows me to type in simple commands to control our tree.
Here is a short video of it in action:
What’s the point you might ask? Well there isn’t a great deal of point to this other than a bit of fun. However, one of the biggest causes of fires around Christmas time is tree lights being left on unattended (so I’m lead to believe) so ensuring these are automatically turned off when everyone has left the office is a good idea!
Cheers,
Paul.