Why choose 2N?
2N have a focus on the IP market, meaning that all of their intercoms and access control units are IP-enabled, allowing for far easier management and installation of the units.
What options are available?
Keypad – There are mechanical keypads and touch-sensitive keypads available, allowing the user to enter their PIN in order to gain access to the building.
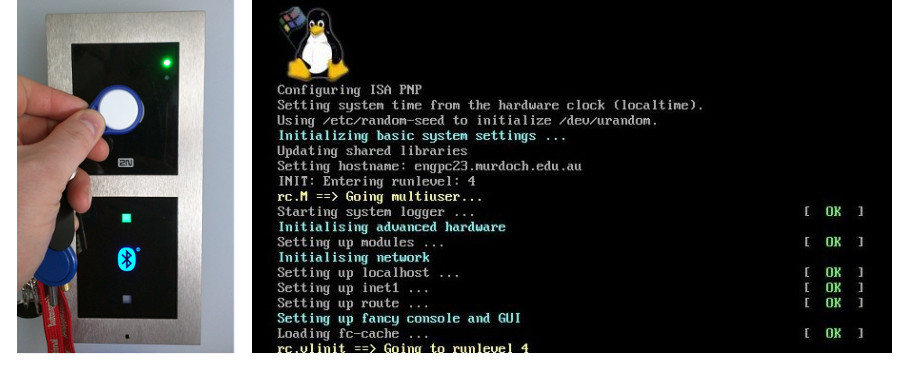
RFID – There are several standards that the 2N readers work with, allowing the user to swipe their fob or ID card, or even their smartphone in NFC-enabled reader, to gain access to the building.
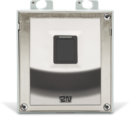
Fingerprint – Arguably the most secure option, 2N’s fingerprint reader ensures that no-one can gain access to the wrong areas.
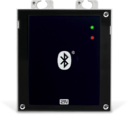
Bluetooth – Paired with a user’s smartphone, the Bluetooth option allows for very secure entry, as it can be set to have the user unlock their smartphone in order to input a code before the door will open. It can also allow opening from a distance which would be useful on vehicle gates where getting out of the vehicle is inconvenient.
As well as access control, you can purchase a matching reader to go inside the door and build an accurate clocking in/out system, you can even purchase more than one method of authentication to make your premises more secure.
WEBINAR
Join me on Wednesday 14th February for an in-depth look at the access control options available with the 2N range and the management of such systems.
Register to attend now