Browse Category

Technical Hints

Bria Stretto – Generating Support Logs for an Android Device

Note: Although this guide was created for Bria Stretto, it is still applicable to Bria Enterprise.

If you have contacted our support team regarding an issue with CounterPath’s Bria Stretto application we may require some logs from your application that you will need to generate.

This blog post should act as a rough guide on how to obtain them because it may vary slightly depending on the application version and also the make and model of your device.

Obtaining the logs from an Android device

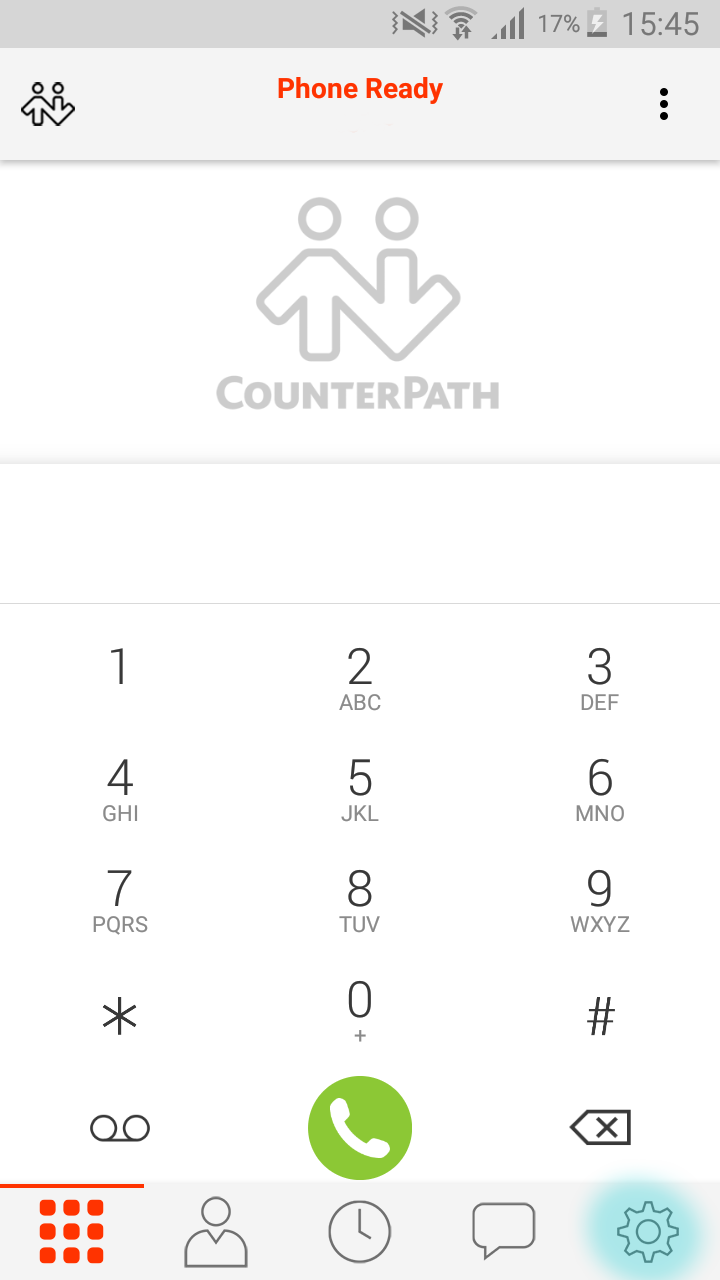
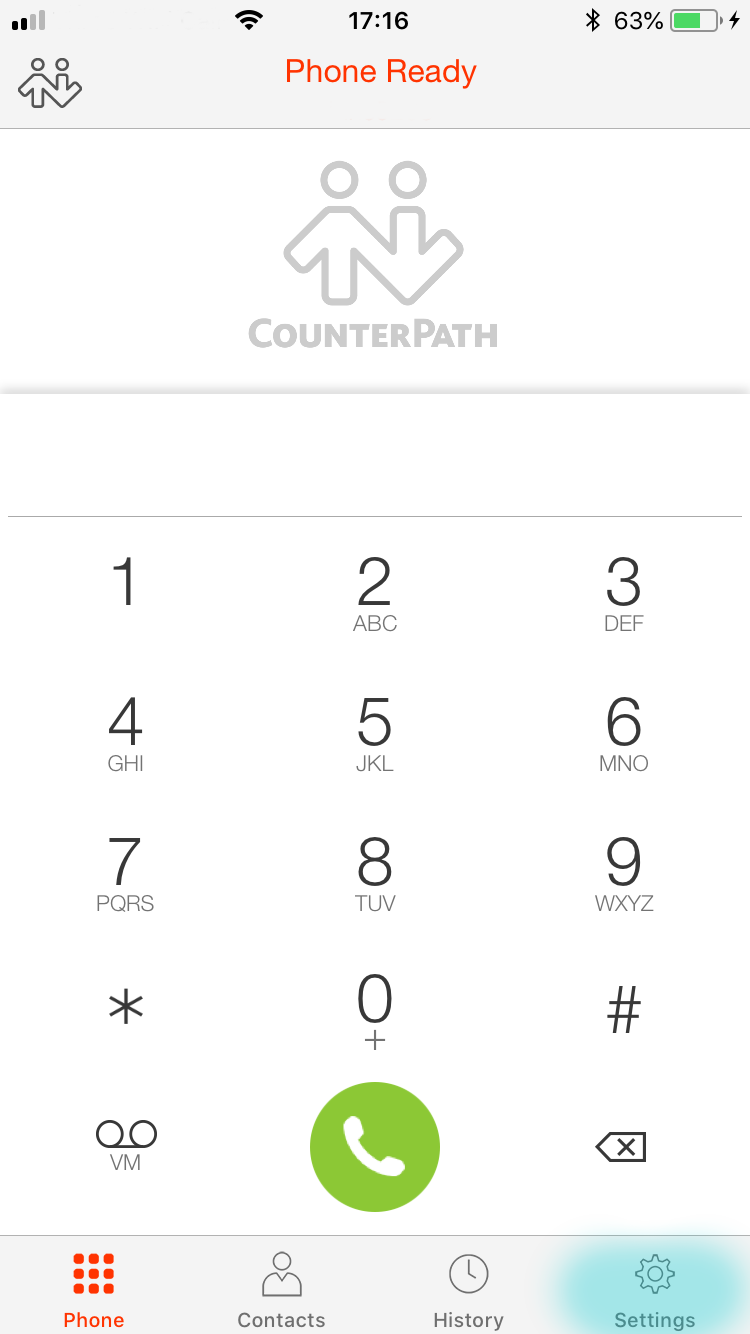
Step 1 – Open the Bria Stretto application and replicate the fault

Step 2 – Once the fault has been replicated press the ‘Cog’ icon. (Highlighted in the image below)

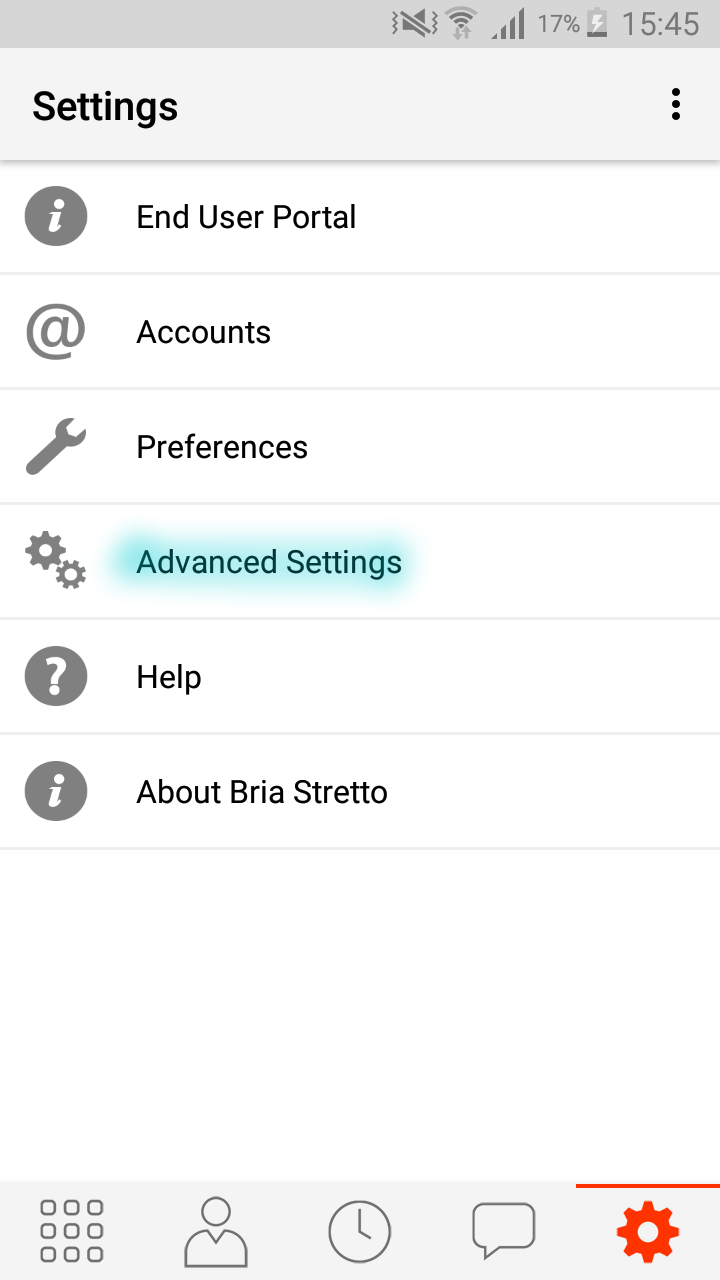
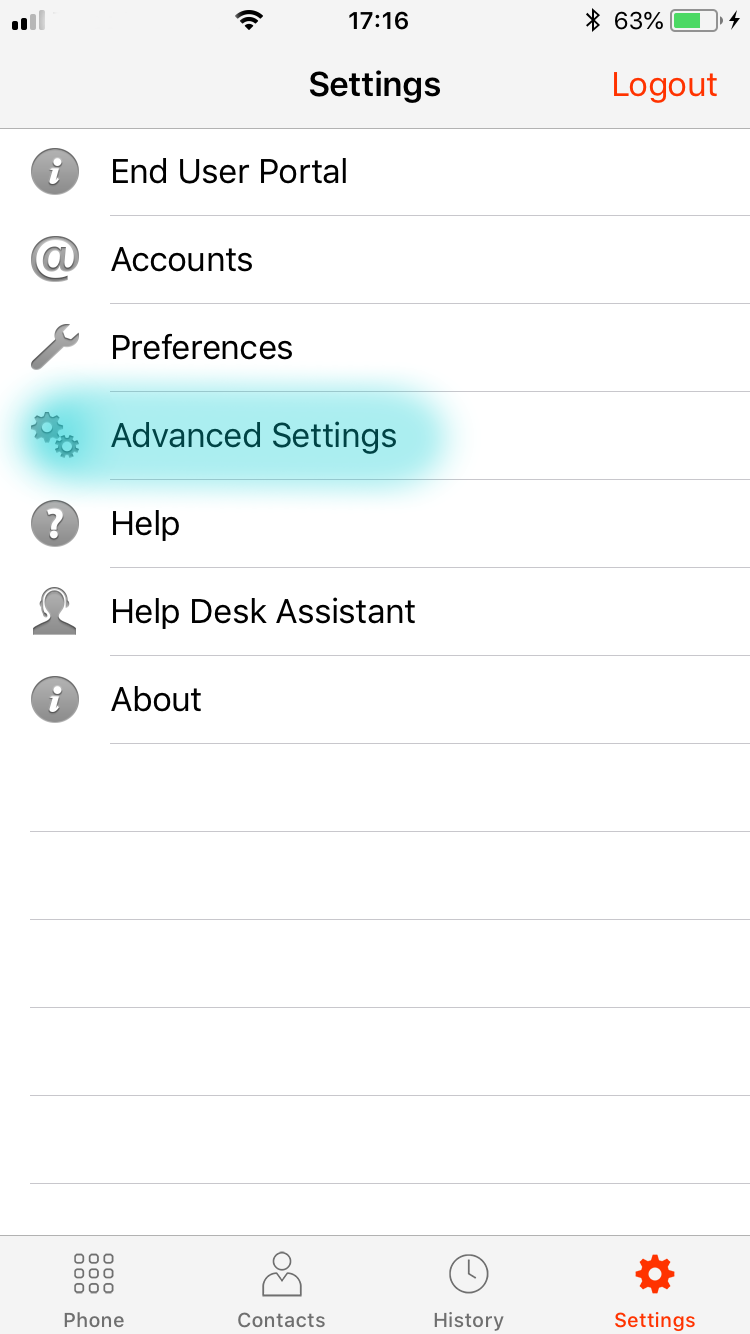
Step 3 –  Once the new page loads, select ‘Advanced Settings’ (Highlighted in the image below)

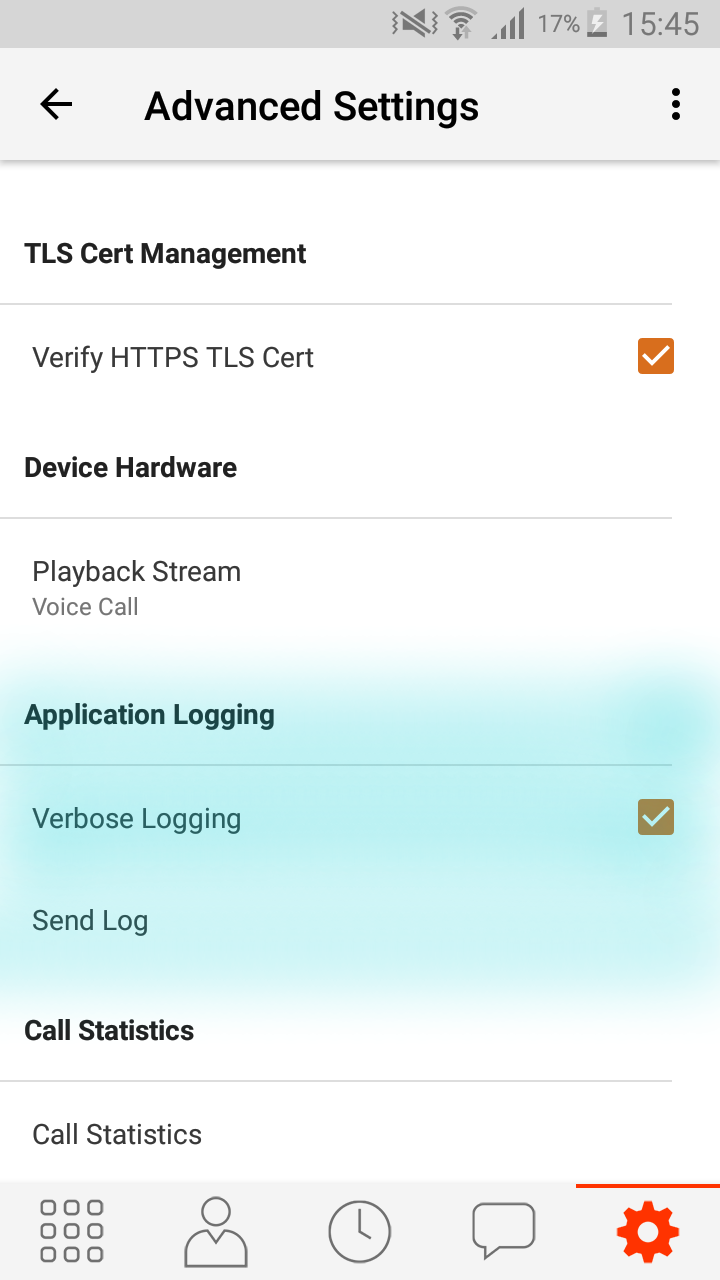
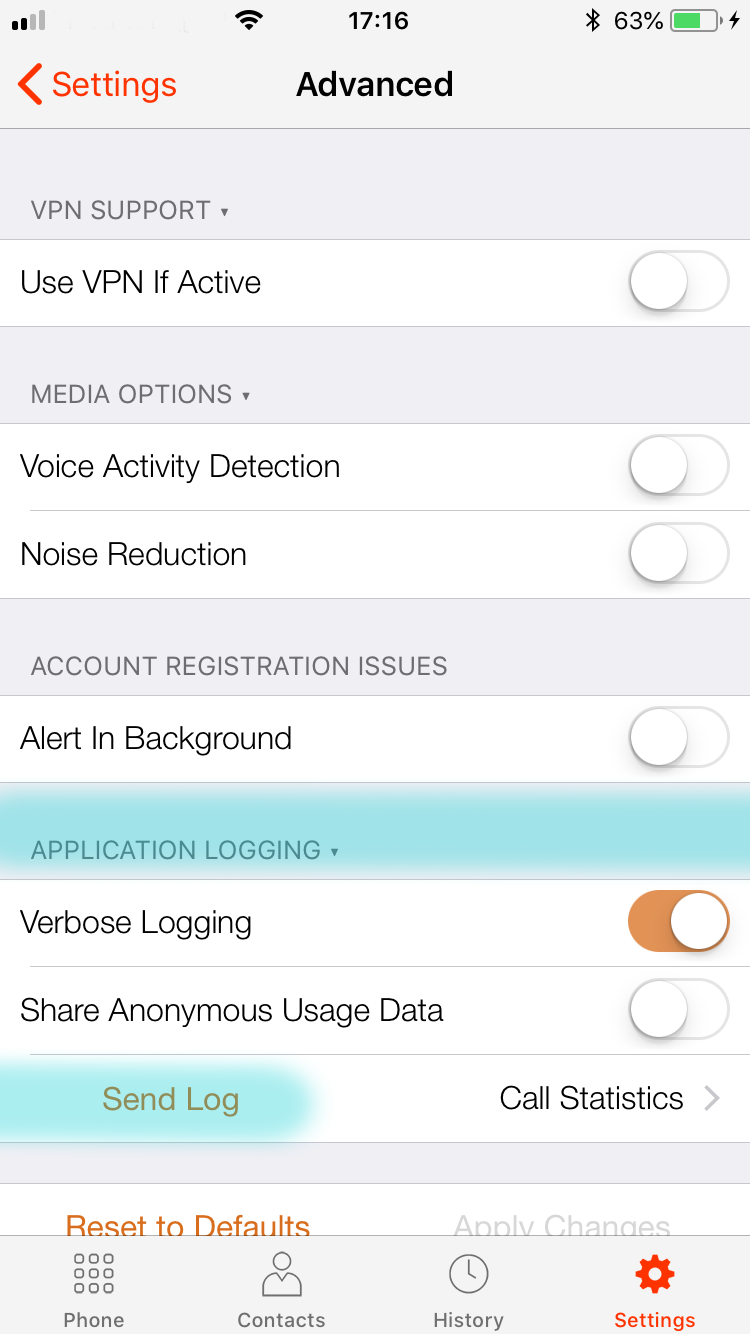
Step 4 – Once the next page loads, scroll down until you reach ‘Application Logging’ and press ‘Send Log’. (Highlighted in the image below)

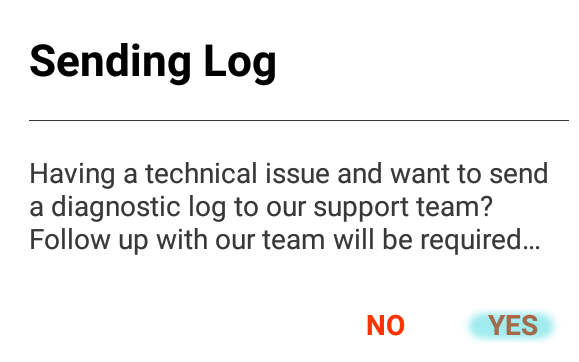
Step 5 – Once you press ‘Send Log’ it will display the image below. Once you are on this page press ‘Yes’ to generate the log

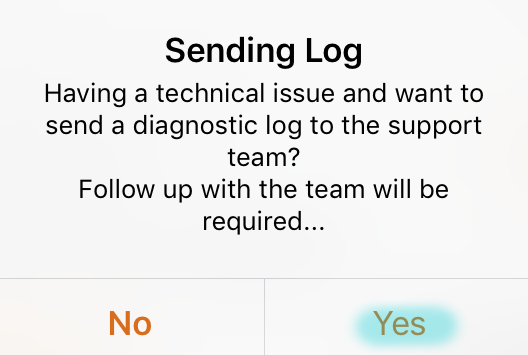
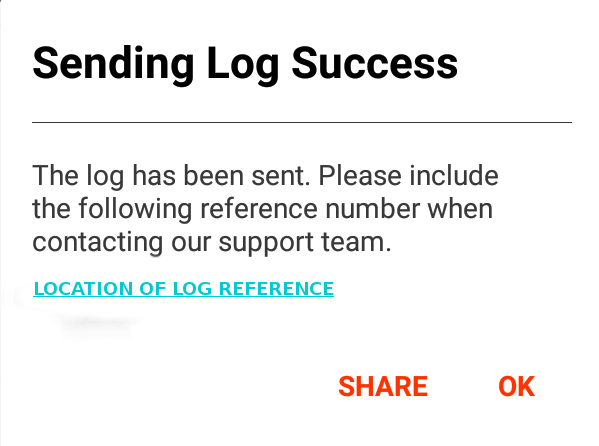
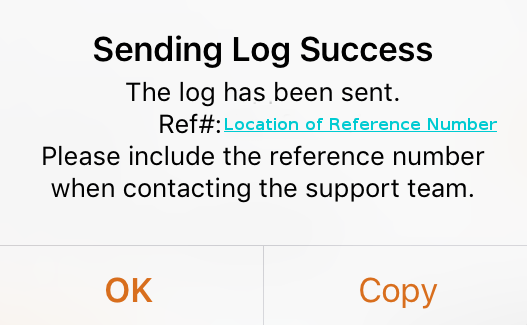
Step 6 – After the log has been generated and sent to CounterPath’s server it will display something similar to the image below with a ‘Log Reference’. (It is Important to make a note of this reference)

Step 7 – Contact us with the log reference and the user account this log belongs to so we can find it on the CounterPath Portal.

Important: You need to contact us once the log has been generated as they don’t stay on the portal for long.

How to configure your 2N Voiceblue Next to pass incoming calls to your PBX

1. Set up a trunk on you PBX to use Register/account based authentication and set the main trunk number to the number of the sim you want the inbound calls to come from.

2. On the Voiceblue go to Gateway Configuration > VoIP Parameters > Sip Registration and enter the auth username and password from your PBX trunk. Set the Registration domain to the IP of the PBX

3. On the same page in the IP Addresses section enter the IP address of the PBX in the SIP Proxy (GSM→IP) field.


4. Go to the GSM incoming groups section. In General Settings change the Mode to ‘Accept incoming calls + dialtone

5. Same section set the DTMF dialling timeout to 0 (zero).

6. Same section under List of called numbers add the number of your sim.

Calls should now pass through to your PBX and can be routed as required.


Thank you for reading.

Yealink – Obtaining Support Logs

If you contact the support team at ProVu regarding an issue with a Yealink device we might ask for some additional logs from the unit.

If you are asked to obtain these you can use the links below as a guide to obtain them.

For phones on firmware version 80 or lower use the link below:

http://support.yealink.com/faq/faqInfo?id=708

For phones on firmware version 80 or higher use the link below:

http://support.yealink.com/faq/faqInfo?id=707

For issues where it needs to be capture via wireshark please use the link below:

http://support.yealink.com/faq/faqInfo?id=709


Panasonic Ghost Calls

If you are experiencing ghost calls on your Panasonic phone here is how you can stop them.

  1. Go on the web interface (you may need to enable the web interface from the phone by going to Basic settings > Other Options > Embedded Web = On
  2. Once on the web interface go to the Voip tab and click on the Line/s that are in use.
  3. Scroll to the bottom of the page and set “Enable SSAF (Sip Source Address Filter)” to Yes

If you are still experiencing any issues after the above setting is enabled please contact support@provu.co.uk

IPv6 in an Office – Tim Presents at UKNOF40

Our Technology Director, Tim Bray presented at UKNOF40 last week. Taking place at Manchester’s Central Convention Complex on Friday 27th April, the event was a free full-day conference for anyone within or interested in the internet industry.

As the person responsible for our system developments, Tim knows a lot about internet security and regularly consults our vendor partners on their provisioning services. Find out what he had to say in his presentation, ‘IPv6 in an Office’ in the video below.

Important Panasonic Provisioning Notification

Important Panasonic Provisioning Notification

We have been informed by Panasonic that phones manufactured in mid-2017 have a problem with the embedded client certificate.

Affected devices are all TGP600/HDV series manufactured from July to November 2017. The issue is that the certificate loaded into the device at the point of manufacture only lasts for one year instead of the usual thirty. This affects provisioning systems which secure connections by validating a device’s client certificate. As a result of this, at some point in July 2018, these devices will start to fail to provision if client verification is being used.

The fix is to upgrade the firmware of the device to the following versions (or newer):

Model Name Firmware Version Download Link
KX-TGP600 06.021
KX-HDV130 06.121
KX-HDV230 06.121
KX-HDV330 06.021
KX-HDV430 06.021

For customers using our provisioning platform, please contact us to organise upgrades of your phones. We can handle this automatically for you, but will require your consent to do so – phones will not be automatically upgraded.

For customers using other provisioning systems, please get in touch with whoever manages the system to organise the upgrades. If they require assistance, we are happy to help.

Panasonic has also provided a website for checking your phones.

We would like to apologise on behalf of Panasonic for any inconvenience this may cause. If you have any questions, please don’t hesitate to get in touch, you can call us on 01484 840048 or email support@provu.co.uk.

Yealink USB Call Recording

Supported Yealink Models

SIP-T54S, T52S, T48G, T48S, T46G, T46S, T42S, T41S, T29G, T27G.

Enabling USB call recording

By default this feature is disabled, if you wish to use a USB stick to record calls you need to enable the following parameter:

features.usb_call_recording.enable
Valid Values: 0 or 1
1 = ON
0 = OFF

Note: this feature cannot be enabled via the web user interface or via the phone directly. It can only be done by a provisioning parameter.

If you are having your Yealink devices provisioned by ourselves and would like to use this feature just drop us an email and we can apply this to your template.

Uploading a CFG file

If you aren’t able to provision this setting to the device you can add the settings below to a plain-text file and upload it directly to the unit from a PC and it will enable the feature:

#!version:1.0.0.1
features.usb_call_recording.enable = 1
Remember to save the text file as “.cfg”

To upload the config file login to the web user interface of the phone and go to “Settings” > “Configuration” > Select the “Choose File” button next to “Import CFG Configuration File” and select the file on your PC > After selecting the file press the “Import” button for it to upload.

After the file has been uploaded the setting will be enabled.

Using USB call recording

1) Connect the USB stick to the phone and it will display a message saying “USB Flash Drive Connected” and display a logo of a USB Stick in to middle of the screen like above. (This will appear even if the setting is not enabled)

2) To use the feature during a call you will now notice a “More” soft-key appears. If you press this, you will get the option to start recording the call.

3) Press the “Start REC” button then you will have the option to pause or stop the recording. If you pause the recording you will have the option to start again or stop.

4) If you press the stop option you will see a notification saying the recording has successfully been saved.

5) To listen to the recording either disconnect the USB and connect it to a computer or alternatively press  the “Menu” button whilst the phone is not on a call and press enter on the “USB” option.

6) Then Select “Browse Audio”

7) Then select an audio file and press play:

8) The recording will then automatically start playing. You can pause, rewind and fast forward the recording.

2N Automation: Wake on LAN

We recently set up our 2N IP Vario to wake up our computers when we scan our key fobs to enter the office. This means that our employee’s computers are switched on and ready to go before they even arrive at their desk.

We did this by writing a web app which uses the ‘Wake on LAN’ protocol, this was then added to 2N’s automation feature. ‘Wake On LAN’ is an existing protocol supported by many desktop computers.

Once a user scans their key fob on the IP Vario it then sends a HTTP request to our web app that includes the id of the key fob. The app then finds which user has scanned into the building by looking up the id of the key fob which was used and finds the associated user. With the username, the app then looks up the mac address for that user’s computer which calls Wake On LAN to broadcast a magic packet across the network. If the PC has power but is not turned on the computer will then boot.

Here is an example of the config we set up in our IP Vario’s automation:

<automation><row><name>Event.CardEntered</name><value>Card=valid;</value></row><row><name>Action.SendHttpRequest</name><value>Event=1; Uri=http://webapp.provu.co.uk?Id=$(1.Card)</value></row></automation>

Full factory reset on Vega 3050G

The new Vega 3050G gateway uses a different method for performing a full factory reset than other gateways.  This was called a “config clear” on other gateways.

Important

Before doing this make sure you have backed up the license key from the Vega as you will need to manually restore it afterwards.  Without this, the Vega will only process a couple of calls at a time.

Instructions on how to get the license key can be found here:

https://wiki.sangoma.com/display/VG/Factory+Reset

If you cannot do this for some reason (such as not knowing the admin password) then you will need to raise a support request with us and tell us the serial number of the unit.  But be aware, we have to then request the key from Sangoma and this can take a business day.  If your gateway is  being used, wait for the license key before doing the reset.

How-to

Connect a serial console cable to the Vega, instructions can be found in the link above.

With the console cable still connected, remove the power cable from the Vega.  Get ready to start pressing the enter key on your keyboard, put the power cable back in and immediately start pressing the enter key on your keyboard.

You should see the uboot prompt on the screen:

U-Boot#

At this point, enter these commands one by one (pressing enter each each one) to action the reset:

sf probe

sf erase 0x70000 0x90000

boot

The Vega will now reboot with all factory settings including network and password settings.

Note: be very careful to type those commands in correctly, the 2nd one is erasing a section of the flash memory, getting the numbers wrong could damage your Vega gateway.

Lastly, restore your license key using the instructions found in the link above.


Polycom Recovery (Resolve a Formatted File System)

If you’ve ever pressed the wrong button trying to perform a factory reset on a Polycom phone and accidentally pressed “Format File System” instead. You’ll most likely know it can be time consuming to recover the unit if you don’t have a provisioning server set up for this.

Well, you’re in luck! (Hopefully)

You should be able to use our server to download the application back on to the unit. Below is a list of all the units that can be recovered via our server.

Available for Polycom Models:

2345-12365-001.sip.ld = SoundPoint IP 331
2345-12450-001.sip.ld = SoundPoint IP 450
2345-12560-001.sip.ld = SoundPoint IP 560
3111-19000-001.sip.ld = SoundPoint IP 560
2345-12360-001.sip.ld = SoundPoint IP 321
2345-12375-001.sip.ld = SoundPoint IP 335
2345-12500-001.sip.ld = SoundPoint IP 550
2345-12600-001.sip.ld = SoundPoint IP 650
3111-30900-001.sip.ld = SoundStation IP 5000
3111-40250-001.sip.ld = VVX 101
3111-44600-001.sip.ld = VVX 600
3111-46161-001.sip.ld = VVX 310
3111-48350-001.sip.ld = VVX 311
3111-48500-001.sip.ld = VVX 501
3111-40450-001.sip.ld = VVX 201
3111-46135-002.sip.ld = VVX 300
3111-46162-001.sip.ld = VVX 410
3111-48400-001.sip.ld = VVX 401
3111-48600-001.sip.ld = VVX 601
3111-44500-001.sip.ld = VVX 500
3111-46157-002.sip.ld = VVX 400
3111-48300-001.sip.ld = VVX 301
3111-48450-001.sip.ld = VVX 411

Just follow these easy steps:

1) Connect the phone to the network (and power supply if required).

2) The phone will power up and display “starting application, press cancel to interrupt”. You need to press the “cancel” button.

3) It should then display a new screen that displays three options. “Start”, “Setup”, “About”. Press the button for “Setup” and enter the password. (by default it is 456)

4) Then it will display “provisioning server” > Press “Select” and set the “Server” type to “HTTP” > Scroll down to “Server Address” and press “Edit” and enter the following: polycom.provu.co.uk/fw/recovery/

5) Then Press “Exit” and then “Exit” again and select “Save and Reboot”.

6) Wait for the phone to reboot and contact our servers, if successful it should say something similar to “Updating XXXX-XXXXX-XXX.sip.ld, please wait”. Where X are numbers.

7) Leave the phone to download the application and wait until it boots up to the default Idle screen.

Important Note: Remember to upgrade the firmware version of the unit to the latest once the recovery has been completed. We can’t guarantee the firmware on the recovery server will be the latest.